Key takeaways
- Start with one repeatable action, one goal, one pressure, one feedback signal, and one end condition. Put them in a one-screen minimum playable brief, build a 30–90 second loop with temporary visuals, and watch one fresh tester play before adding art, story, progression, or more levels.
Start by reducing your idea to one action the player can repeat for 30–90 seconds. Define one goal, one failure or end condition, one input method, and one piece of feedback. Put those five decisions into a one-page “minimum playable brief,” build only that loop, and let one person try it before you add story, progression, extra levels, or polished art.
If you often imagine mechanics while playing games but do not know how to develop them, your first job is not to design the whole game. It is to answer a smaller question: is the core action understandable and interesting when someone can actually play it? A tiny prototype gives you evidence. A large design document only gives you more assumptions.
The shortest route from idea to prototype
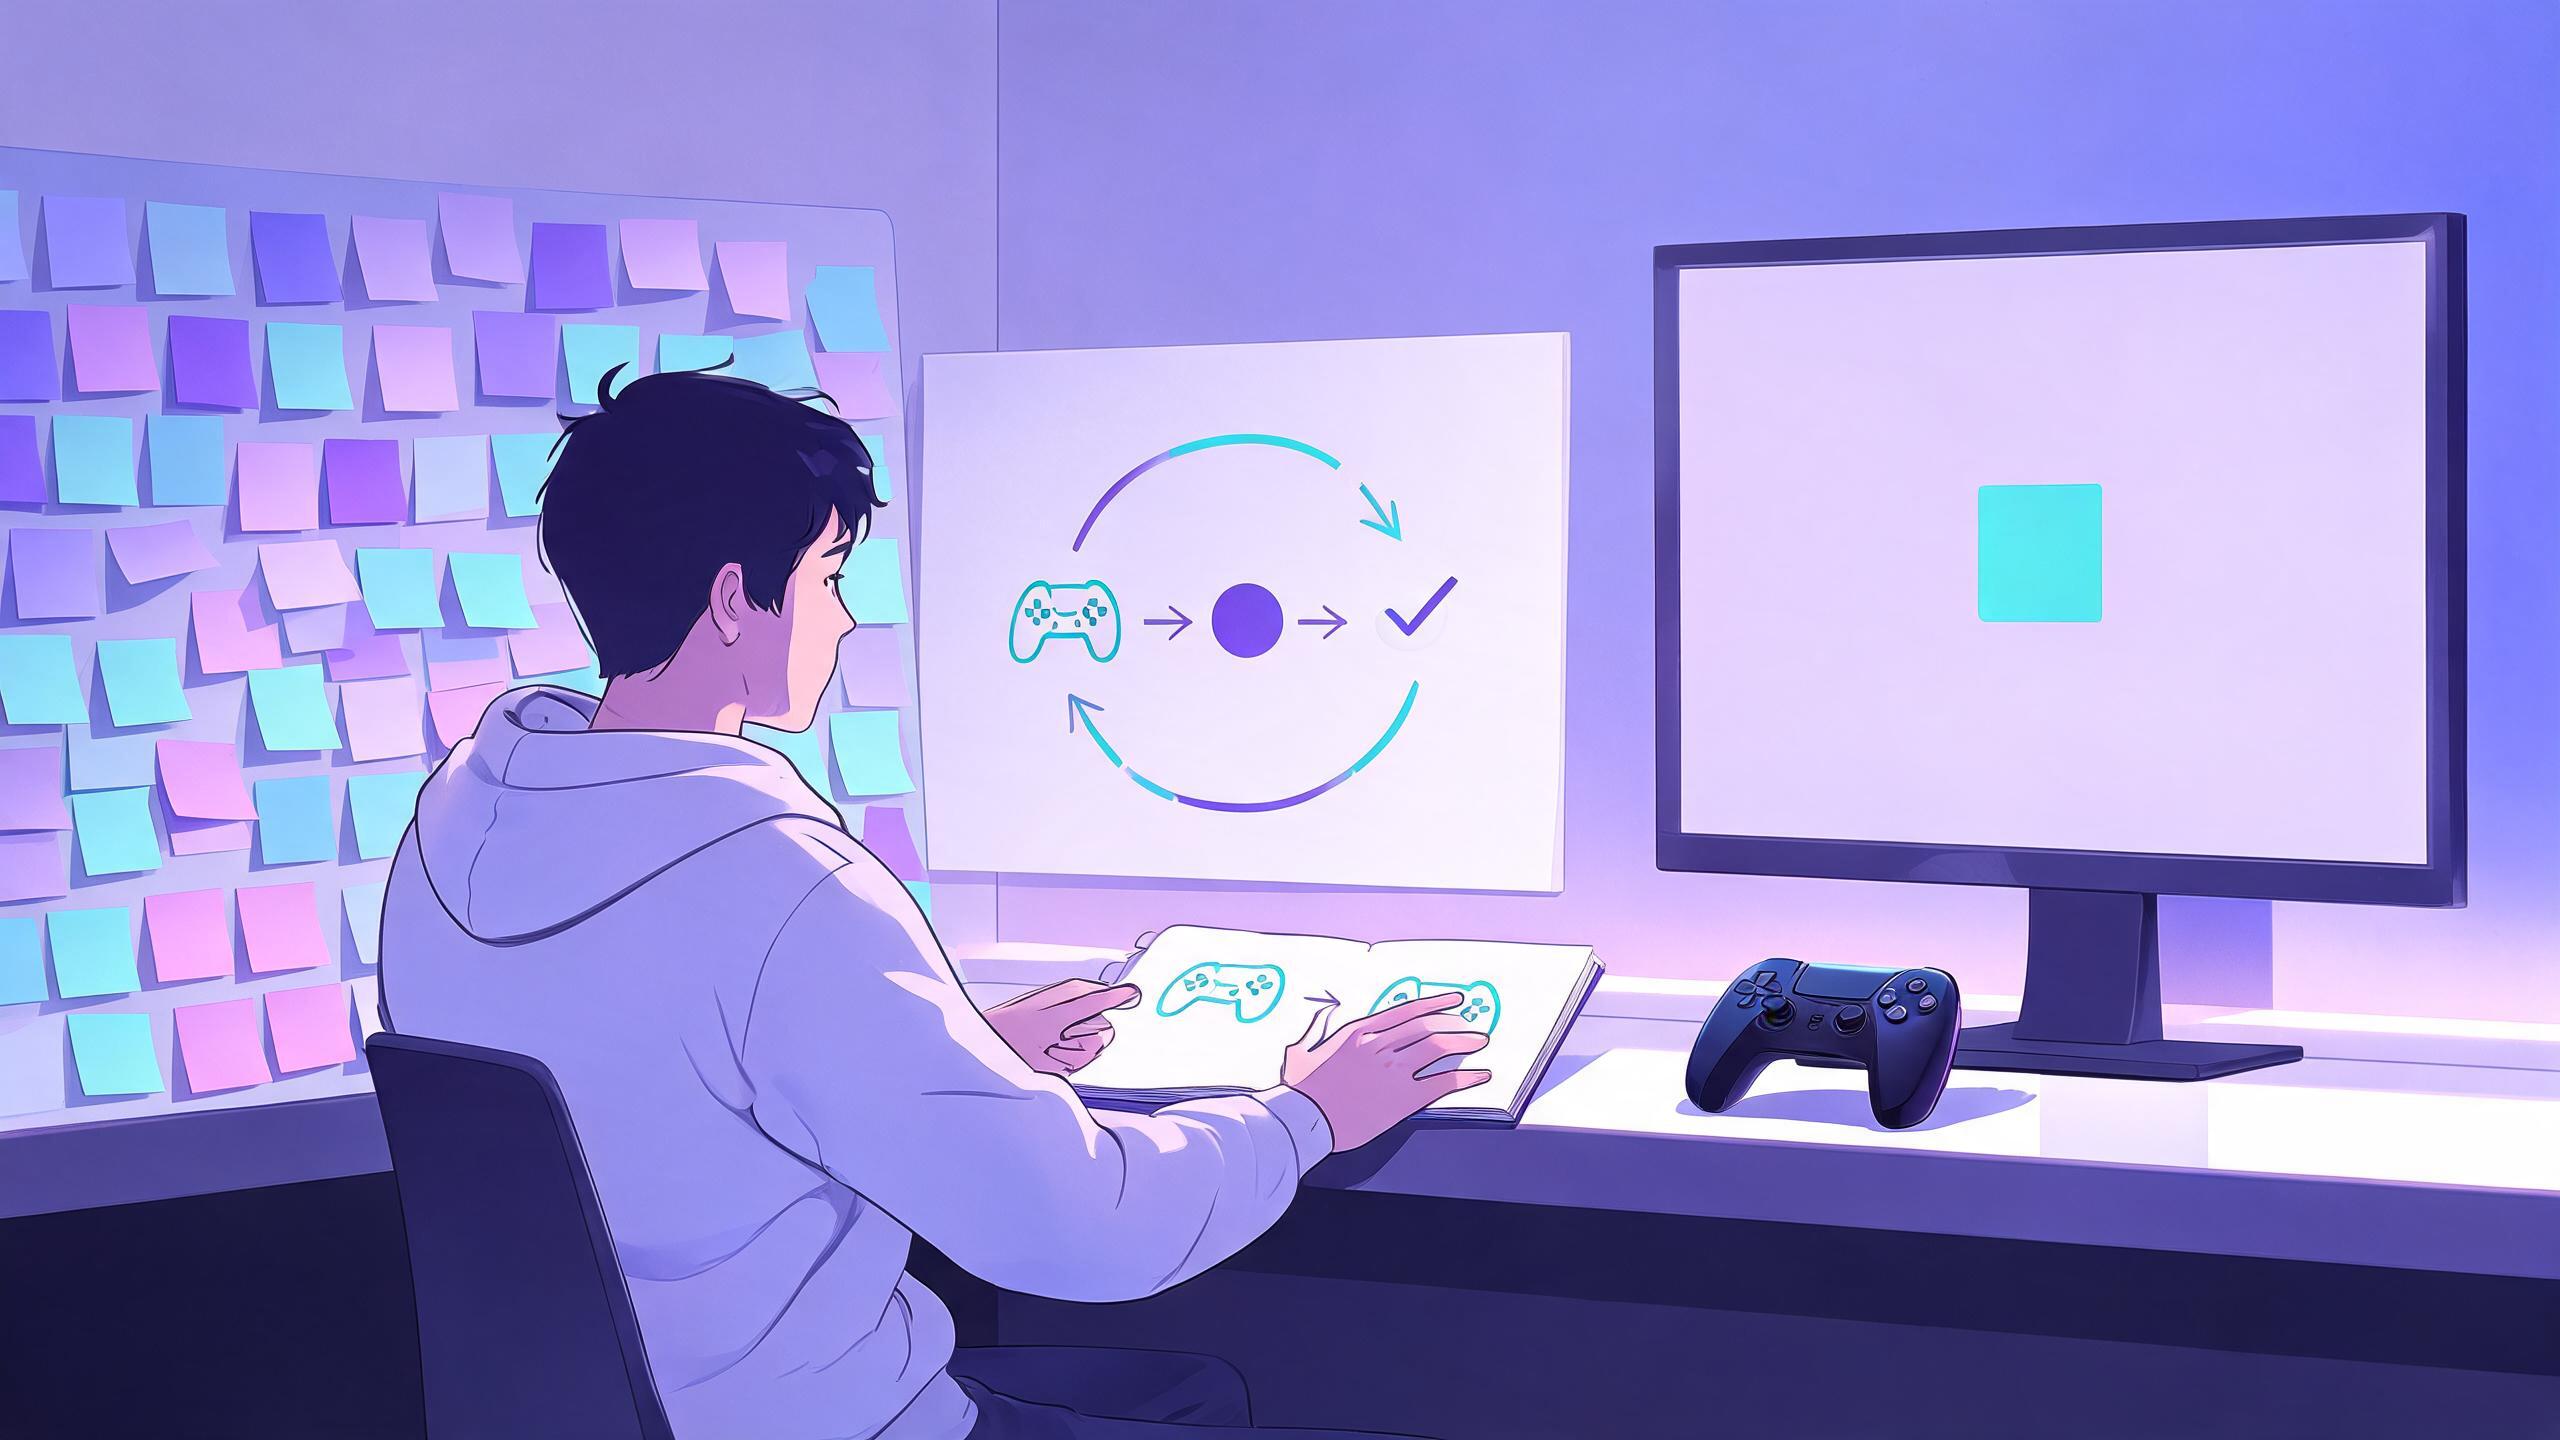
Use this sequence:
- Write the fantasy in one sentence. What should the player feel like they are doing?
- Choose one repeated action. Move, aim, place, combine, dodge, negotiate, or time a press.
- Give that action a measurable goal. Survive 30 seconds, collect five objects, reach an exit, or beat a target score.
- Define the end. The test stops because the player wins, loses, or the timer expires.
- Build with temporary visuals. Use clear shapes, labels, and sound cues rather than final characters or environments.
- Watch one person play without coaching. Record where they hesitate, what they expect, and whether they understand the result.
That is enough for a first development cycle. Do not start with a map, lore bible, inventory, skill tree, online multiplayer, or a dozen characters. Those may matter later, but none can prove that your central interaction works.
Step 1: find the smallest testable part of your idea
Most game ideas arrive as a bundle: a setting, a protagonist, a combat system, progression, art style, and several favorite mechanics from other games. Separate the core loop from the decoration.
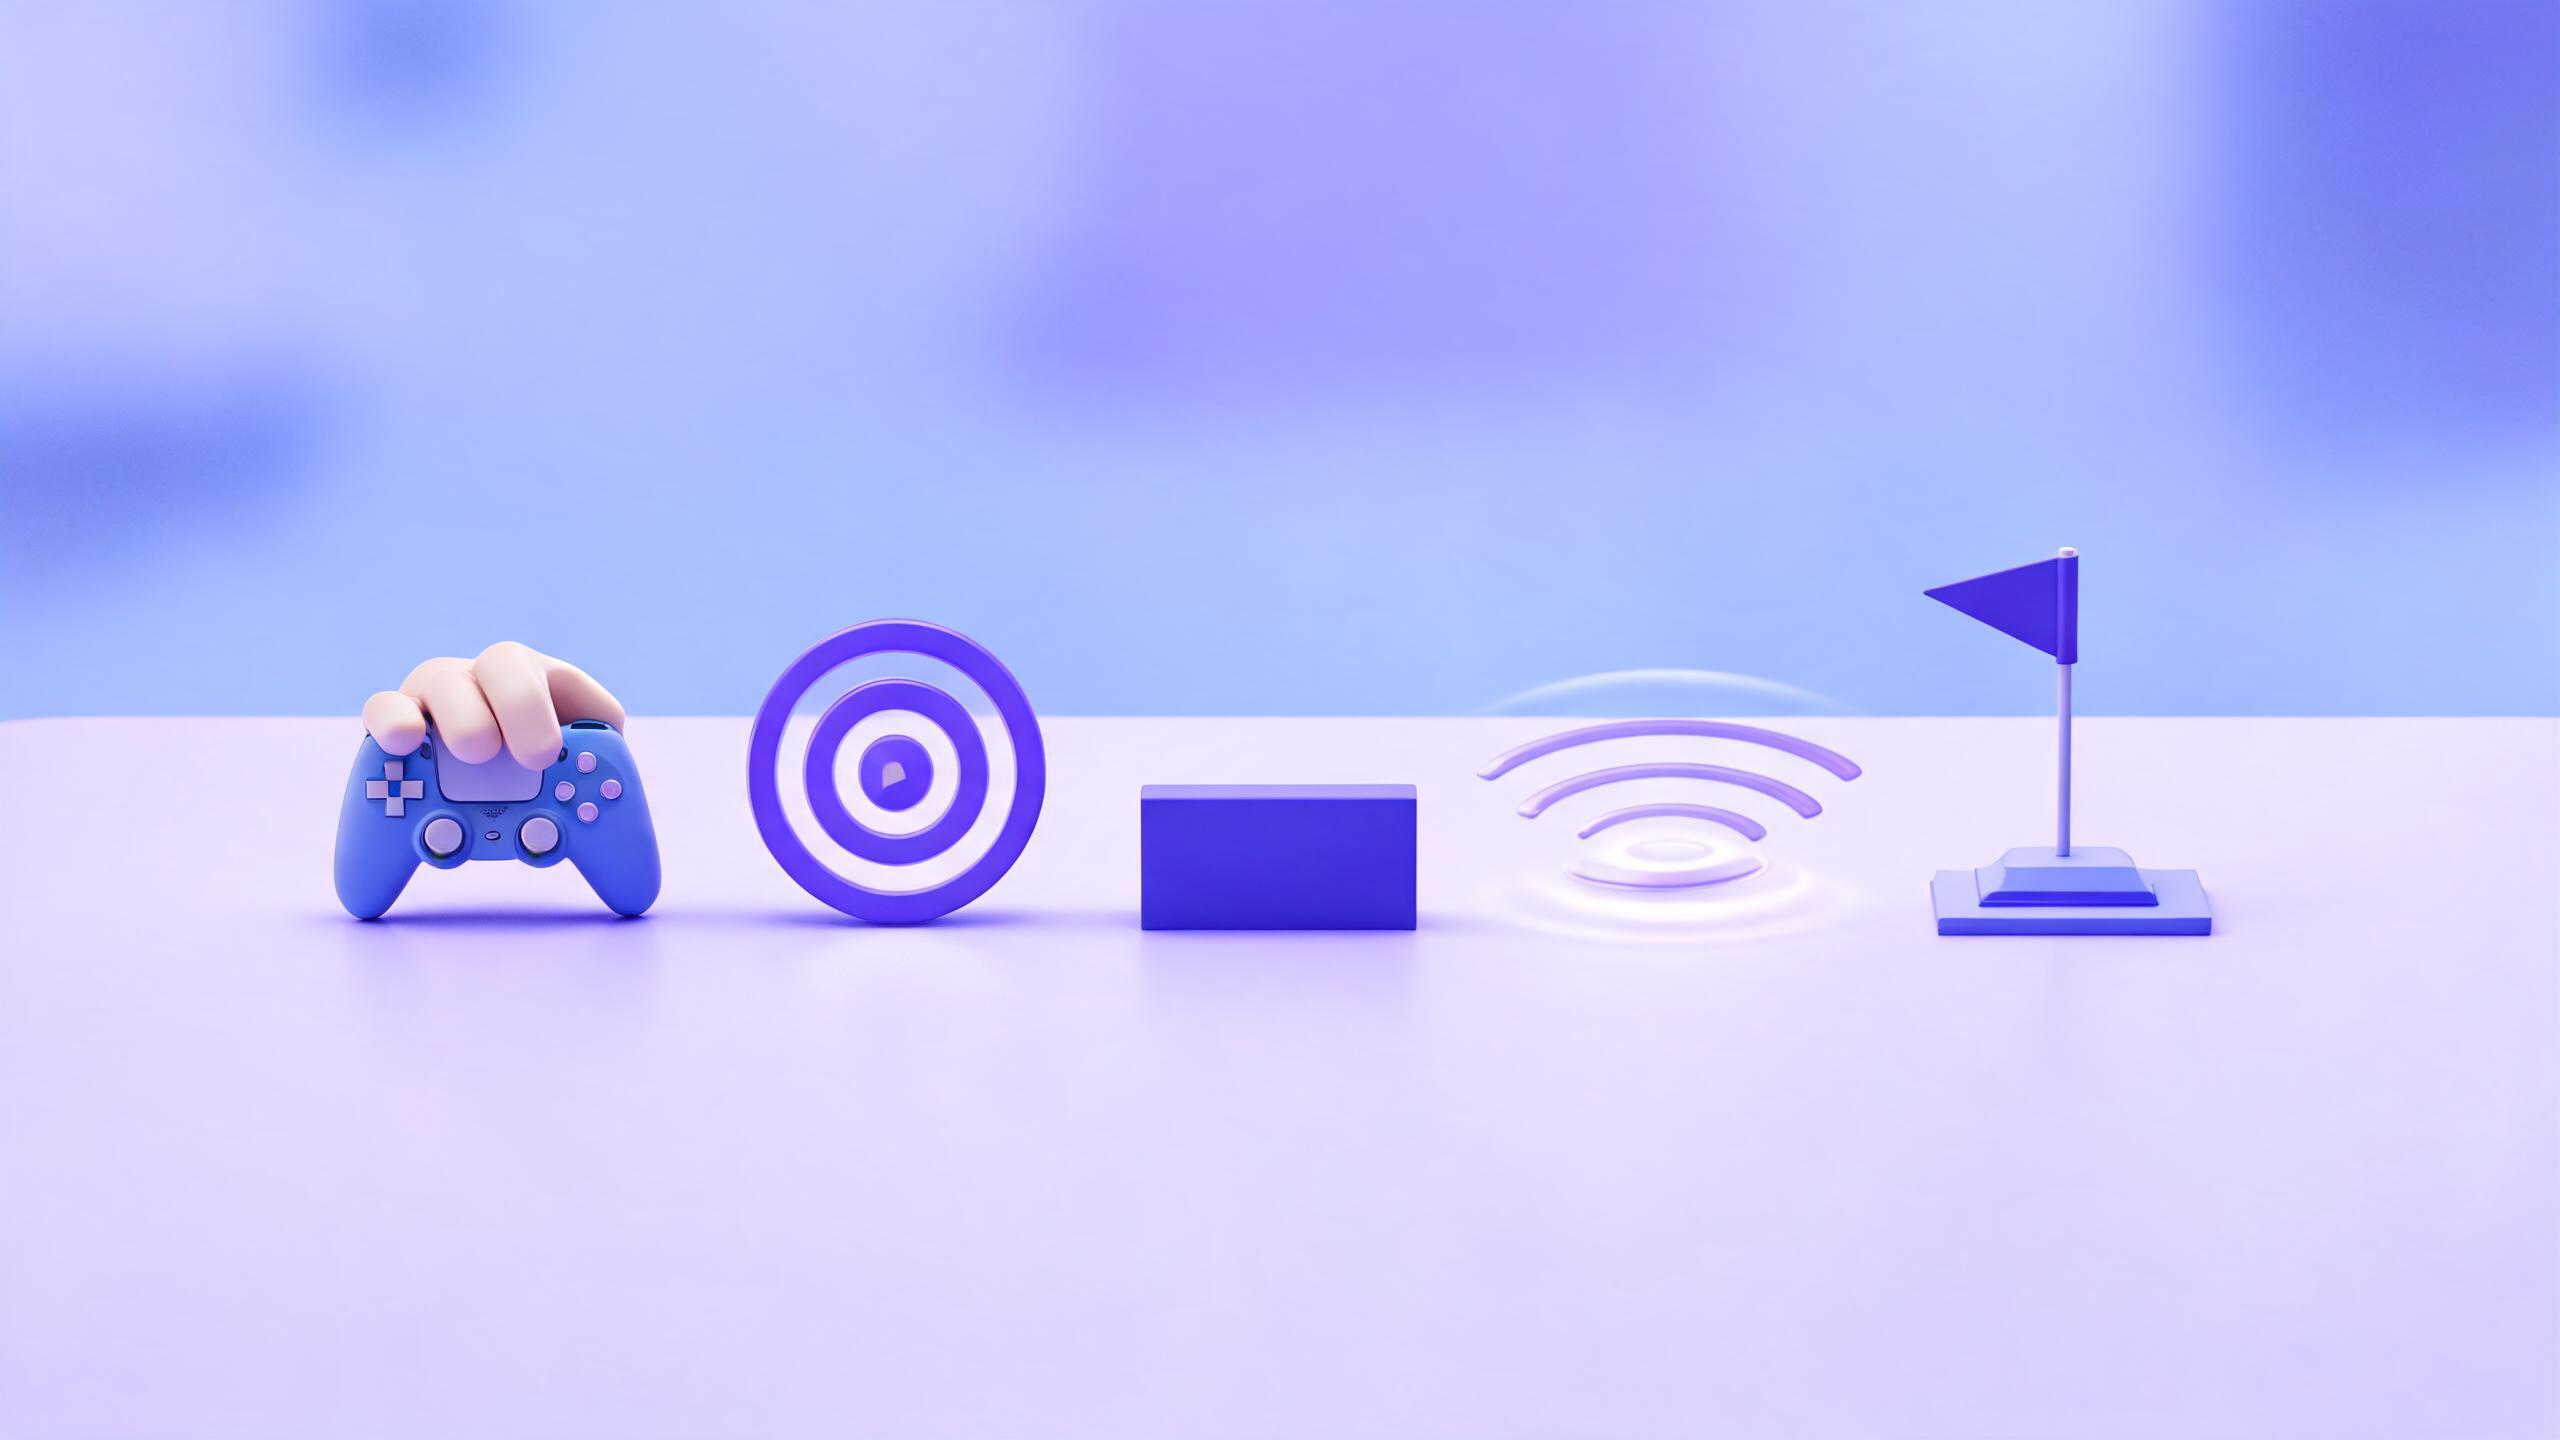
A core loop is the shortest repeatable chain of player action and game response. For example:
- The player chooses a lane.
- An obstacle approaches.
- The game shows whether the choice was safe.
- The next obstacle arrives slightly faster.
To shrink your own concept, finish this sentence:
The player repeatedly [action] to [goal], while [pressure or constraint] makes the decision harder.
“Explore a magical city and uncover a conspiracy” is not yet testable. “Choose one of three doors by reading a short clue before the timer ends” is. The second version names an action, a choice, feedback, and pressure.
Use the one-screen rule
For a first prototype, assume everything happens in one screen or one compact arena. If the idea only works after ten minutes of tutorial, three levels, or a long narrative setup, isolate one interaction that can work sooner.
A useful scope test is: can a stranger understand the controls, reach an outcome, and restart within two minutes? If not, remove systems until the answer is yes.
Step 2: write a minimum playable brief
Your brief should fit on a single screen. It is a build instruction, not a pitch deck. Include exactly these parts:
- Player action: what the player does with the keyboard, mouse, touch screen, or controller.
- Goal: the observable condition the player tries to reach.
- Obstacle or pressure: what makes the goal non-automatic.
- Feedback: what the player sees or hears after an action.
- End condition: when the test declares a win, loss, or completed round.
- Restart: how the next attempt begins.
- Deliberate exclusions: features you will not build in this version.
Here is a complete example:
Prototype: One-screen signal runner. The player presses left or right to move a square between three lanes. Gates approach from the top. A cyan gate is safe; a violet gate removes one life. Survive for 45 seconds with three lives. Flash the player square and update the life counter after a hit. Show “Round complete” or “Try again,” then offer a restart button. Use simple shapes. Do not add character art, upgrades, dialogue, multiple levels, or online features.
This brief is small enough to build and specific enough to test. It does not specify every animation or color value because those details do not decide whether lane choice under time pressure is interesting.
Step 3: turn the brief into a playable build
You can make the prototype with a prompt-first workspace such as SEELE AI, a visual game tool, or a conventional engine. Choose the path that lets you reach a playable result with the least setup you can understand. For a non-coder, SEELE AI is a practical first path because you can begin from the written brief, test the result, and request concrete revisions in plain language.
Paste the brief as one request. Then check the build against the brief in order:
- Does the input work?
- Does the main action change the game state?
- Can the player tell what happened?
- Can the round end?
- Can the player restart cleanly?
If a basic rule fails, fix it before adding anything. A useful revision request describes one observable mismatch:
When the player touches a violet gate, subtract exactly one life, flash the player square once, and keep the round running unless lives reach zero. Do not change the movement speed or layout.
That is easier to verify than “make the game feel better.” Keep each revision narrow, replay from the beginning, and confirm that the previous behavior still works.
Step 4: test the loop, not the pitch
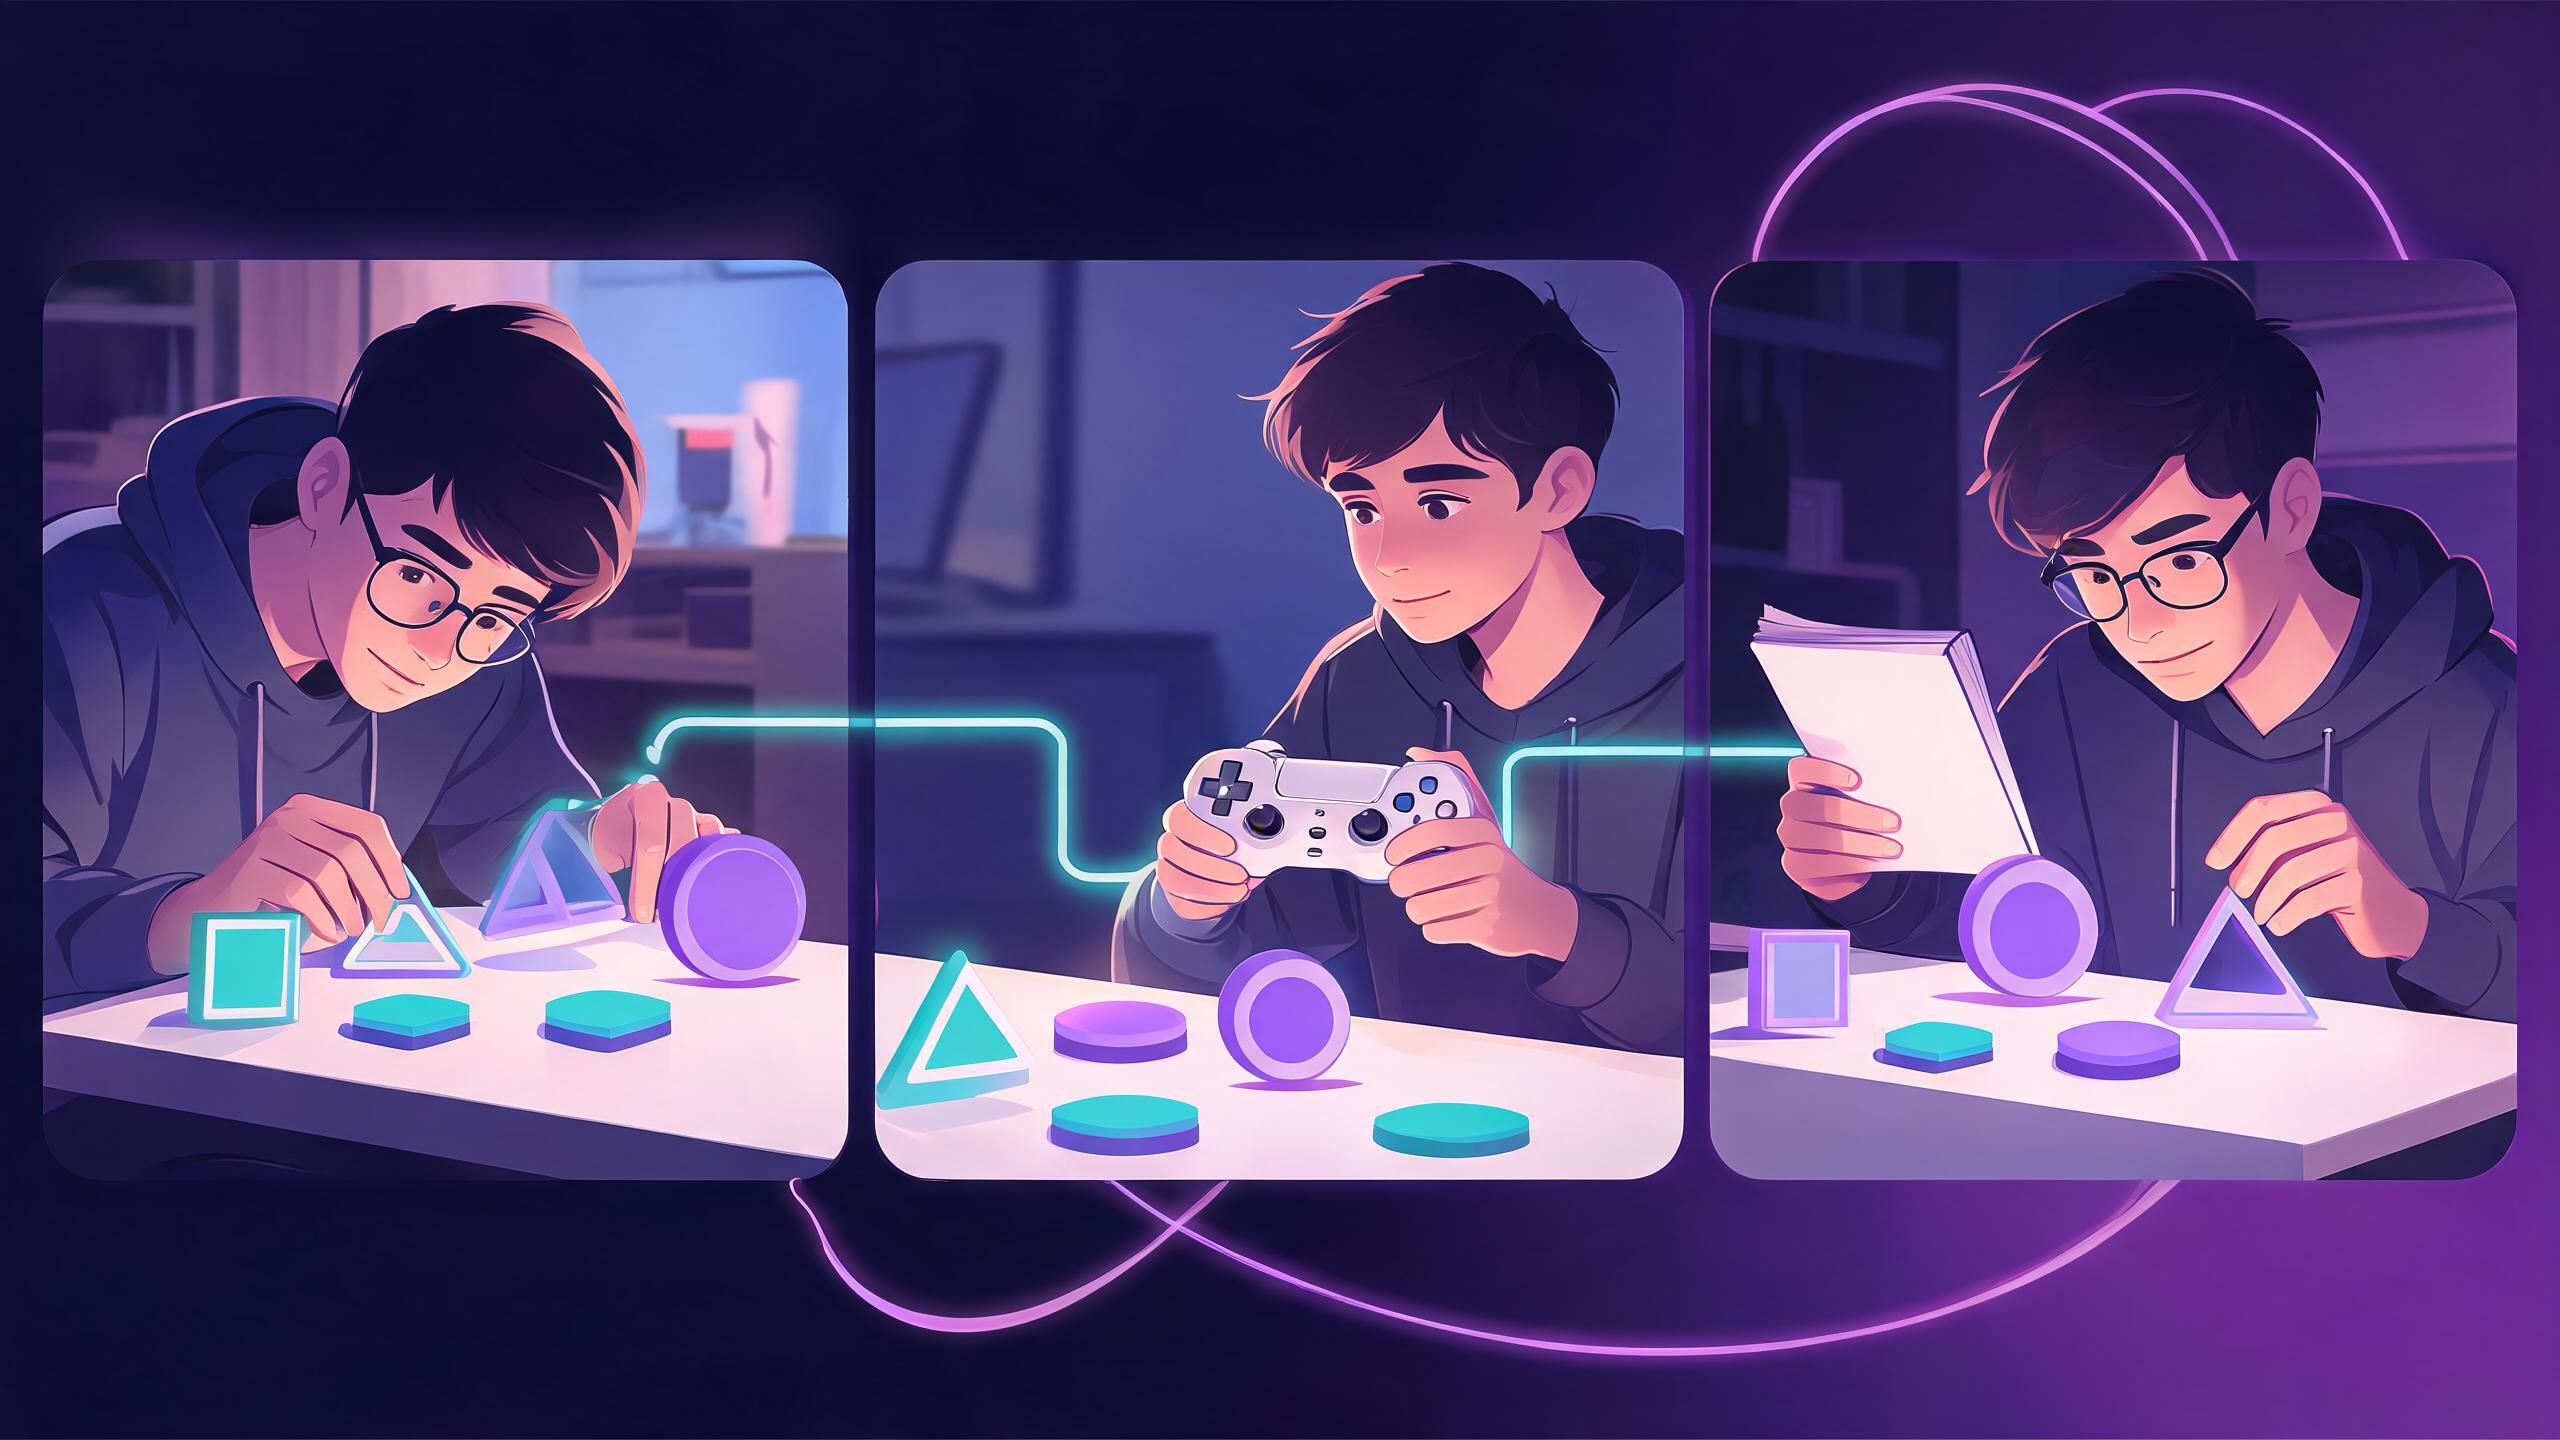
Your first playtest is not a popularity contest. It is a comprehension test. Give the prototype to one person who has not heard your full explanation. Say only: “Please play this and tell me what you think is happening.”
Watch for evidence:
- First input: how long until they make a meaningful action?
- Goal recognition: can they state what they are trying to do?
- Feedback: do they notice success, damage, score, or a state change?
- Cause and effect: can they explain why they won or lost?
- Restart: can they begin another attempt without help?
- Voluntary replay: do they choose to try again, and why?
Do not defend the design while they play. If they misunderstand a rule, the prototype has revealed a communication problem. Ask what they expected instead.
After the session, write observations rather than judgments. “The tester pressed space three times before trying the arrow keys” is useful. “The controls are bad” is too vague. An observation points to a testable change, such as showing the keys before the round or accepting both input methods.
Step 5: revise one hypothesis at a time
Choose the biggest obstacle to the intended experience and change only that. Then run the same test again.
Use a simple log:
- Observation: The tester did not notice losing a life.
- Hypothesis: The feedback is too subtle.
- Change: Add one brief flash and a short sound; keep the rule unchanged.
- Result to watch: The next tester mentions the life loss without prompting.
This loop—build, test, observe, revise—is development. You are no longer trying to imagine whether the game works. You are producing evidence about a specific interaction.
Stop the first prototype after two or three meaningful rounds of revision. Archive what you learned. Then decide whether to deepen the loop, test a different mechanic, or abandon it. Discarding a weak prototype is progress because it saves you from building expensive layers on top of an unproven idea.
What to leave out of prototype one
Cut anything that does not help answer your first design question. Usually that means:
- final art, custom character models, and elaborate animation;
- story scenes, dialogue trees, and world lore;
- inventories, crafting, upgrades, and long-term progression;
- multiple levels, biomes, bosses, or difficulty modes;
- accounts, cloud saves, leaderboards, and multiplayer;
- monetization, achievements, and storefront packaging.
Temporary visuals are not a compromise in this phase. They make rules easier to read and changes cheaper. If the test is “does choosing a lane under pressure create readable decisions?”, colored blocks are enough.
A one-evening plan for your first prototype
Give yourself a fixed session rather than an open-ended project:
- 20 minutes — narrow the idea. Write the core-loop sentence and remove dependencies.
- 15 minutes — complete the brief. Define action, goal, pressure, feedback, end, restart, and exclusions.
- 60 minutes — reach first play. Build only the required rules. Use simple visuals.
- 20 minutes — self-check. Test every input, outcome, and restart from a clean start.
- 20 minutes — run one playtest. Watch silently and write observations.
- 15 minutes — make one revision. Fix the most important comprehension or control problem.
If you cannot reach a playable state in that window, reduce scope again. Shorten the round, use one obstacle, remove a resource, or replace free movement with two choices. The constraint is doing useful design work: it forces the idea into a form that can answer a question.
How to know whether to continue
Continue when the tester understands the action and goal, feedback matches the rules, and the loop creates a choice you want to explore further. The prototype does not need to look polished or feel balanced.
Revise when the intended choice exists but the player cannot read it, controls interfere, pacing hides the decision, or feedback is ambiguous.
Stop or replace the loop when the central action remains uninteresting after clear controls and feedback, or when the idea depends on many other systems before any useful test is possible. Save the notes: a mechanic that fails in one form may become useful later.
Your next action
Write this now: “The player repeatedly ___ to ___, while ___ makes it harder.” Turn it into the seven-part brief, paste it into SEELE AI or your chosen tool, and refuse every extra feature until a stranger can complete one round without your help. Your first milestone is not “make my dream game.” It is learn one true thing from one playable loop.
Frequently Asked Questions
I have a big game idea. What should I build first?
Build the smallest repeatable player action that represents the idea. Give it one measurable goal, one source of pressure, clear feedback, an end condition, and a restart. Keep it to one screen and a 30–90 second round before adding story, progression, or polished art.
Do I need to learn coding before making a prototype?
No. You can begin with a prompt-first tool such as SEELE AI or a visual game tool. You still need to define rules, test cause and effect, and request precise changes. Learning some code may become useful later, but it is not required to test a tiny core loop.
What should a minimum playable brief include?
Include the player action and input, the goal, the obstacle or pressure, visible or audible feedback, the end condition, the restart behavior, and a list of features deliberately excluded from version one. The entire brief should fit on one screen.
How small should my first game prototype be?
Aim for one screen, one main mechanic, one outcome, and a round that lasts 30–90 seconds. A new tester should be able to discover the input, reach an outcome, and restart within two minutes. If that is not possible, remove another system.
Should I add art and story before playtesting?
Usually not. Use clear temporary shapes, labels, and simple sounds so you can judge the rules without spending time on assets. Add story or visual polish after the core action is understandable and worth developing further.
How do I playtest if only one person is available?
One fresh tester is enough for the first comprehension test. Give minimal instruction, watch where they hesitate, note their first input, ask what they think the goal is, and see whether they understand feedback and restart without help. Record observations, not broad judgments.