Key takeaways
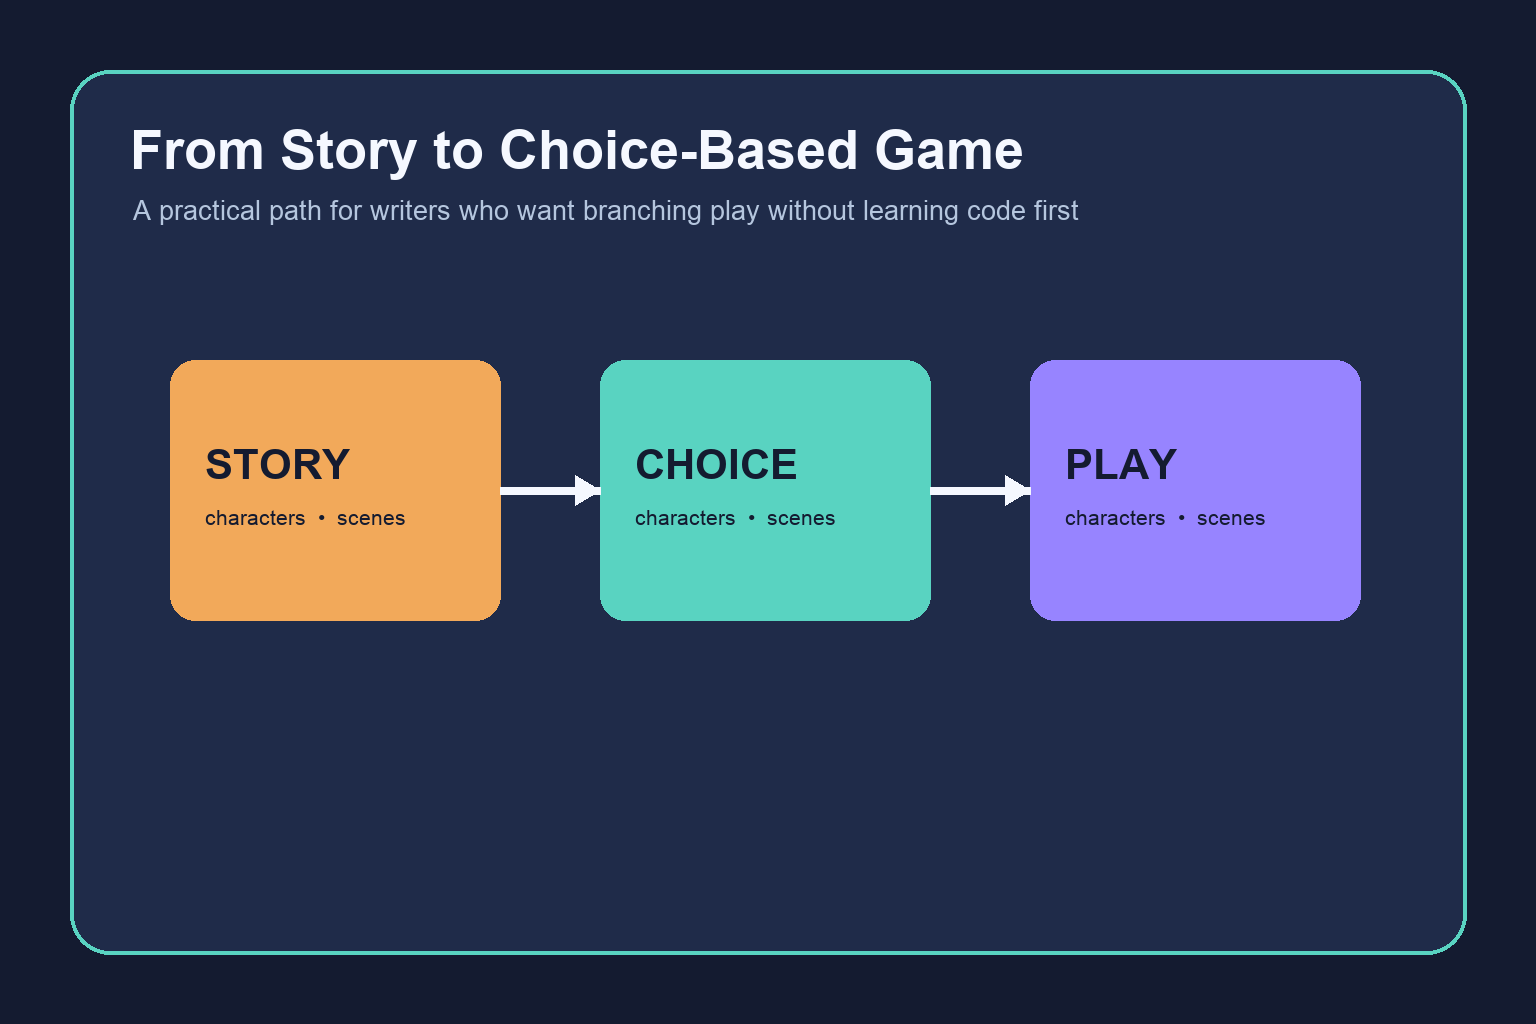
- If you have written a story and want readers to make meaningful choices inside it, you do not need to become a programmer before you begin. Start with a visual, no-code story-authoring tool that lets you write scenes as cards or nodes, connect choices, and playtest the branches in a browser. That gives you a working interactive fiction prototype while you learn what your story actually needs.
- The important distinction is between a tool for exploring a story and a tool for shipping a large commercial game. For a first project, choose the simplest environment that supports scenes, choices, variables, and testing. You can move to a code-heavy engine later if you need complex combat, custom systems, or a highly art-directed 2D or 3D world.
- ## What you are really building
- A choice-based game is not just a manuscript with buttons added. It is a set of scenes connected by decisions. Each choice changes the next scene, the character relationship, the information the player knows, or the ending they can reach. The smallest useful model has three parts:
- - A scene: text, dialogue, a setting, or an event. - A choice: an action the player can take. - A consequence: what changes after that action.
- This model works for interactive fiction, visual novels, branching romance, mystery stories, and role-playing narratives. It also gives you a concrete way to spot a weak branch. If two choices lead to exactly the same scene and neither changes what happens later, the reader may feel that the choice was cosmetic. Cosmetic choices can be fine for tone, but important decisions should create a visible difference.
If you have written a story and want readers to make meaningful choices inside it, you do not need to become a programmer before you begin. Start with a visual, no-code story-authoring tool that lets you write scenes as cards or nodes, connect choices, and playtest the branches in a browser. That gives you a working interactive fiction prototype while you learn what your story actually needs.
The important distinction is between a tool for exploring a story and a tool for shipping a large commercial game. For a first project, choose the simplest environment that supports scenes, choices, variables, and testing. You can move to a code-heavy engine later if you need complex combat, custom systems, or a highly art-directed 2D or 3D world.
What you are really building
A choice-based game is not just a manuscript with buttons added. It is a set of scenes connected by decisions. Each choice changes the next scene, the character relationship, the information the player knows, or the ending they can reach. The smallest useful model has three parts:
- A scene: text, dialogue, a setting, or an event.
- A choice: an action the player can take.
- A consequence: what changes after that action.
This model works for interactive fiction, visual novels, branching romance, mystery stories, and role-playing narratives. It also gives you a concrete way to spot a weak branch. If two choices lead to exactly the same scene and neither changes what happens later, the reader may feel that the choice was cosmetic. Cosmetic choices can be fine for tone, but important decisions should create a visible difference.
Which kind of tool should you start with?
For most writers who do not code, begin with a visual story tool or a dedicated interactive-fiction editor. Look for a node or card-based workspace, a preview button, branching links, variables or flags, and an export path that is clear about its limits. You want to spend your first week learning narrative structure, not debugging a build pipeline.
A visual novel authoring application is a good fit when your story is mostly dialogue, character portraits, backgrounds, music, and a manageable number of choices. A text-first interactive-fiction editor is often better when prose and exploration are central and the interface can stay minimal. A general game engine becomes attractive when you need inventory, combat, physics, real-time movement, custom UI, or advanced save systems. Those engines are powerful, but they also introduce scenes, assets, scripting, input handling, and packaging decisions that can distract from a first narrative prototype.
Use this rule: choose the tool that can express your next ten scenes with the fewest moving parts. Do not choose based only on a long feature list. A feature you cannot yet explain will not help you finish the opening chapter.
Map the story before you build it
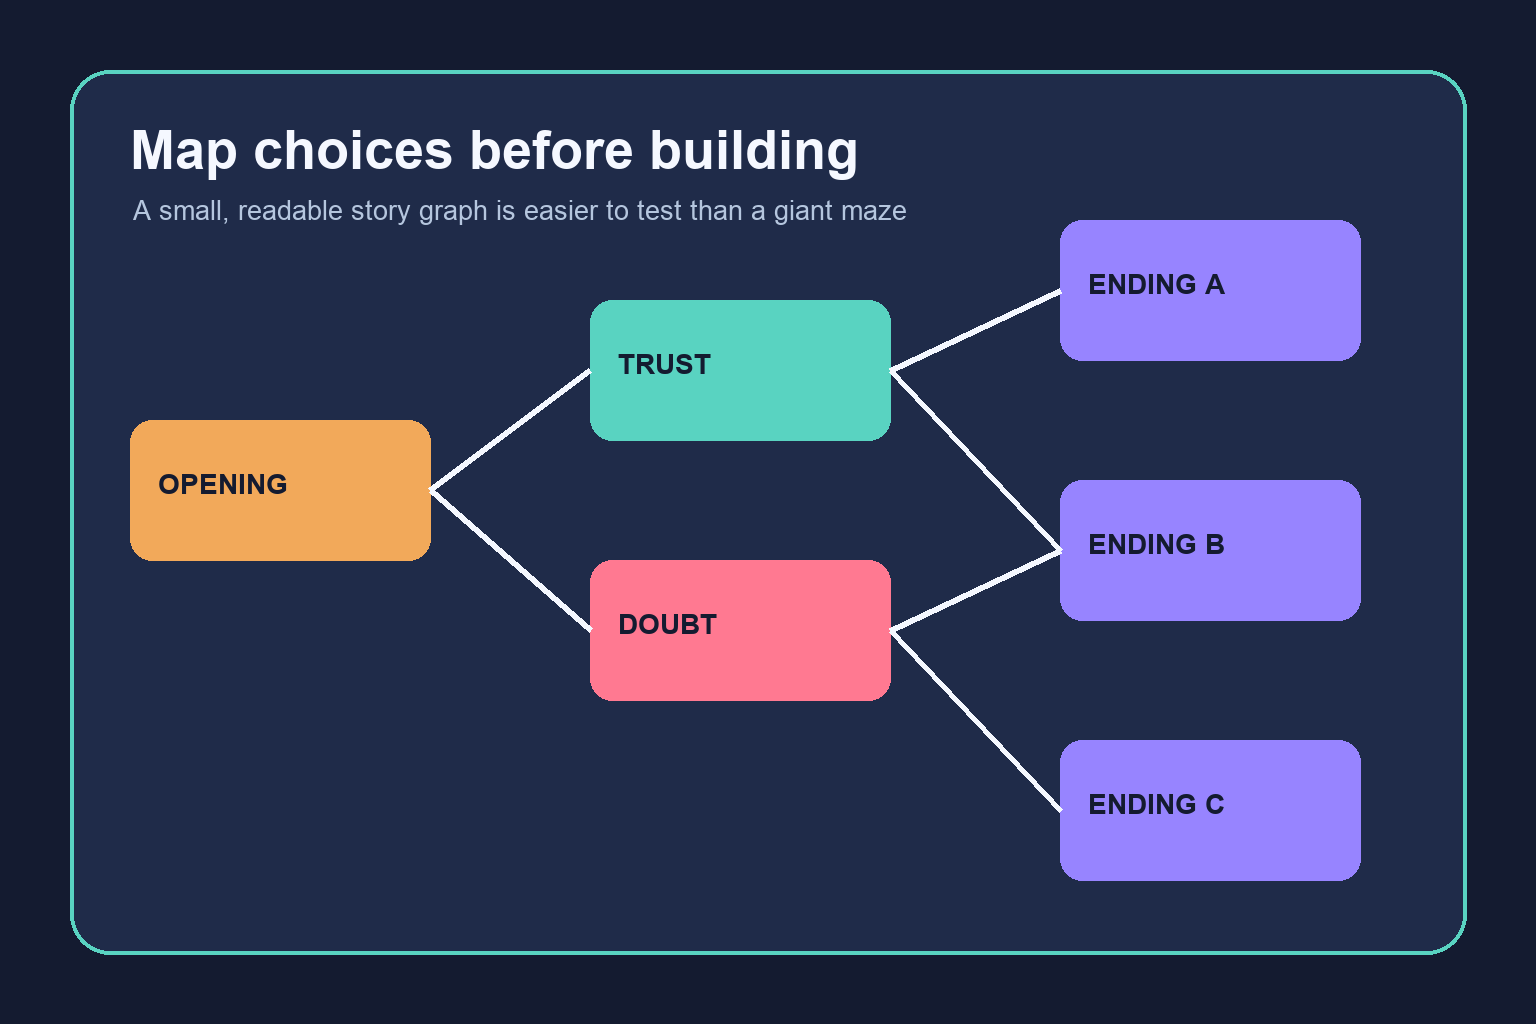
Before opening a project, write a short story map. Put the opening scene on the left, the first meaningful decision beside it, and the immediate consequences to the right. Continue until you have two or three endings. You do not need to map every possible future branch on day one. A small complete arc teaches you more than an enormous unfinished tree.
Start by answering four questions:
- What does the player want in the opening scene?
- Which decision changes the situation rather than merely changing the wording?
- What information or relationship state should carry forward?
- What counts as a satisfying end to this first playable slice?
Keep a branch log while you map. Give each scene a short ID, list its entry condition, record its choices, and note where each choice goes. This can be a plain document or spreadsheet. The goal is not formal project management; it is preventing the classic branching-story problem where you lose track of which scene is reachable.
A useful first slice might contain six to twelve scenes, one important variable such as trust, and two endings. If that slice feels coherent when played from beginning to end, expand it. If it feels confusing, more content will make the confusion harder to find.
Turn prose into interactive scenes
Rewrite your draft in small units. Each scene should have a purpose: reveal information, create pressure, change a relationship, offer a decision, or deliver a consequence. A scene that does none of these jobs may belong in your notes rather than in the playable build.
End a scene where the player can understand the situation and act. Choices should be phrased as actions or intentions, not as unexplained author commands. “Ask why she left” gives the player a role; “continue” does not. When choices are intentionally close in outcome, differentiate their emotional or informational result so the player can tell that their decision mattered.
Write the consequence before adding extra branches. After every choice, state what changed in one sentence. For example: “The protagonist earns a clue but loses the friend’s trust.” That sentence can later become a variable change, a line of dialogue, a new scene, or a locked ending. This keeps the design grounded in story logic instead of multiplying branches for their own sake.
Use variables sparingly
Variables are values the game remembers. A flag might record whether the player found a letter. A relationship score might represent trust. An inventory item might unlock a later action. They are useful because they let earlier choices echo through later scenes without requiring a separate branch for every combination.
For a first prototype, use one or two variables. Name them after observable story states, such as trust, clue_found, or promise_kept. Decide what each value means at its minimum and maximum. Then use the variable in a later scene where the player can notice the difference.
Avoid building a spreadsheet of dozens of invisible scores. If a value never changes dialogue, access, pacing, or an ending, it may not need to exist yet. Likewise, avoid making every choice alter a number. Players should understand the dramatic meaning of a decision even when the underlying state is hidden.
A no-code workflow that keeps momentum
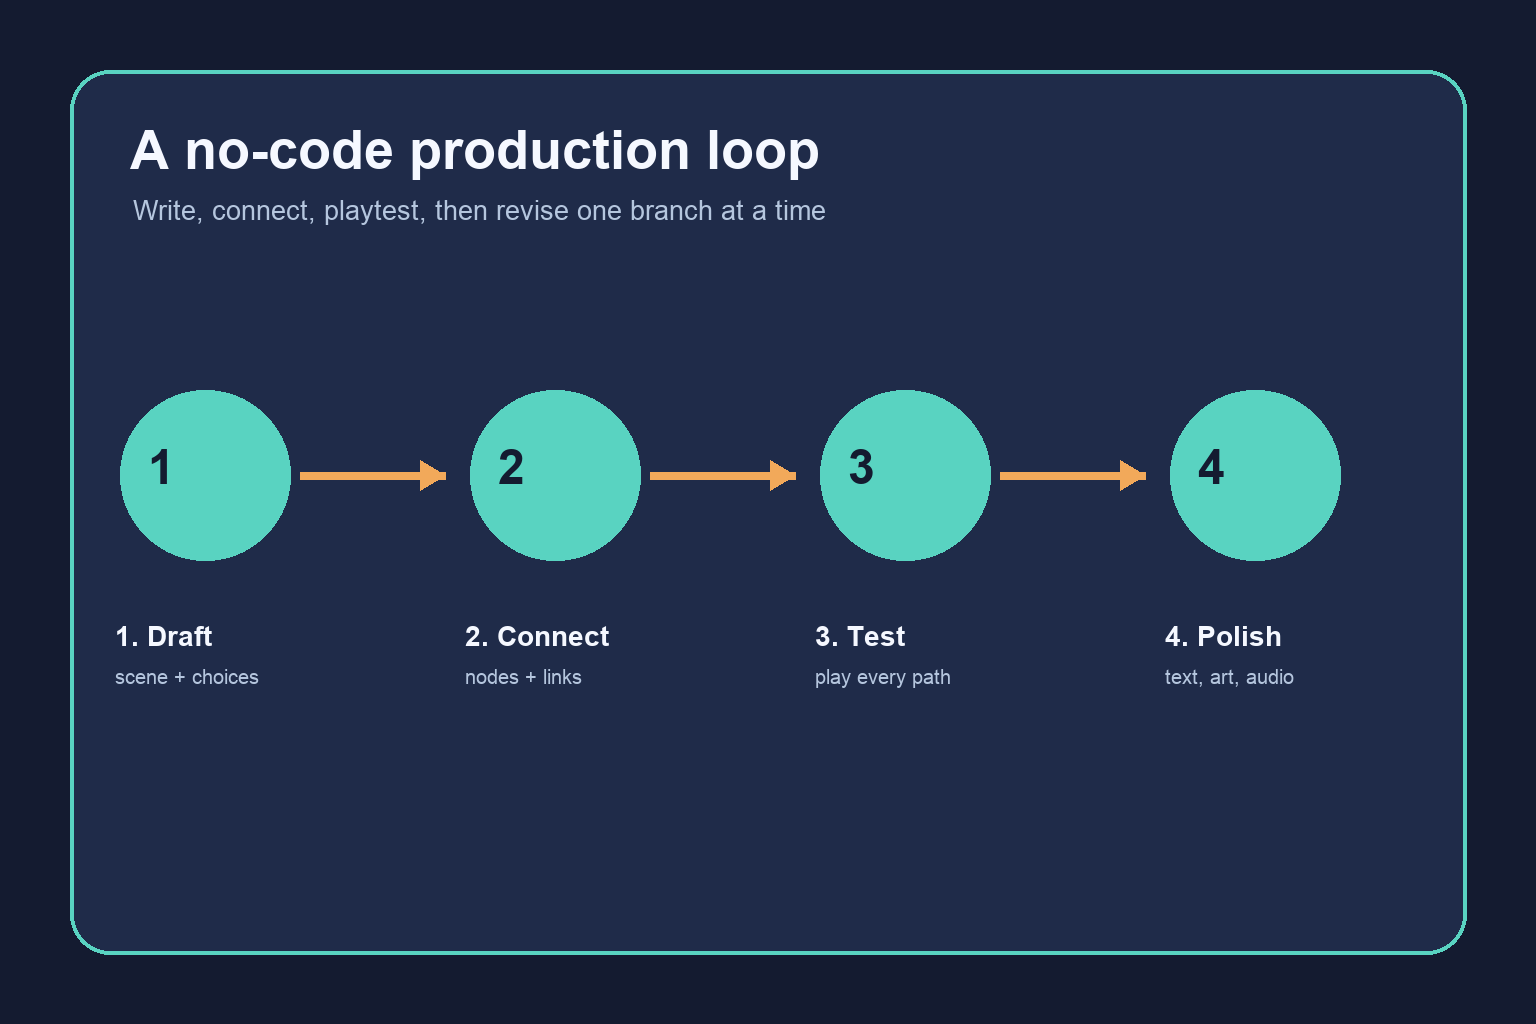
Work in four passes. First, draft the scene text and choices without polishing every line. Second, connect the scenes and add only the variables required by the slice. Third, play every reachable path from the beginning, taking notes as a player rather than as the author. Fourth, polish the strongest moments: the opening hook, choice wording, transitions, consequences, and endings.
Save a playable checkpoint after each pass. A checkpoint can simply be a dated copy or version in your tool. This makes experimentation safer and lets you compare a change that improved one path with a change that damaged another.
Test one question at a time. In the first test, ask whether a new player understands the goal. In the second, ask whether the choices feel distinct. In the third, check whether every path reaches a deliberate scene or ending. In the fourth, look for pacing, repetition, and unclear references. Separating these questions prevents a visual polish problem from hiding a structural problem.
How to test branching stories
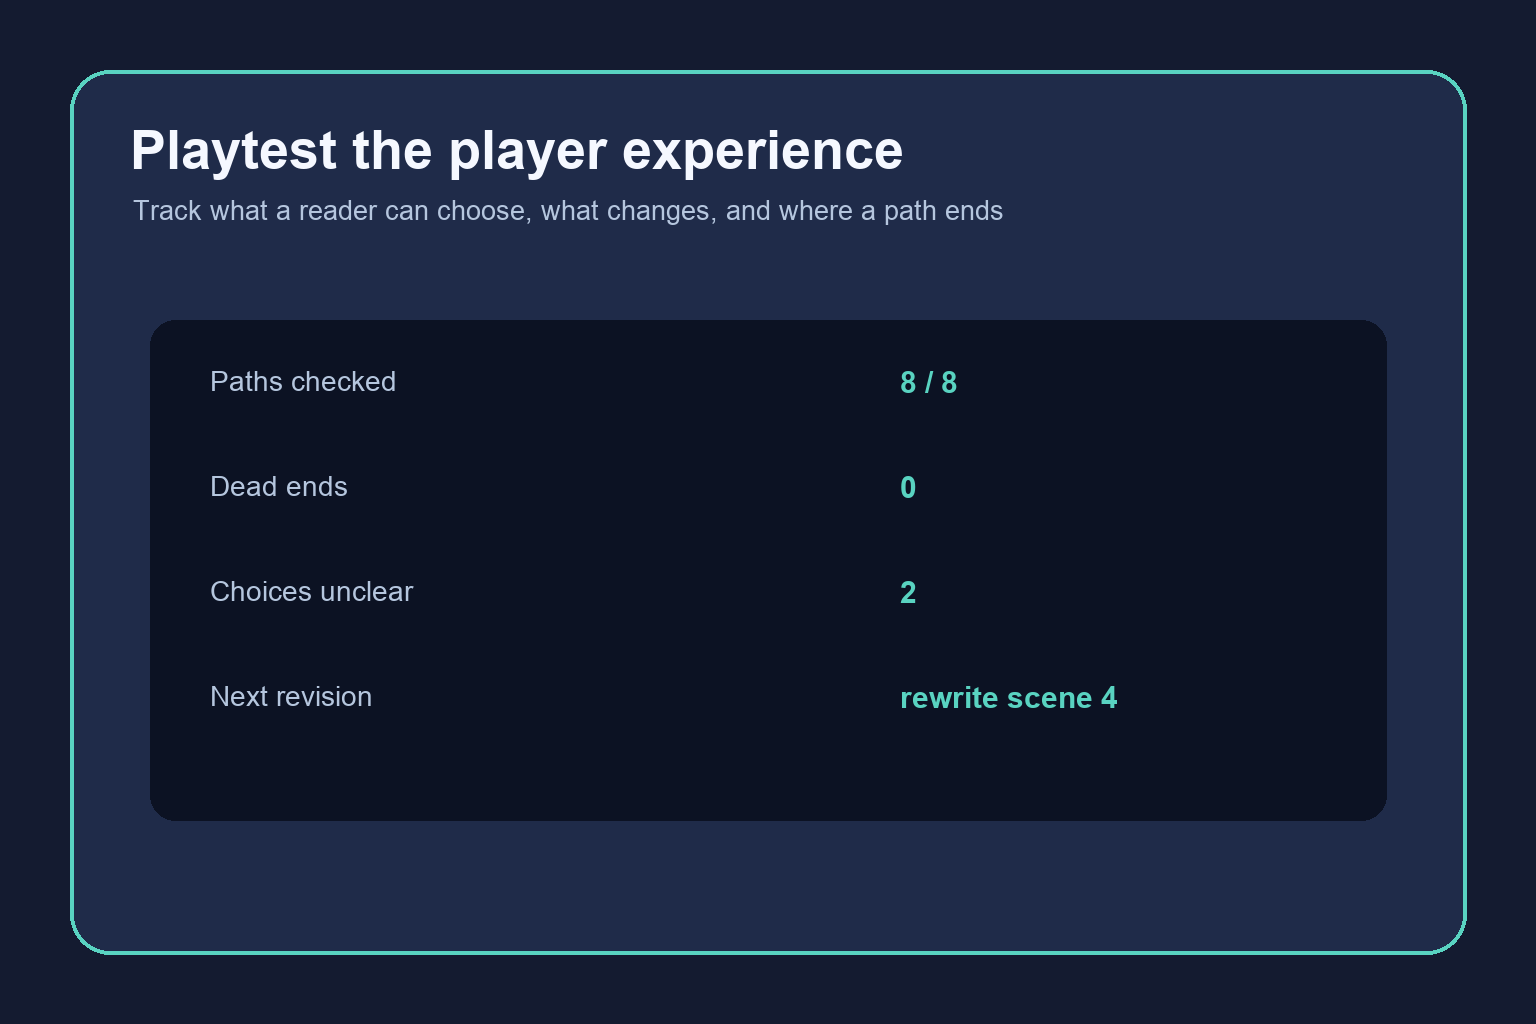
Authors are unusually good at navigating their own stories because they remember the intended meaning. A playtester does not have that memory. Give someone a short instruction such as “play until an ending and tell me what you think your character was trying to do.” Do not explain the correct interpretation before they play.
Record four observations: where they hesitated, which choice they expected to matter, whether they noticed a consequence, and whether the ending felt earned. Also check the mechanical basics yourself: every choice should lead somewhere, back or restart behavior should be understandable, text should fit the reading pace, and a player should not need your private notes to recover from a mistake.
A branch is not finished when it works technically. It is finished when the player can follow the cause and effect. If the player says, “I got this ending, but I do not know why,” the fix may be a clearer earlier clue, a stronger consequence, or a short recap—not necessarily another branch.
Common mistakes when moving from story to game
The first mistake is branching too early. Writers often create four alternatives for every sentence. That produces a wide tree before the central conflict is clear. Begin with a narrow spine and branch at moments of genuine tension.
The second is confusing choice count with agency. Ten choices that all return to the same scene can feel less interactive than two choices that change a relationship and an ending. Design consequences first, then choose where a decision belongs.
The third is polishing assets before proving the loop. A beautiful background cannot repair a confusing objective. Use temporary art only long enough to test the reading and decision experience, then invest in the moments players will remember.
The fourth is hiding too much state. Surprise can be valuable, but players still need signals. Let them infer that a promise, clue, or relationship changed through dialogue, behavior, or access to a later scene.
The fifth is selecting a tool that is too powerful for the current project. If every change requires a tutorial, you may spend your energy learning the tool instead of finishing the story. A simpler first build is not a compromise; it is a way to discover the design before committing to a larger technical system.
When to move to a full game engine
Move beyond a dedicated no-code story tool when your prototype proves that the narrative loop is worth expanding and your requirements demand it. Signs include real-time exploration, combat, inventory interactions, custom save behavior, procedural content, complex animation, or a need to integrate bespoke systems.
Before moving, write down what the current prototype taught you: the core player promise, the number of scenes in a typical chapter, the variables that truly matter, the assets you will reuse, and the tests that caught problems. This design brief will make a later engine migration much easier. You can then learn scripting in a focused way, one system at a time, instead of trying to learn programming in the abstract.
If you stay with a visual tool, that is also a valid production choice. Many excellent interactive stories are intentionally constrained. The right tool is the one that helps you create a complete, readable experience for your intended audience.
Your first seven-day plan
Day one: write the player promise and outline a six-to-twelve-scene slice. Day two: draft the opening, the first meaningful decision, and two consequences. Day three: connect the scenes and add one variable or flag. Day four: play every path and fix dead ends. Day five: ask one person to play without your explanation. Day six: revise unclear choices and strengthen the ending. Day seven: package a small playable build and write down what you want to learn next.
The goal is not to finish the whole novel in a week. The goal is to turn an idea into evidence: a player can start, understand a situation, make a choice, notice a consequence, and reach an ending. Once you have that, you can decide confidently whether to expand the story, change the structure, or learn a more advanced tool.
Frequently Asked Questions
Can I make a choice-based game without knowing how to code?
Yes. Start with a visual story-authoring tool that represents scenes and choices as cards or nodes. You can create a small playable prototype first and learn scripting later if your project needs systems the visual tool cannot express.
Should I choose a visual novel tool or a general game engine?
Choose a visual novel tool when dialogue, portraits, backgrounds, music, and branching are the main experience. Choose a general engine when you need movement, combat, inventory, physics, or custom real-time systems.
How many branches should my first game have?
Use a small complete slice: roughly six to twelve scenes, one or two meaningful variables, and two or three endings.
Do every player choice need a different ending?
No. Choices can change information, tone, relationships, or the route through a chapter without creating a wholly separate ending.
What should I test first?
Test whether a new player understands the goal, can tell the choices apart, notices consequences, and reaches a deliberate ending.
When should I learn programming?
Learn it when your tested story needs custom systems such as combat, real-time movement, advanced inventory, or bespoke save behavior.