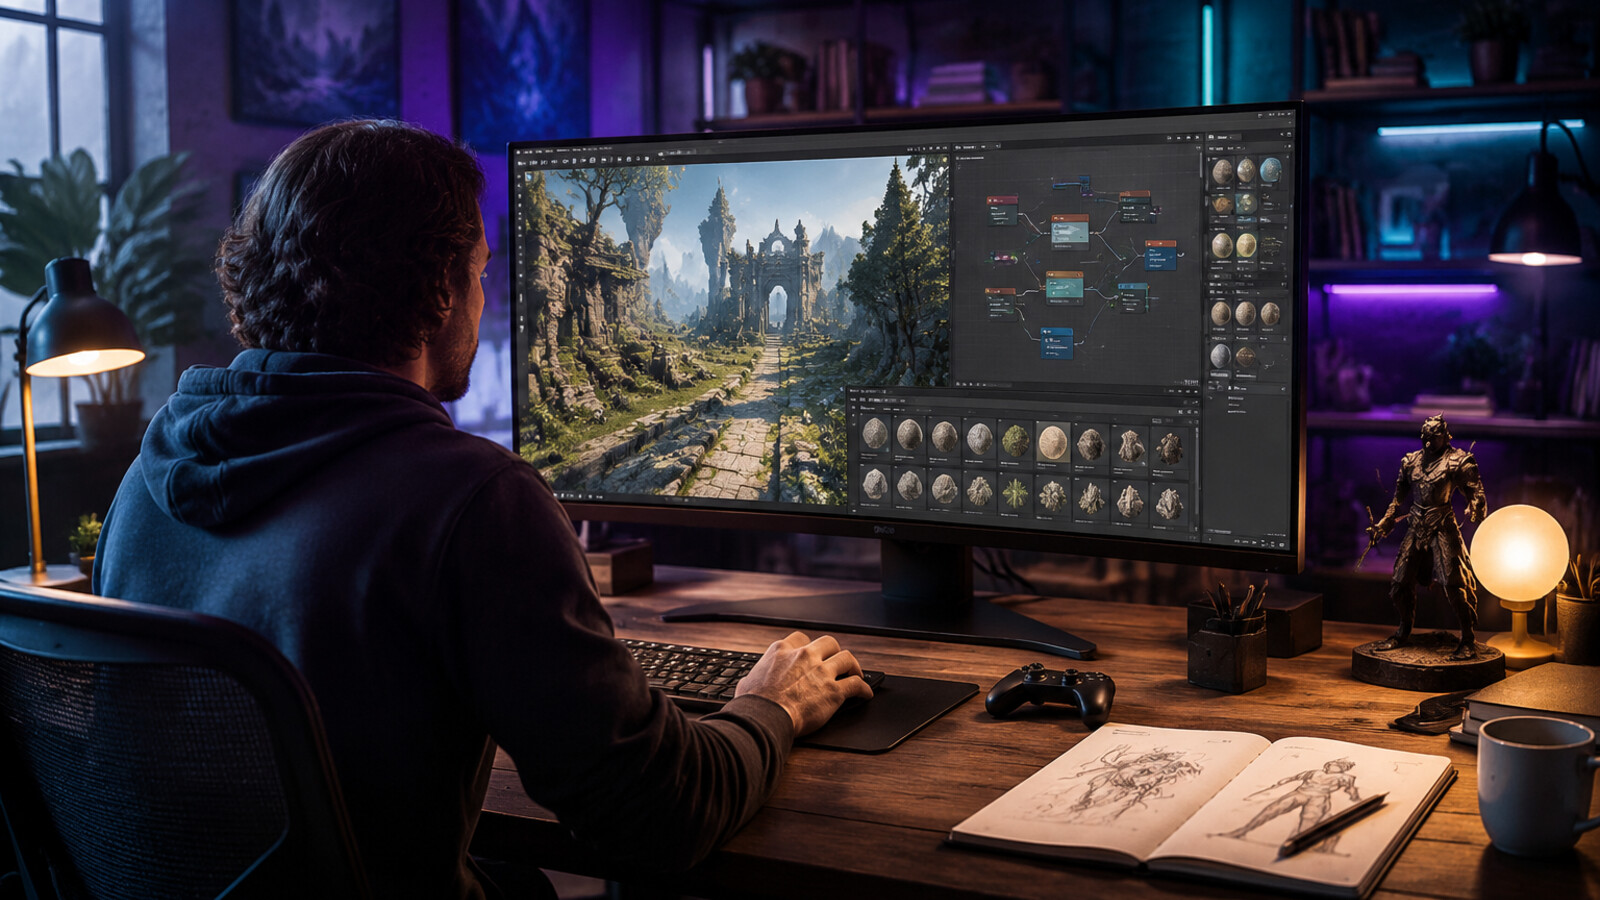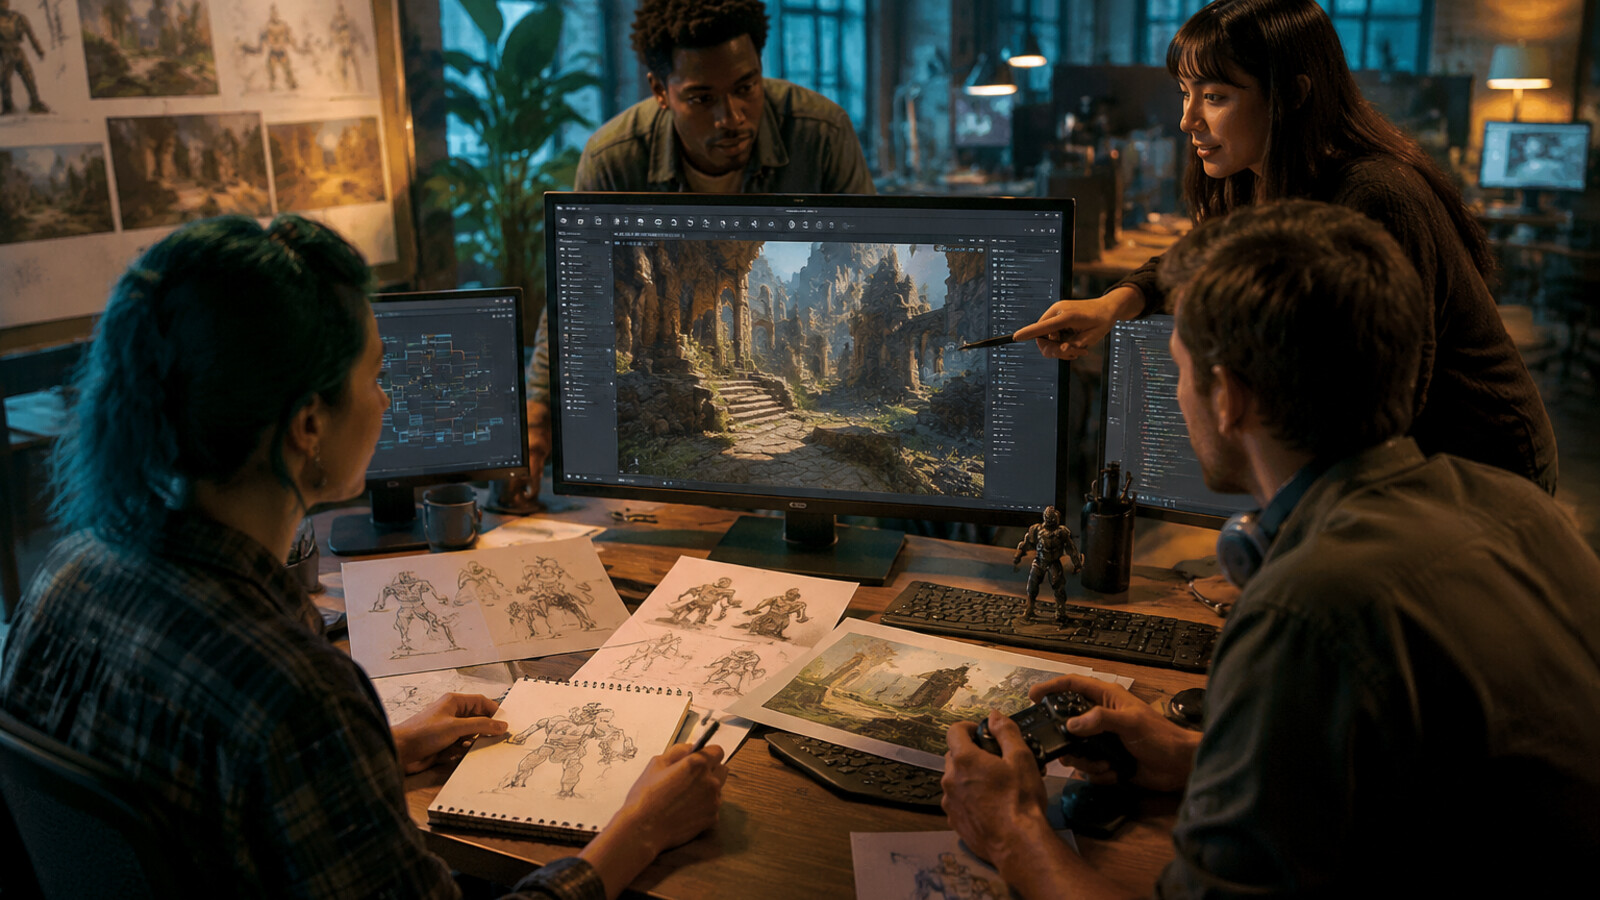
Key takeaways
- The fastest way to turn a designed fantasy world into a playable 3D environment is to prototype one small exploration slice. Block out one landmark, one route, and one interaction; add the intended controller, camera, collision, and boundaries; then test it before creating final art or expanding the map.
The fastest reliable route is to build a small playable exploration slice, not the entire world. Choose one landmark, one approach path, and one simple interaction. Block them out with primitive geometry or generated draft assets, place a controller and camera in a real-time engine or integrated world-building tool, add collision and boundaries, then playtest immediately.
That first slice can become explorable in hours or days because it postpones final models, polished materials, complex quests, and a seamless continent. Its purpose is to answer the expensive question early: does the world feel clear, intriguing, and correctly scaled when a player moves through it?
Translate world lore into a playable route
A fantasy setting document usually describes kingdoms, history, creatures, architecture, and atmosphere. Those ingredients guide art direction, but they do not yet specify a level. A playable environment needs a start point, a destination, a route, choices, limits, scale, and feedback.
Begin with a single sentence: “The player crosses the hanging gardens, follows three fire beacons, and opens the observatory gate.” This sentence identifies the spaces that must exist and the action that proves the prototype works. It also prevents the first build from expanding into an entire capital city.
Draw a rough overhead route using boxes and arrows. Mark the player start, the hero landmark, the main path, one optional overlook, the interaction, and the edges of the playable area. Add approximate travel times rather than exact meters: perhaps 30 seconds to the first reveal and two minutes to the gate. Travel time is easier to judge from the intended movement speed than from a beautiful map.
Build gray geometry before detailed art
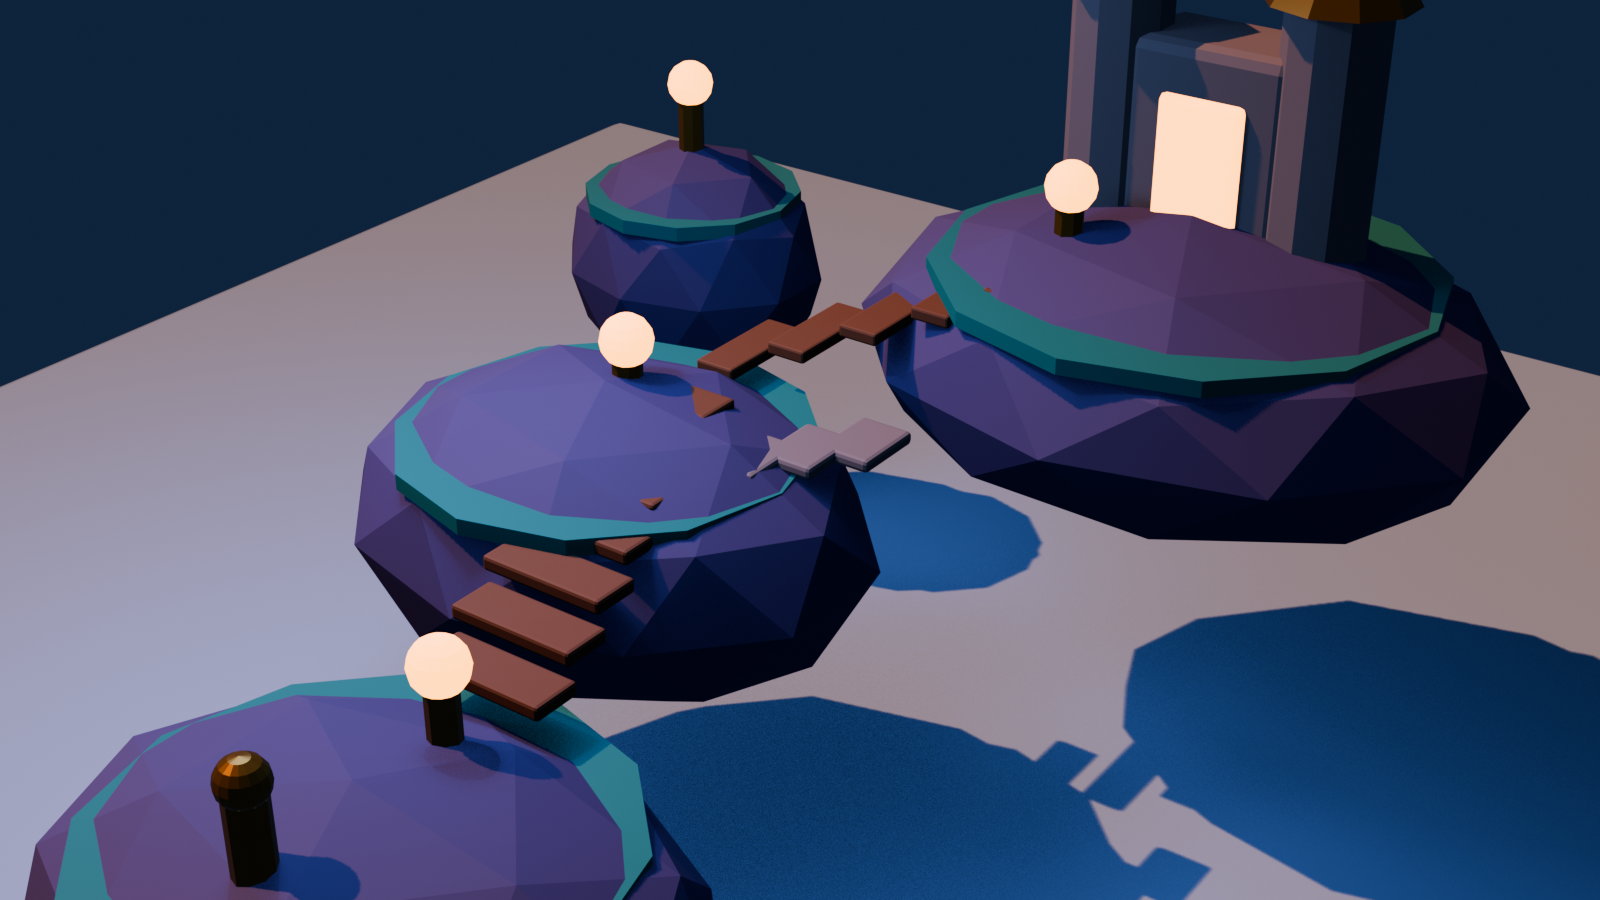
Use cubes, planes, terrain shapes, and simple ramps to represent the environment. Establish the large silhouette first: cliffs, towers, bridges, walls, and the skyline. Keep surfaces plain enough that testers judge space instead of texture quality.
This phase is often called a blockout or graybox. It is fast because every object answers a level question. Is the bridge wide enough for the controller? Can the landmark be seen from the start? Does a fork read as a choice? Does the route contain dead time? If the answer is no, moving a cube takes seconds; rebuilding a finished castle does not.
Generated 3D assets can accelerate the draft, especially for rocks, ruins, vegetation, and distant landmarks. Treat them as provisional until you inspect scale, topology, materials, licensing, collision, and performance. A visually rich generated scene is not automatically easier to play. Dense props can hide the route, and decorative geometry can create collision traps.
Keep a small kit: one ground material, two wall modules, one stair, one bridge, one doorway, a few rocks, and one landmark mass.
Add the minimum systems that make the scene playable
A 3D scene becomes a playable environment when movement produces dependable rules and feedback. Add only the systems required for the exploration question:
- A player start and the intended first-person or third-person controller.
- A camera with the final target field of view or follow distance.
- Collision on the route, walls, stairs, and level boundaries.
- Walkable slopes and step heights that match the controller.
- One interaction, such as activating a beacon or opening a gate.
- A clear completion state, even if it is only a message or lighting change.
- A repeatable way to launch the build from the same start.
Test collision with simple invisible shapes rather than relying on complex visual meshes. Simple collision is easier to predict and revise. If non-player characters are part of the slice, generate or author navigation data only for the tested area. Do not build a complete artificial-intelligence system merely to verify that a path feels inviting.
A common mistake is adding lore dialogue, inventory, combat, and crafting before movement feels right. Those systems may matter later, but they create debugging work that does not answer the first environment question. For the fastest route, interaction should confirm progress and direct attention.
Use player-scale tests to preserve the fantasy
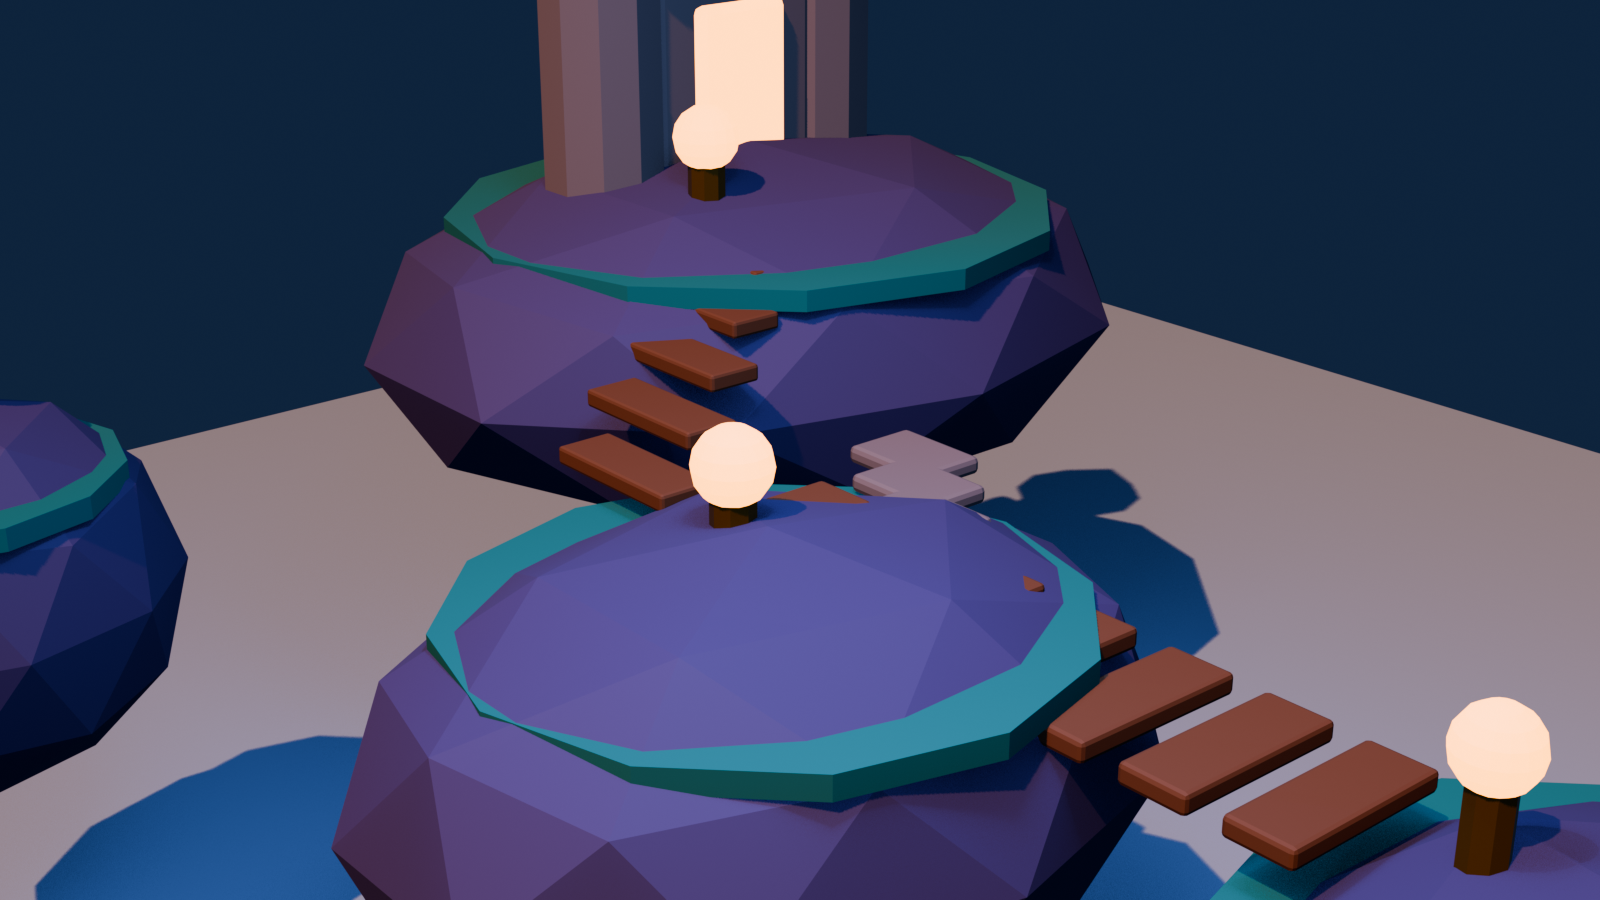
Concept art often exaggerates perspective to create awe. A tower may look magnificent in one painting but feel too close, too small, or invisible from a moving camera. Place a human-scale reference in every blockout and walk the route at the intended camera height.
Check three views. First, the entrance view: does the player understand where they are allowed to go? Second, the travel view: do intermediate landmarks maintain orientation? Third, the reveal view: does the hero structure arrive with the intended impact? If one view fails, adjust terrain, route bends, framing objects, fog, lighting, or landmark scale.
Preserve the world’s identity through a few high-value signals. A floating-island setting may need visible voids, suspended bridges, wind-shaped vegetation, and a distant citadel. It does not need every building from the lore bible. A frozen necropolis might need a monumental gate, blue fire, and long sightlines. Strong recurring signals make primitive geometry feel connected to the authored world.
Test with the game camera, not only a free editor camera. The editor can fly above obstacles and hide scale problems. The player cannot. Record a complete walk from spawn to goal and note every point where direction, footing, or composition becomes unclear.
Choose the fastest production path for your situation
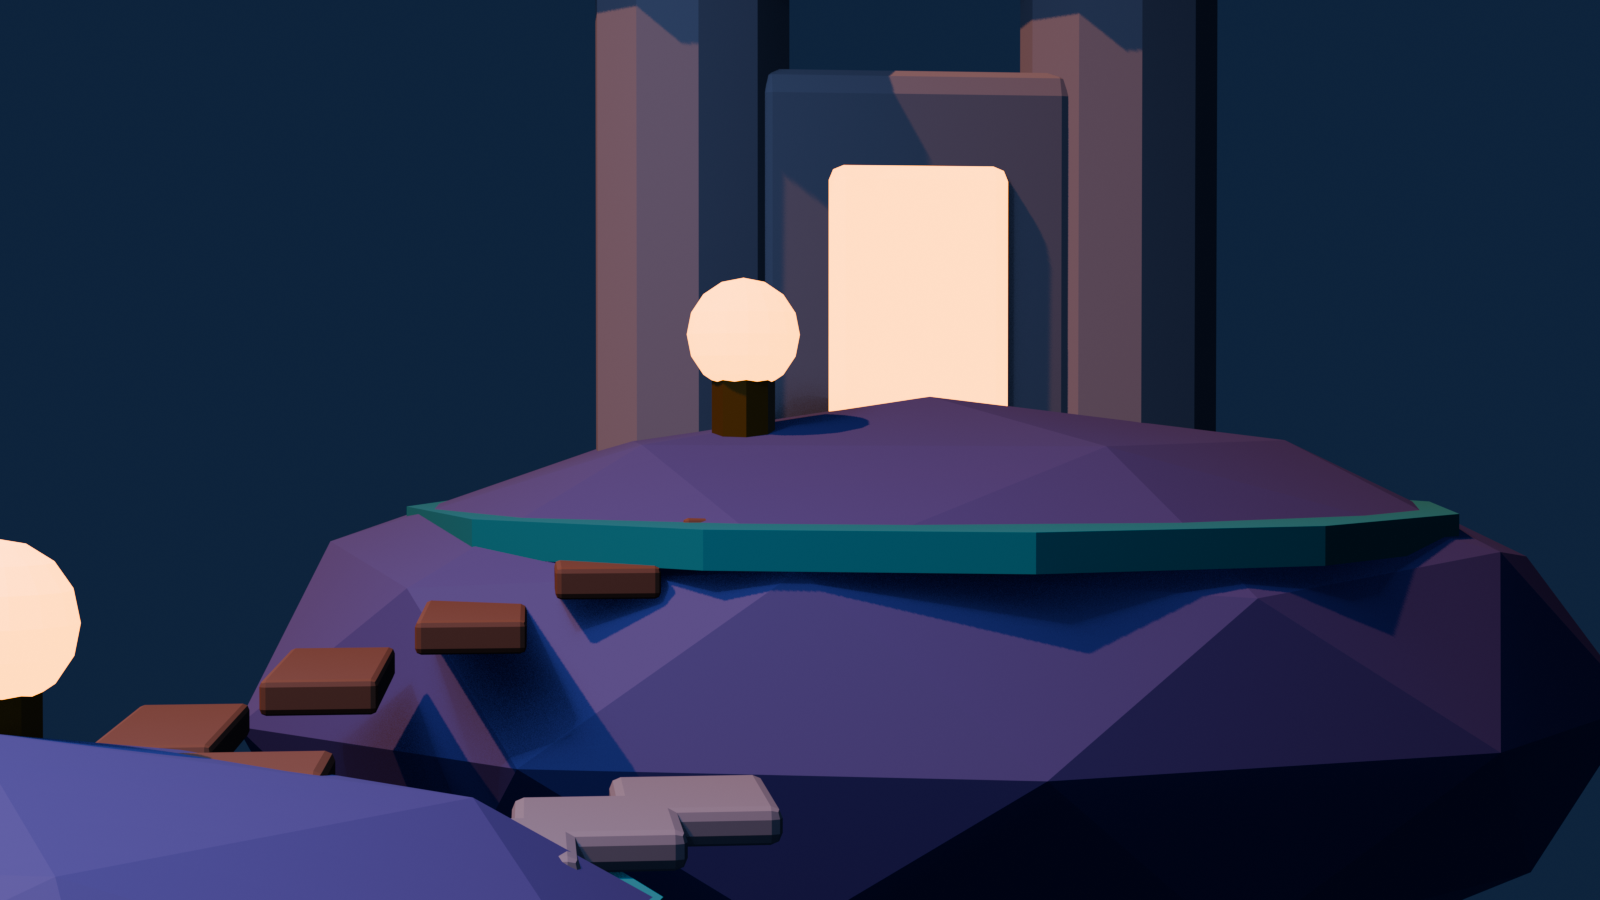
There are three practical routes. An integrated world-building environment is fastest when you want one place to assemble a scene, add simple behavior, and test it without many exports. It is a good fit for proving the experience while the asset pipeline is still flexible.
A real-time engine plus marketplace or generated draft assets is often fastest when the team already knows the engine. Controllers, terrain, collision, lighting, navigation, profiling, and build tools are available in one production-oriented environment. The cost is setup and the need to manage asset formats and project conventions.
A digital content creation tool plus an engine offers the most direct control over custom geometry and materials, but it creates more handoffs. Use it when the world depends on a distinctive modular kit or when draft assets require substantial cleanup.
Choose based on the current bottleneck. If you need to discover whether exploration works, optimize for time to first controllable build and ease of revision. If the route is already proven, optimize for asset quality, performance, collaboration, and deployment. “Fastest” changes as uncertainty moves from design to production.
A 48-hour prototype plan
In the first four hours, select the slice, write the route sentence, collect five visual references you have permission to use, and draw the overhead path. Define the target camera, movement style, platform, and completion interaction.
During the first day, build terrain and large masses, add the controller, create simple collision, and walk the route repeatedly. Add a temporary landmark and three navigation cues. End the day with a runnable path from start to goal. If you cannot finish that path, reduce the slice rather than extending the schedule.
On the second day, improve the largest readability problems, add one interaction, establish a rough lighting mood, and replace only the draft objects that carry the setting’s identity. Run tests with two or three people who have not seen the map. Ask where they expected to go, when they felt lost, what landmark they remember, and whether the journey felt too short or too slow.
Finish with a decision log. Mark what the prototype proved, what remains uncertain, which assets can survive into production, and which shortcuts must be replaced. The result is not a finished fantasy world. It is a dependable foundation for deciding whether to expand the route, revise the world’s spatial rules, or change tools.
What to validate before expanding the world
Expand only when the slice passes clear checks. A new tester can reach the goal without verbal directions. The camera and collision behave consistently. The landmark remains legible from important route points. Movement speed makes distances feel intentional. The scene can be edited without rebuilding unrelated areas. Performance is acceptable on the target class of hardware, or the largest risks are known.
Also verify practical rights and pipeline constraints. Confirm that every reference and asset can be used as intended, that generated output terms fit the project, and that the scene can be exported or built in the required format. Back up source files and record units, naming, pivots, material conventions, and scale before more contributors join.
The fastest path is therefore a sequence of reductions: one region instead of a world, one route instead of a network, one interaction instead of a full game loop, and draft art instead of final art. That narrow build gives you something more useful than a static visualization: a world you can enter, test, and improve.
Frequently Asked Questions
Can I turn a fantasy map directly into a playable 3D world?
A map can guide terrain, regions, and routes, but it does not define vertical scale, building interiors, collision, camera behavior, or interactions. Use it as planning evidence, then build and test a small section in 3D.
How small should the first playable environment be?
Make it small enough to complete a start-to-goal walk in roughly one to three minutes. It should contain one memorable landmark, one main route, an optional viewpoint, and one simple interaction.
Do I need final 3D models for the first playtest?
No. Primitive geometry and a small draft kit are better for early layout decisions because they are quick to move or replace. Reserve final assets for forms that are essential to the world’s identity.
Can AI generate the whole environment automatically?
AI can accelerate concept interpretation, draft assets, terrain ideas, and scene assembly, but you still need to decide layout, scale, collision, controls, interactions, performance targets, and revisions. Treat generated scenes as proposals, not unquestioned final levels.
Which camera should I prototype first?
Prototype the camera players will actually use. First-person, close third-person, distant third-person, and top-down cameras create different requirements for corridor width, landmark height, occlusion, detail, and collision.
What makes a 3D environment truly playable?
At minimum, it needs controllable movement, a reliable camera, collision, boundaries, a traversable route, clear feedback, and a repeatable start. One interaction and a completion condition make the test more informative.