Key Takeaways: Unity 3D Assets for Games: Create, Import, and Optimize
- Create the asset in the tool that gives you the control you need, preserve an editable source file, and treat the Unity import as a validation stage—not the finish line. After import, check scale and orientation, mesh and normals, materials and textures, rig and animation, collision, hierarchy, and runtime cost. Fix source-geometry problems in the source tool, project-specific setup in Unity, and test the final result on the target platform using current official documentation.
Direct answer: Create the asset in the tool that gives you the control you need, preserve an editable source file, and treat the Unity import as a validation stage—not the finish line. After import, check scale and orientation, mesh and normals, materials and textures, rig and animation, collision, hierarchy, and runtime cost. Fix source-geometry problems in the source tool, project-specific setup in Unity, and test the final result on the target platform using current official documentation.
A “Unity-ready” asset is not defined by a filename. It is an asset whose appearance, behavior, rights, and performance have been checked in the actual project and build target.
1. Decide where the modeling work belongs
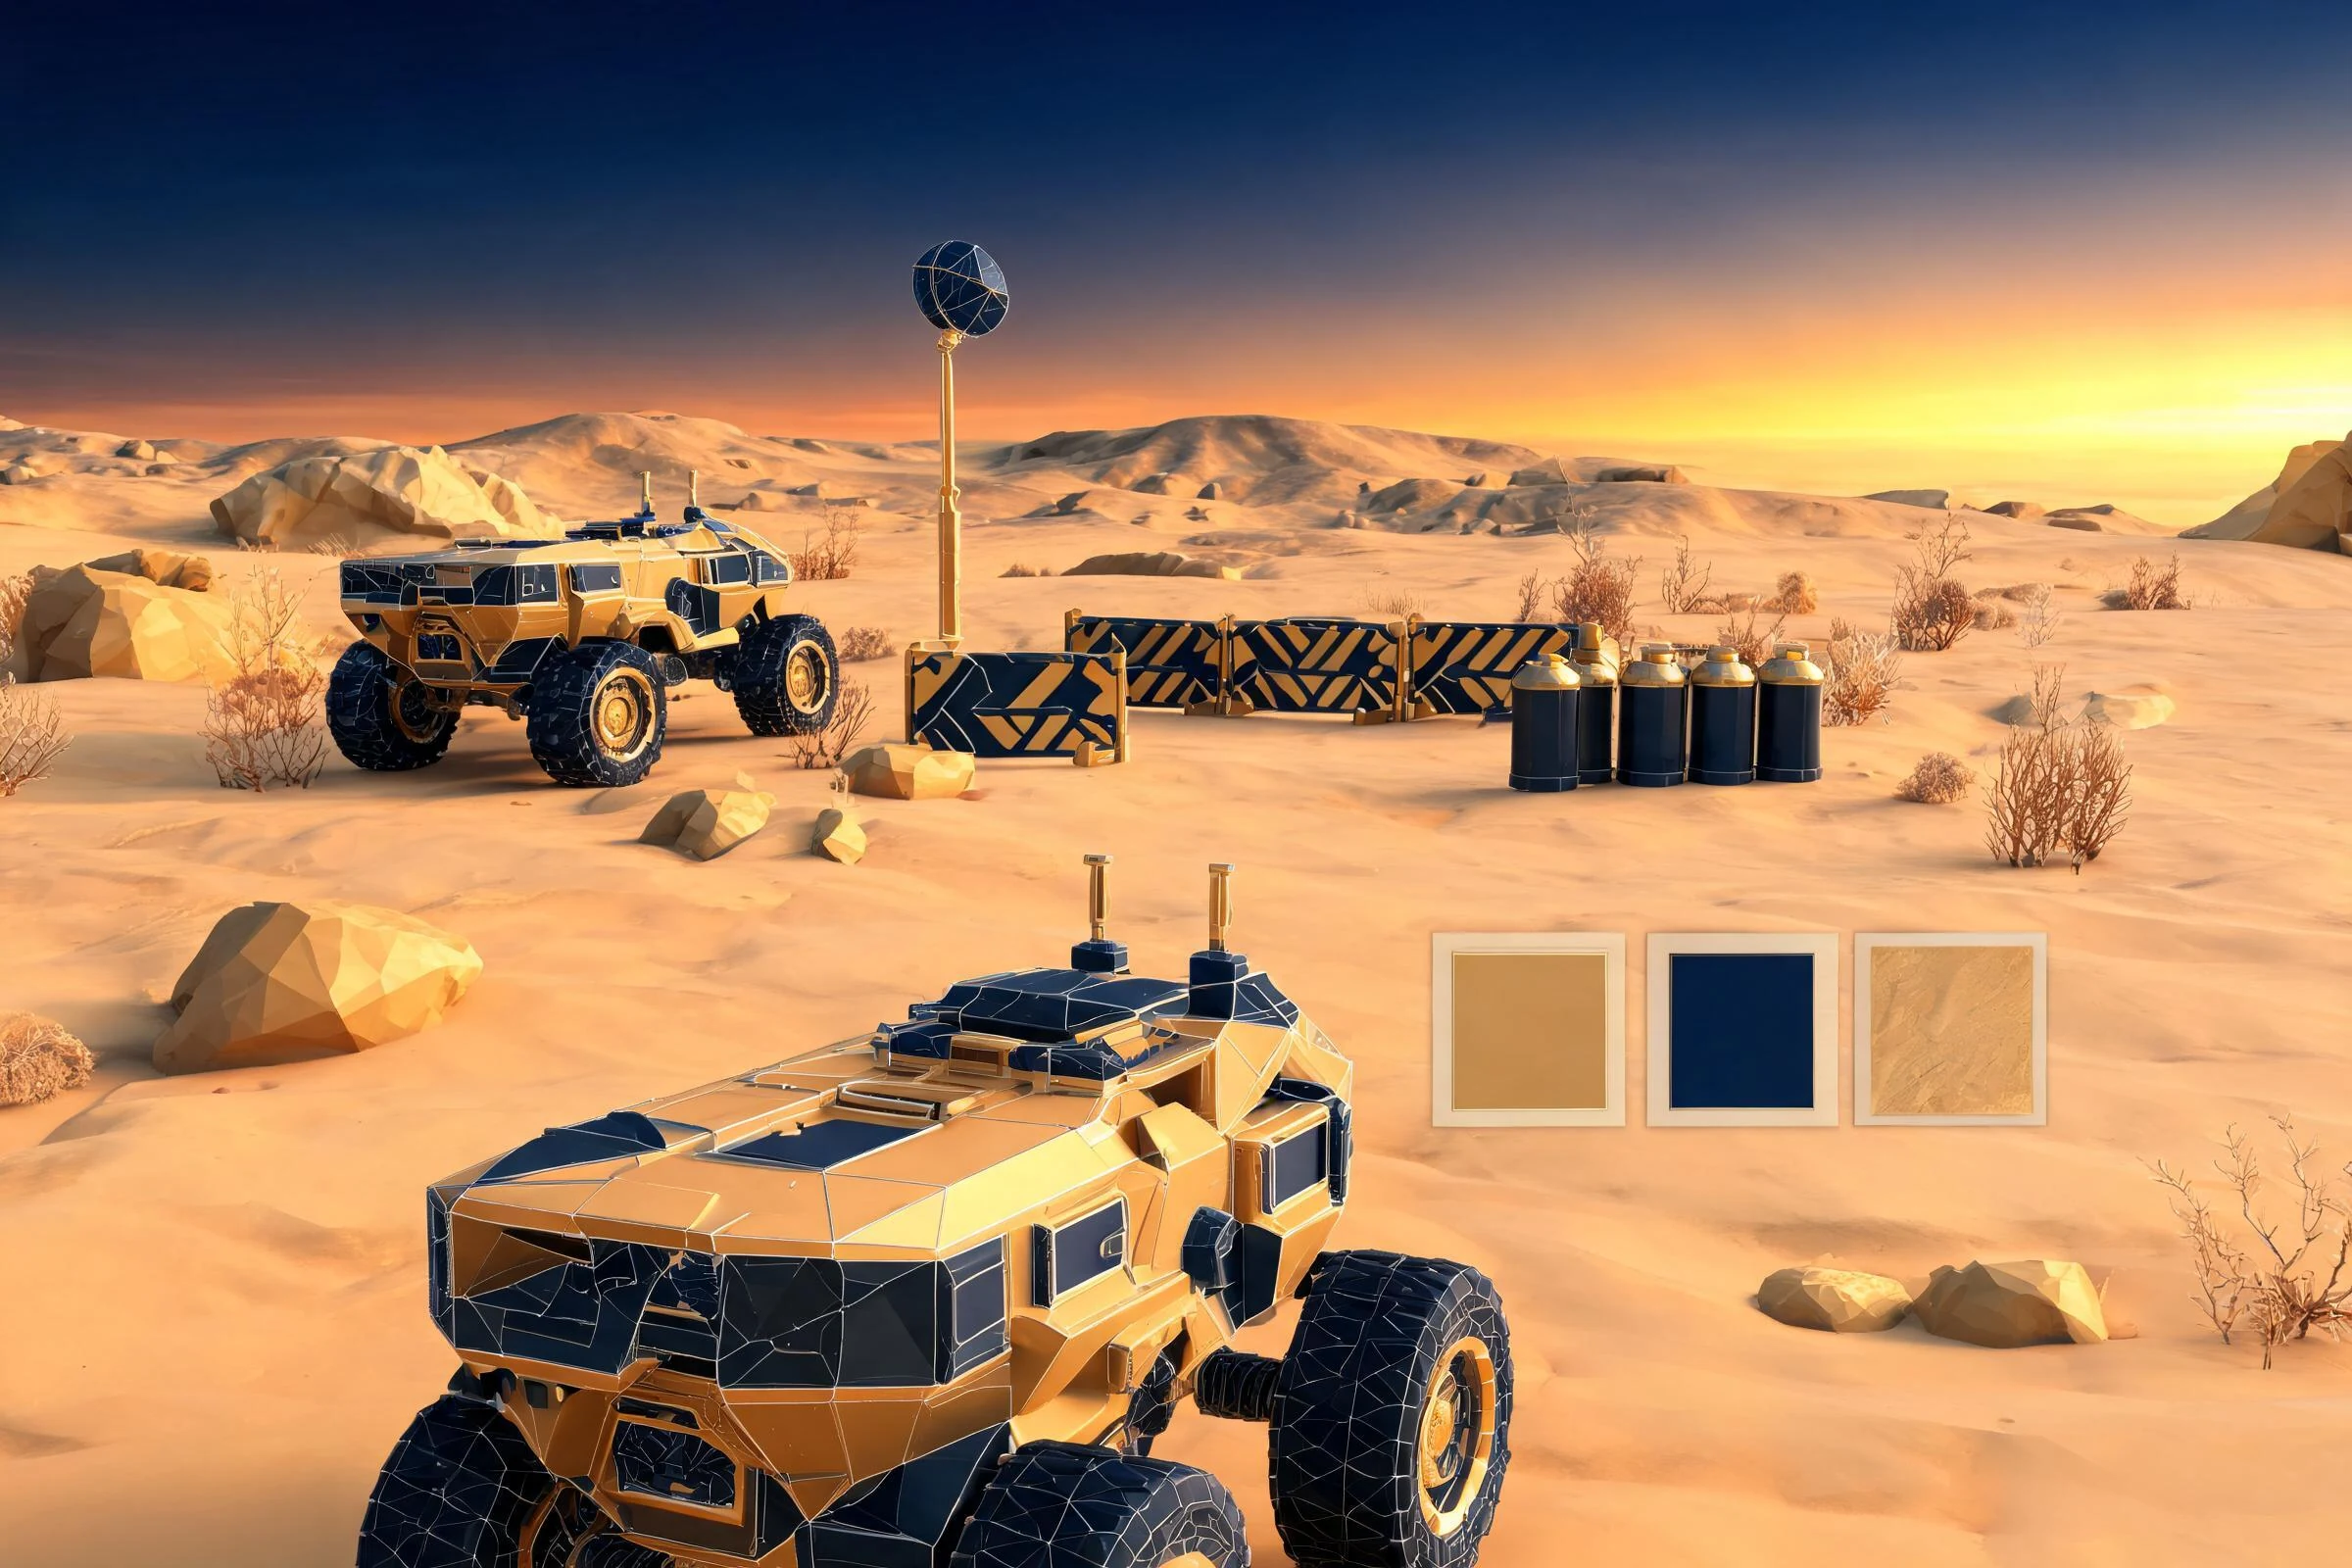
Unity is a real-time engine and scene editor. It is useful for arranging objects, blocking out spaces, combining primitives, assigning project materials, configuring components, and testing interactions. Detailed topology, UV editing, sculpting, skinning, and non-destructive source authoring are commonly easier in a dedicated digital content creation tool.
Use Unity-side construction for
- Grey-box geometry and temporary gameplay volumes.
- Simple primitive-based objects whose proportions must be tested in context.
- Scene assembly, lighting tests, prefab setup, collision, and interaction.
- Project-specific material and component configuration.
Use a source DCC workflow for
- Clean final topology, UVs, normals, and precise pivots.
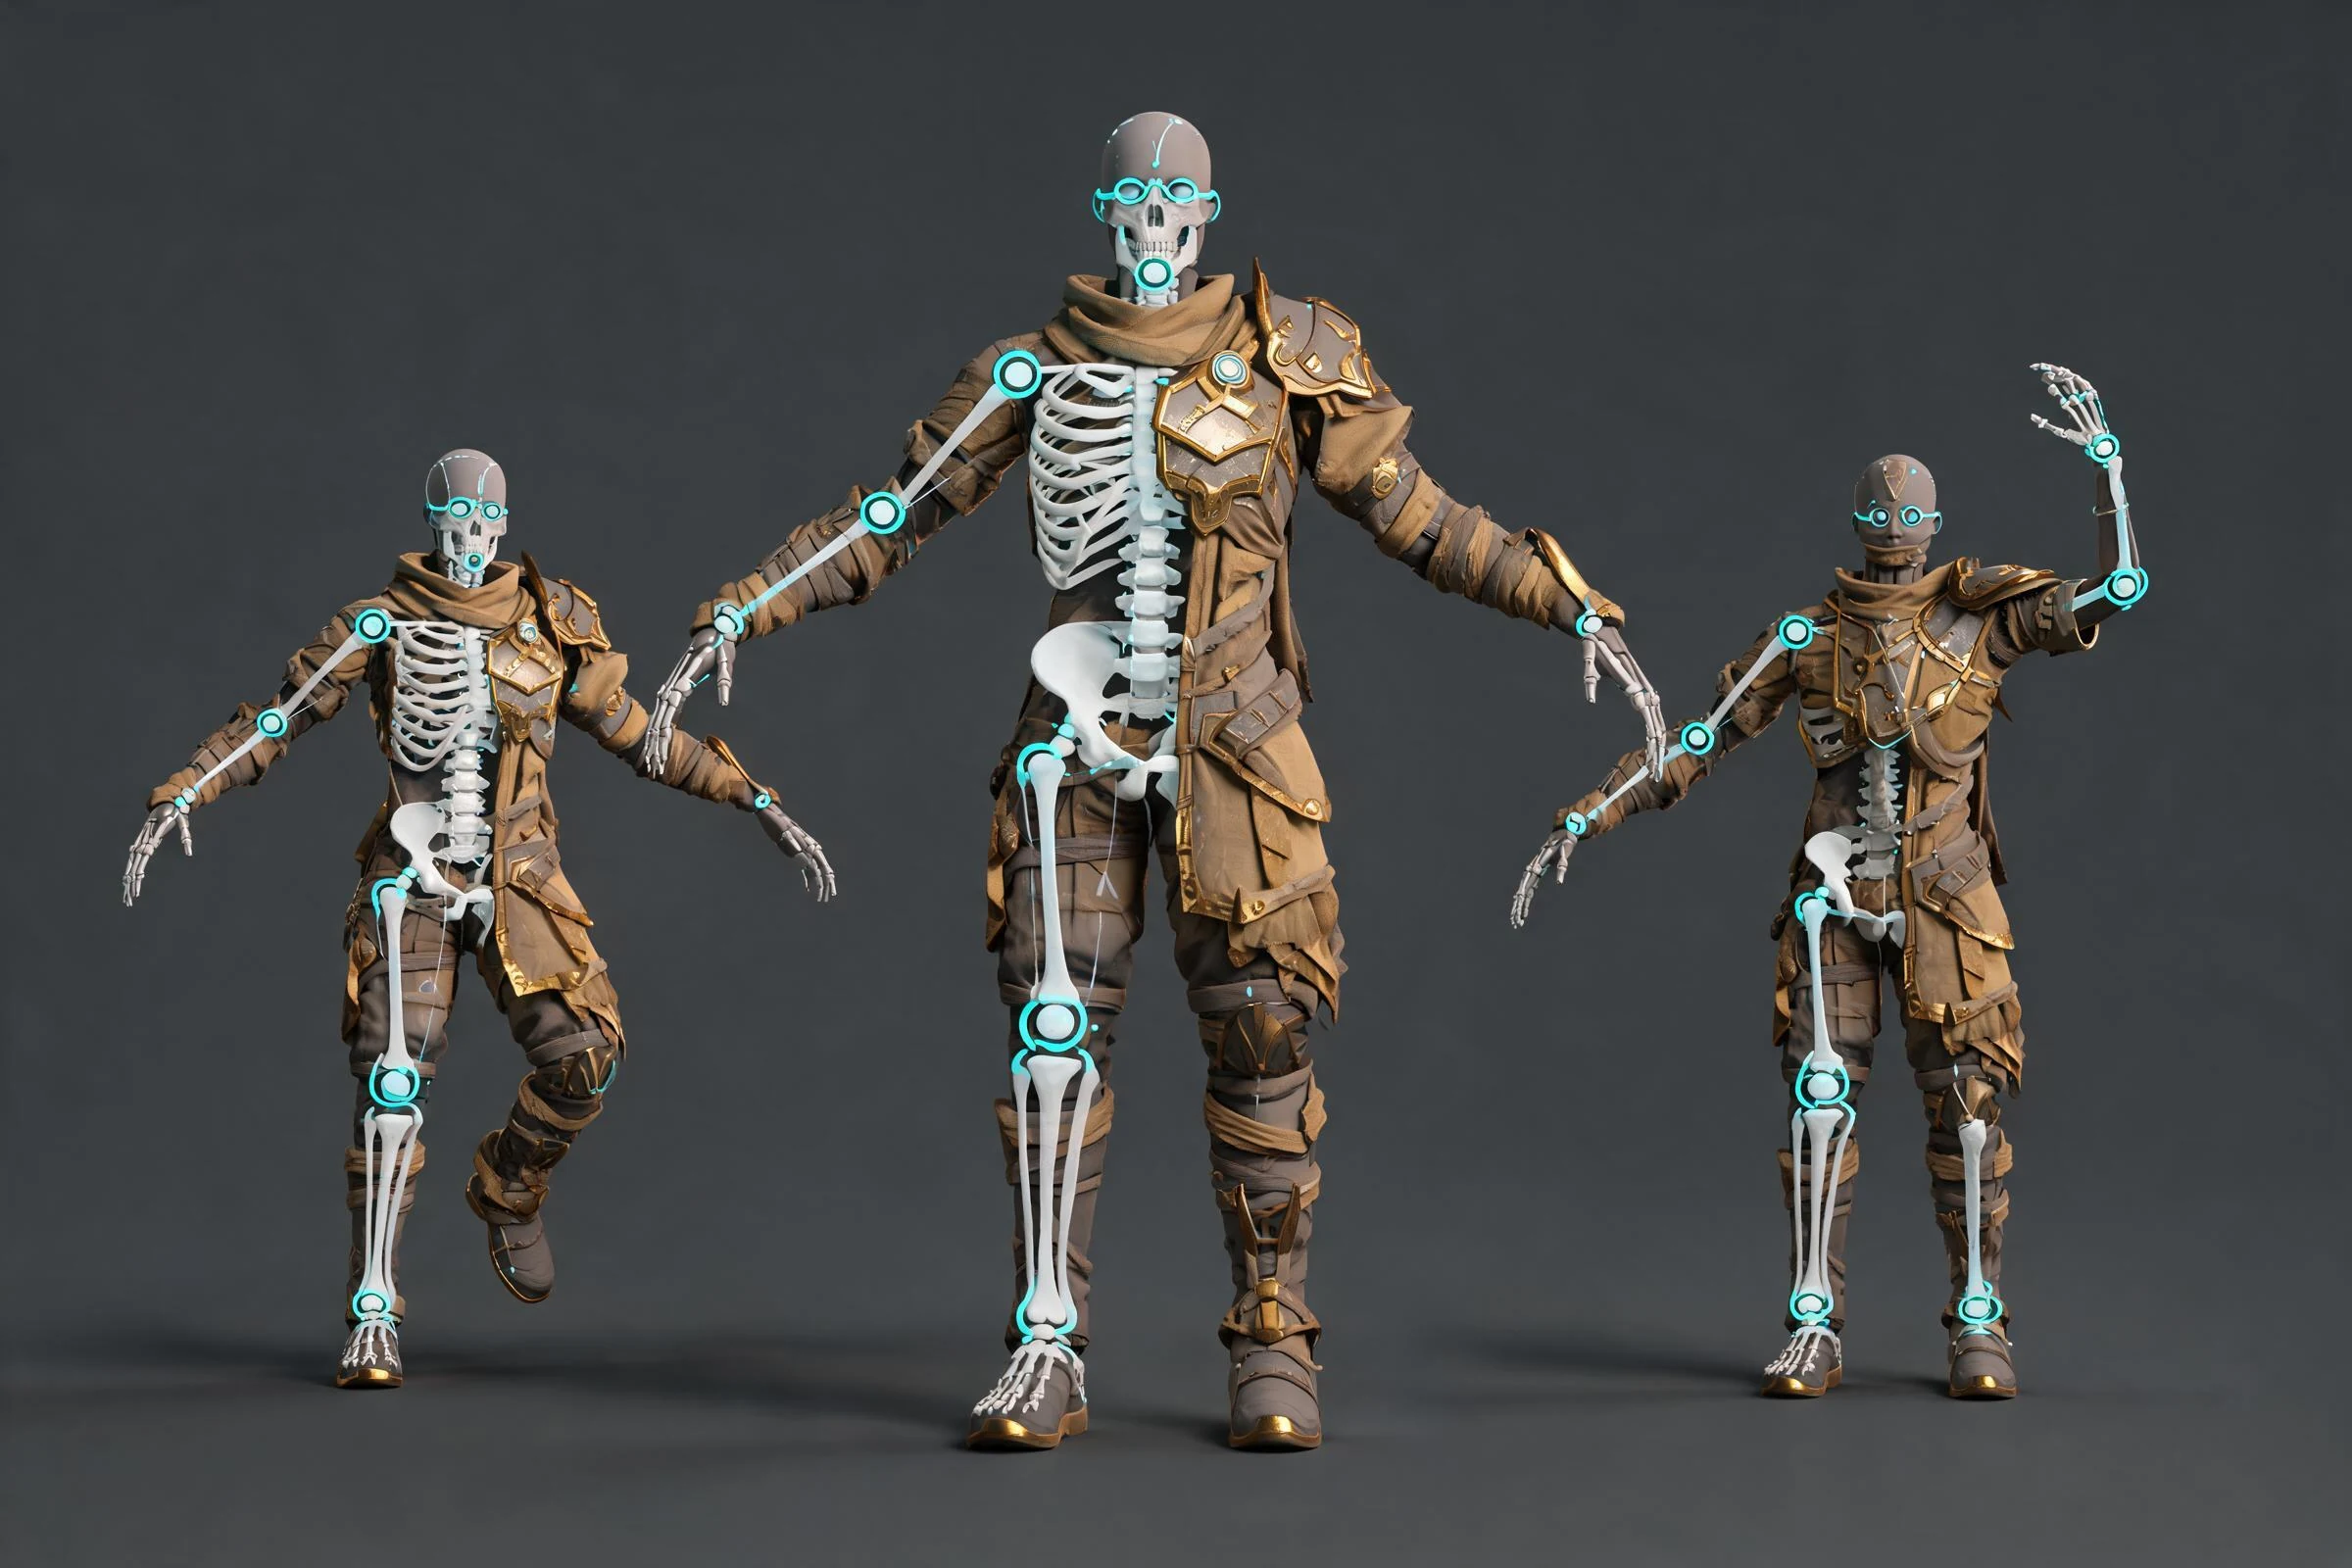
- Character modeling, skinning, blend shapes, and rig cleanup.
- Reusable source assets that may need revision across projects.
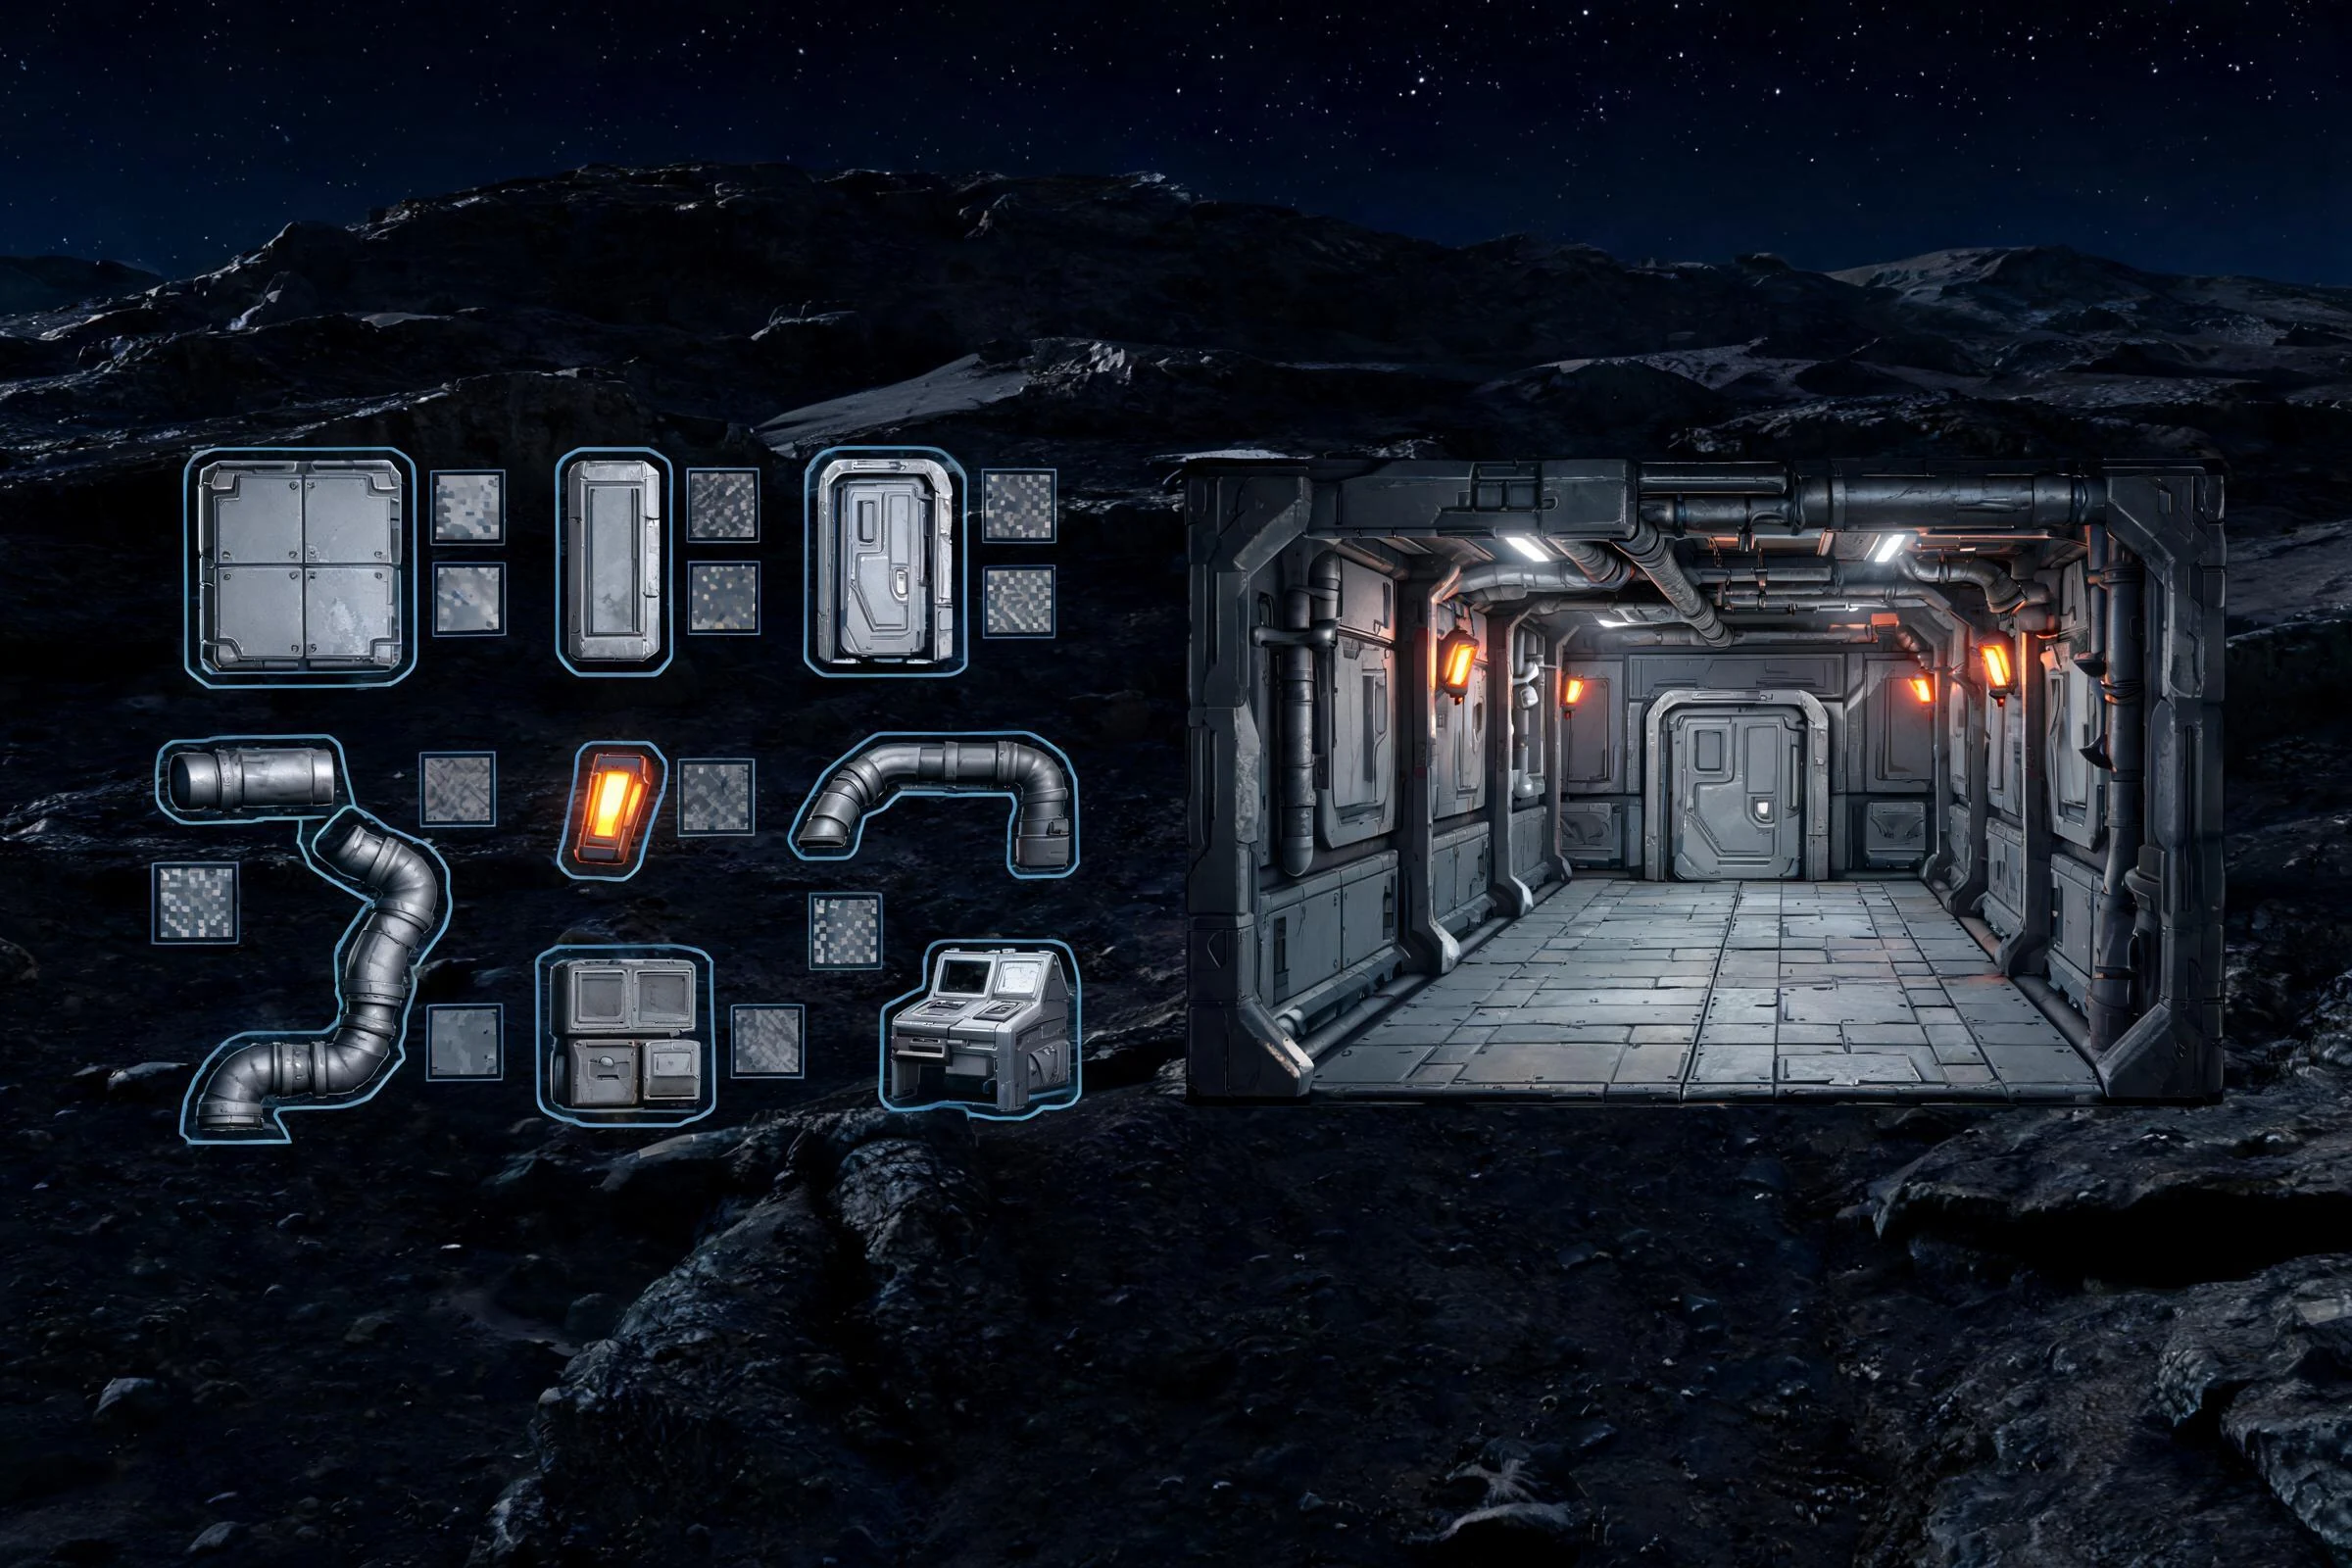
- Detailed environment kits with consistent texel density and modular dimensions.
Decision rule: if the change affects the asset’s durable geometry, rig, or UVs, update the source file. If it affects how the asset behaves in this Unity project, configure it in Unity. Limited mesh-editing tools may exist, but they should not become the only copy of important source work.
2. Build a source asset that survives the handoff
Start with a written asset brief: gameplay role, approximate dimensions, camera distance, animation needs, material count, collision behavior, and target hardware. A hero character viewed close-up and a background prop should not share the same complexity budget.
Model with predictable transforms and a deliberate pivot. Check face orientation, shading, UV overlap policy, naming, hierarchy, and loose geometry. For characters, test the deformation of shoulders, hips, hands, and face before export. For environments, build a small modular test kit first—wall, corner, doorway, floor—and confirm that the pieces align before producing dozens of variants.
Keep three things separate:
- Editable source: the authoritative model, rig, and material setup.
- Interchange copy: the package prepared for the current engine workflow.
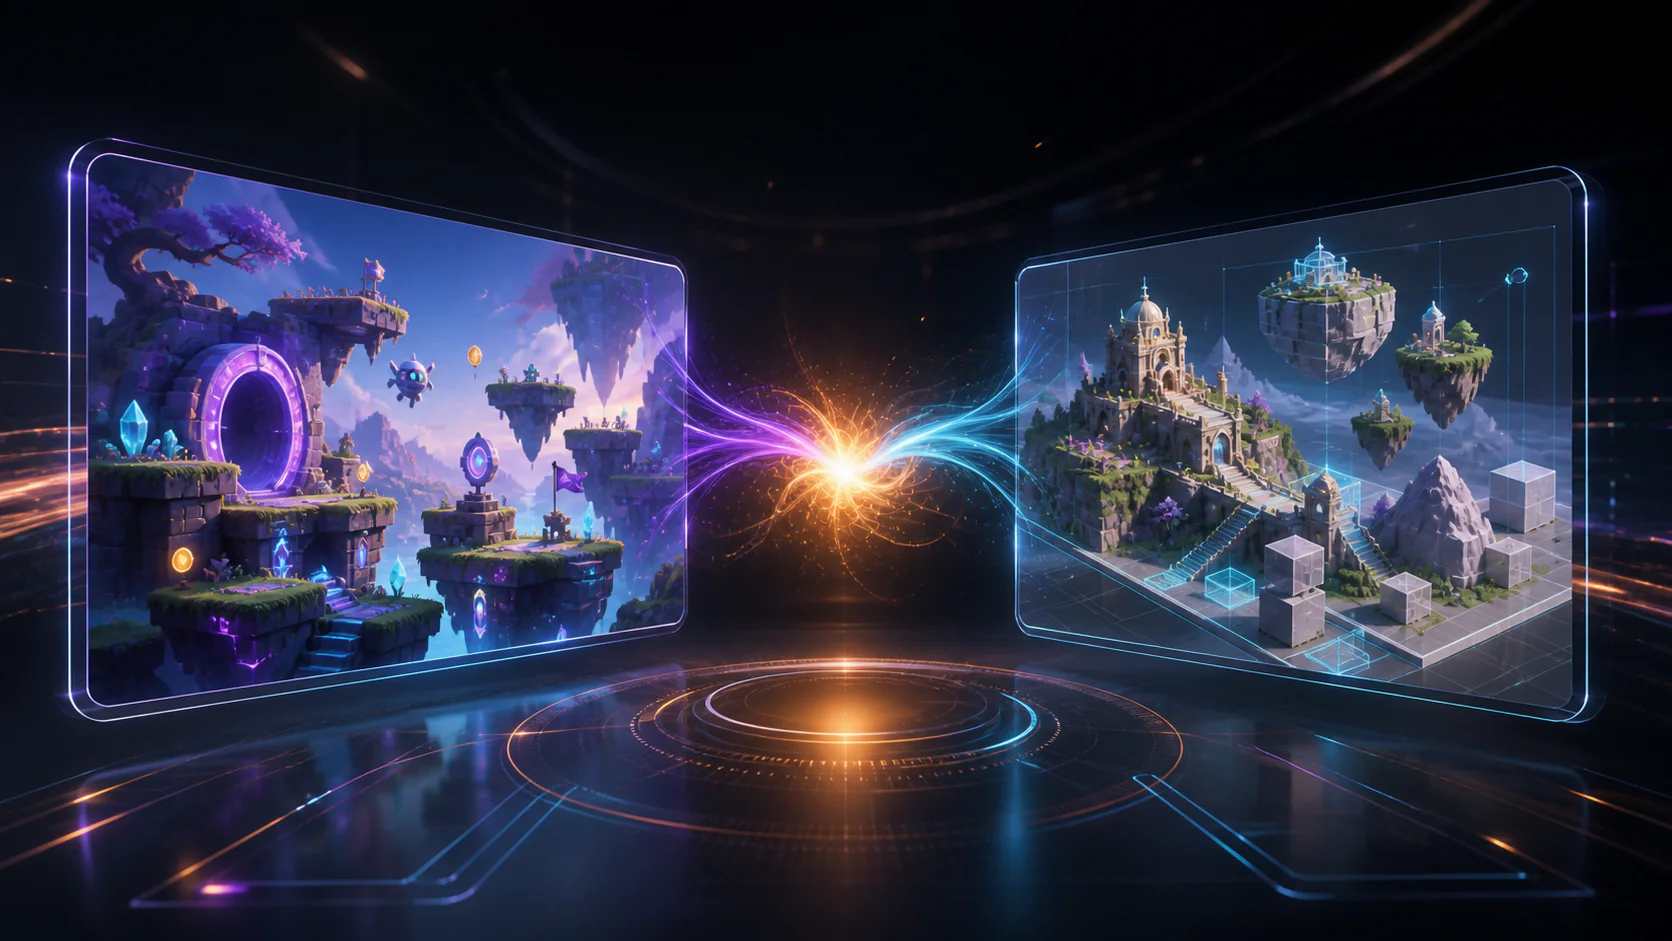
- Imported project asset: Unity’s project-side representation and configuration.
That separation makes Blender-to-Unity and Unity-to-Blender revisions safer. Do not assume a round trip will preserve every project-specific material, modifier, component, or animation setting. Test one representative asset and record the settings that worked for the selected tool versions.
3. Import into Unity with an acceptance checklist
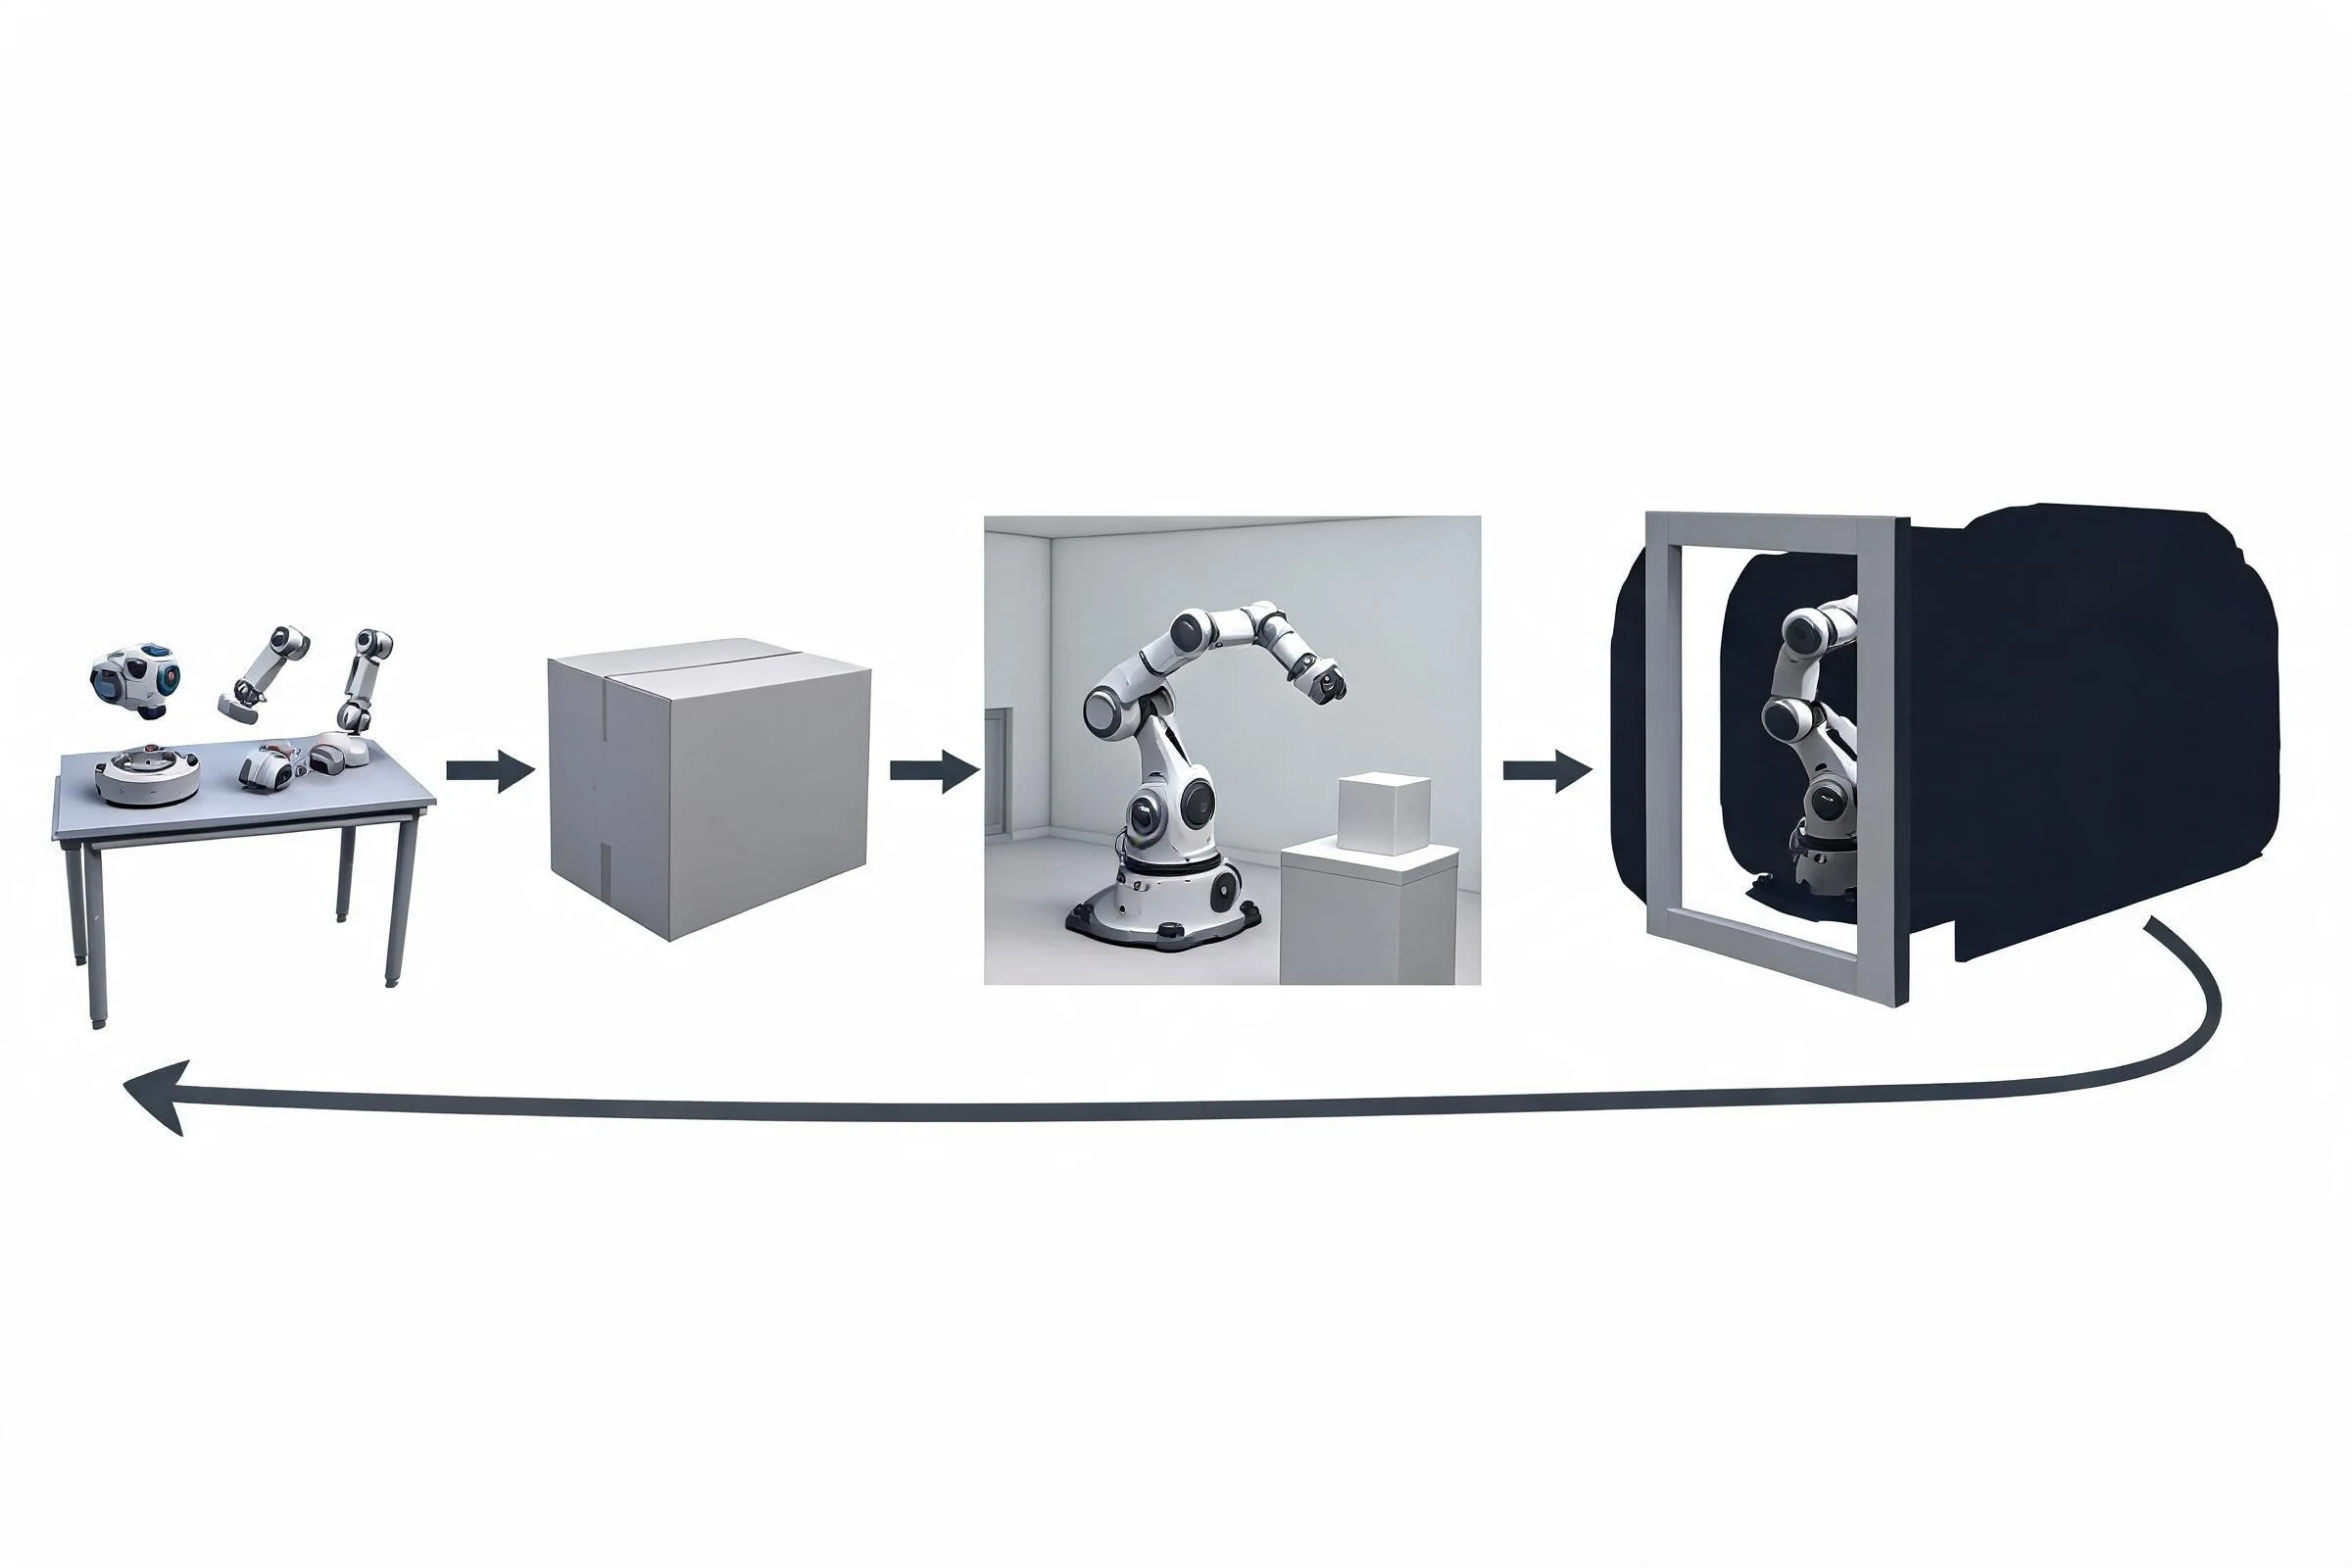
Follow the current Unity documentation for the editor version and add the rights-cleared asset through the supported project workflow. Then inspect it in a neutral validation scene before placing it in a production level.
Geometry and transform checks
- Is the object the expected physical size next to a known reference?
- Does its forward/up orientation match the project convention?
- Is the pivot useful for placement, animation, or snapping?
- Are normals and tangents producing stable shading?
- Are object names and hierarchy understandable?
Material and texture checks
- Are the expected material slots assigned?
- Are textures using the correct color-space interpretation?
- Does the shader match the project’s active render pipeline?
- Are UVs and tiling appropriate at gameplay distance?
- Does a color adjustment belong in a material instance, texture source, vertex data, or shader parameter?
A bright pink or unexpectedly flat object often indicates shader or render-pipeline incompatibility. Changing the object color will not repair a missing shader. Diagnose the material chain first.
Rig and animation checks
- Does the skeleton bind without visible deformation errors?
- Do imported clips contain the expected motion and duration?
- Are root motion, looping, and avatar/rig configuration deliberate?
- Do animation events and state transitions belong to this project version?
- Does the character remain stable in a target build?
4. Animate models and characters without mixing responsibilities
Animation problems usually come from one of four layers: the source rig, the clip, Unity’s import/configuration, or gameplay state logic. Test them separately.
First, verify the rig and clip in the source tool. Second, import one known-good clip and inspect its configuration using current Unity guidance. Third, build a minimal animation controller or the current equivalent for your project. Finally, connect gameplay input and movement.
To make a 3D character move, you need more than animation: input selects an action; movement logic changes position or velocity; the animation state communicates that action visually; collision keeps the character in the world; and camera logic makes the result playable. A walk cycle playing in place proves only that the clip can play.
Use a small test matrix: idle, start, locomotion, stop, turn, jump/fall if needed, and edge cases such as rapid direction changes. Check foot sliding, root drift, transition pops, and collision mismatch on the target frame rate.
5. Edit meshes and colliders safely
For meaningful topology changes—adding loops, deleting hidden geometry, rebuilding UVs, correcting normals—return to the editable source. This preserves a repeatable pipeline and avoids a project-only mesh becoming the untracked master.
A Mesh Collider is a physics representation, not a substitute for a clean render mesh. Prefer simple primitive colliders when they match gameplay. Where detailed collision is genuinely required, create a dedicated low-complexity collision mesh and validate the current physics settings. Never assume the visible mesh is an acceptable collider for a moving object.
When something collides incorrectly, inspect object scale, collider shape, rigid-body configuration, layers, trigger settings, and scene hierarchy. Change one variable at a time and reproduce the issue in a minimal scene.
6. Build characters and environments as systems
A character asset may include the render mesh, skeleton, clips, materials, accessories, physics or secondary motion, collision, controller setup, and gameplay code. An environment may include modular geometry, materials, lighting assumptions, colliders, navigation data, occlusion strategy, and level-of-detail decisions.
For a character, begin with one representative body and one animation. Confirm deformation and scale before adding clothing, hair, accessories, and a large animation library. For an environment, complete one “vertical slice” room or vista and profile it before expanding the kit.
This sequence prevents a common failure: producing many attractive assets that share the same scale, shader, rig, or performance defect.
7. Optimize for the scene, camera, and target device
Do not optimize by chasing a universal polygon number. Establish a scene budget, measure the build, and spend complexity where it affects the player’s view.
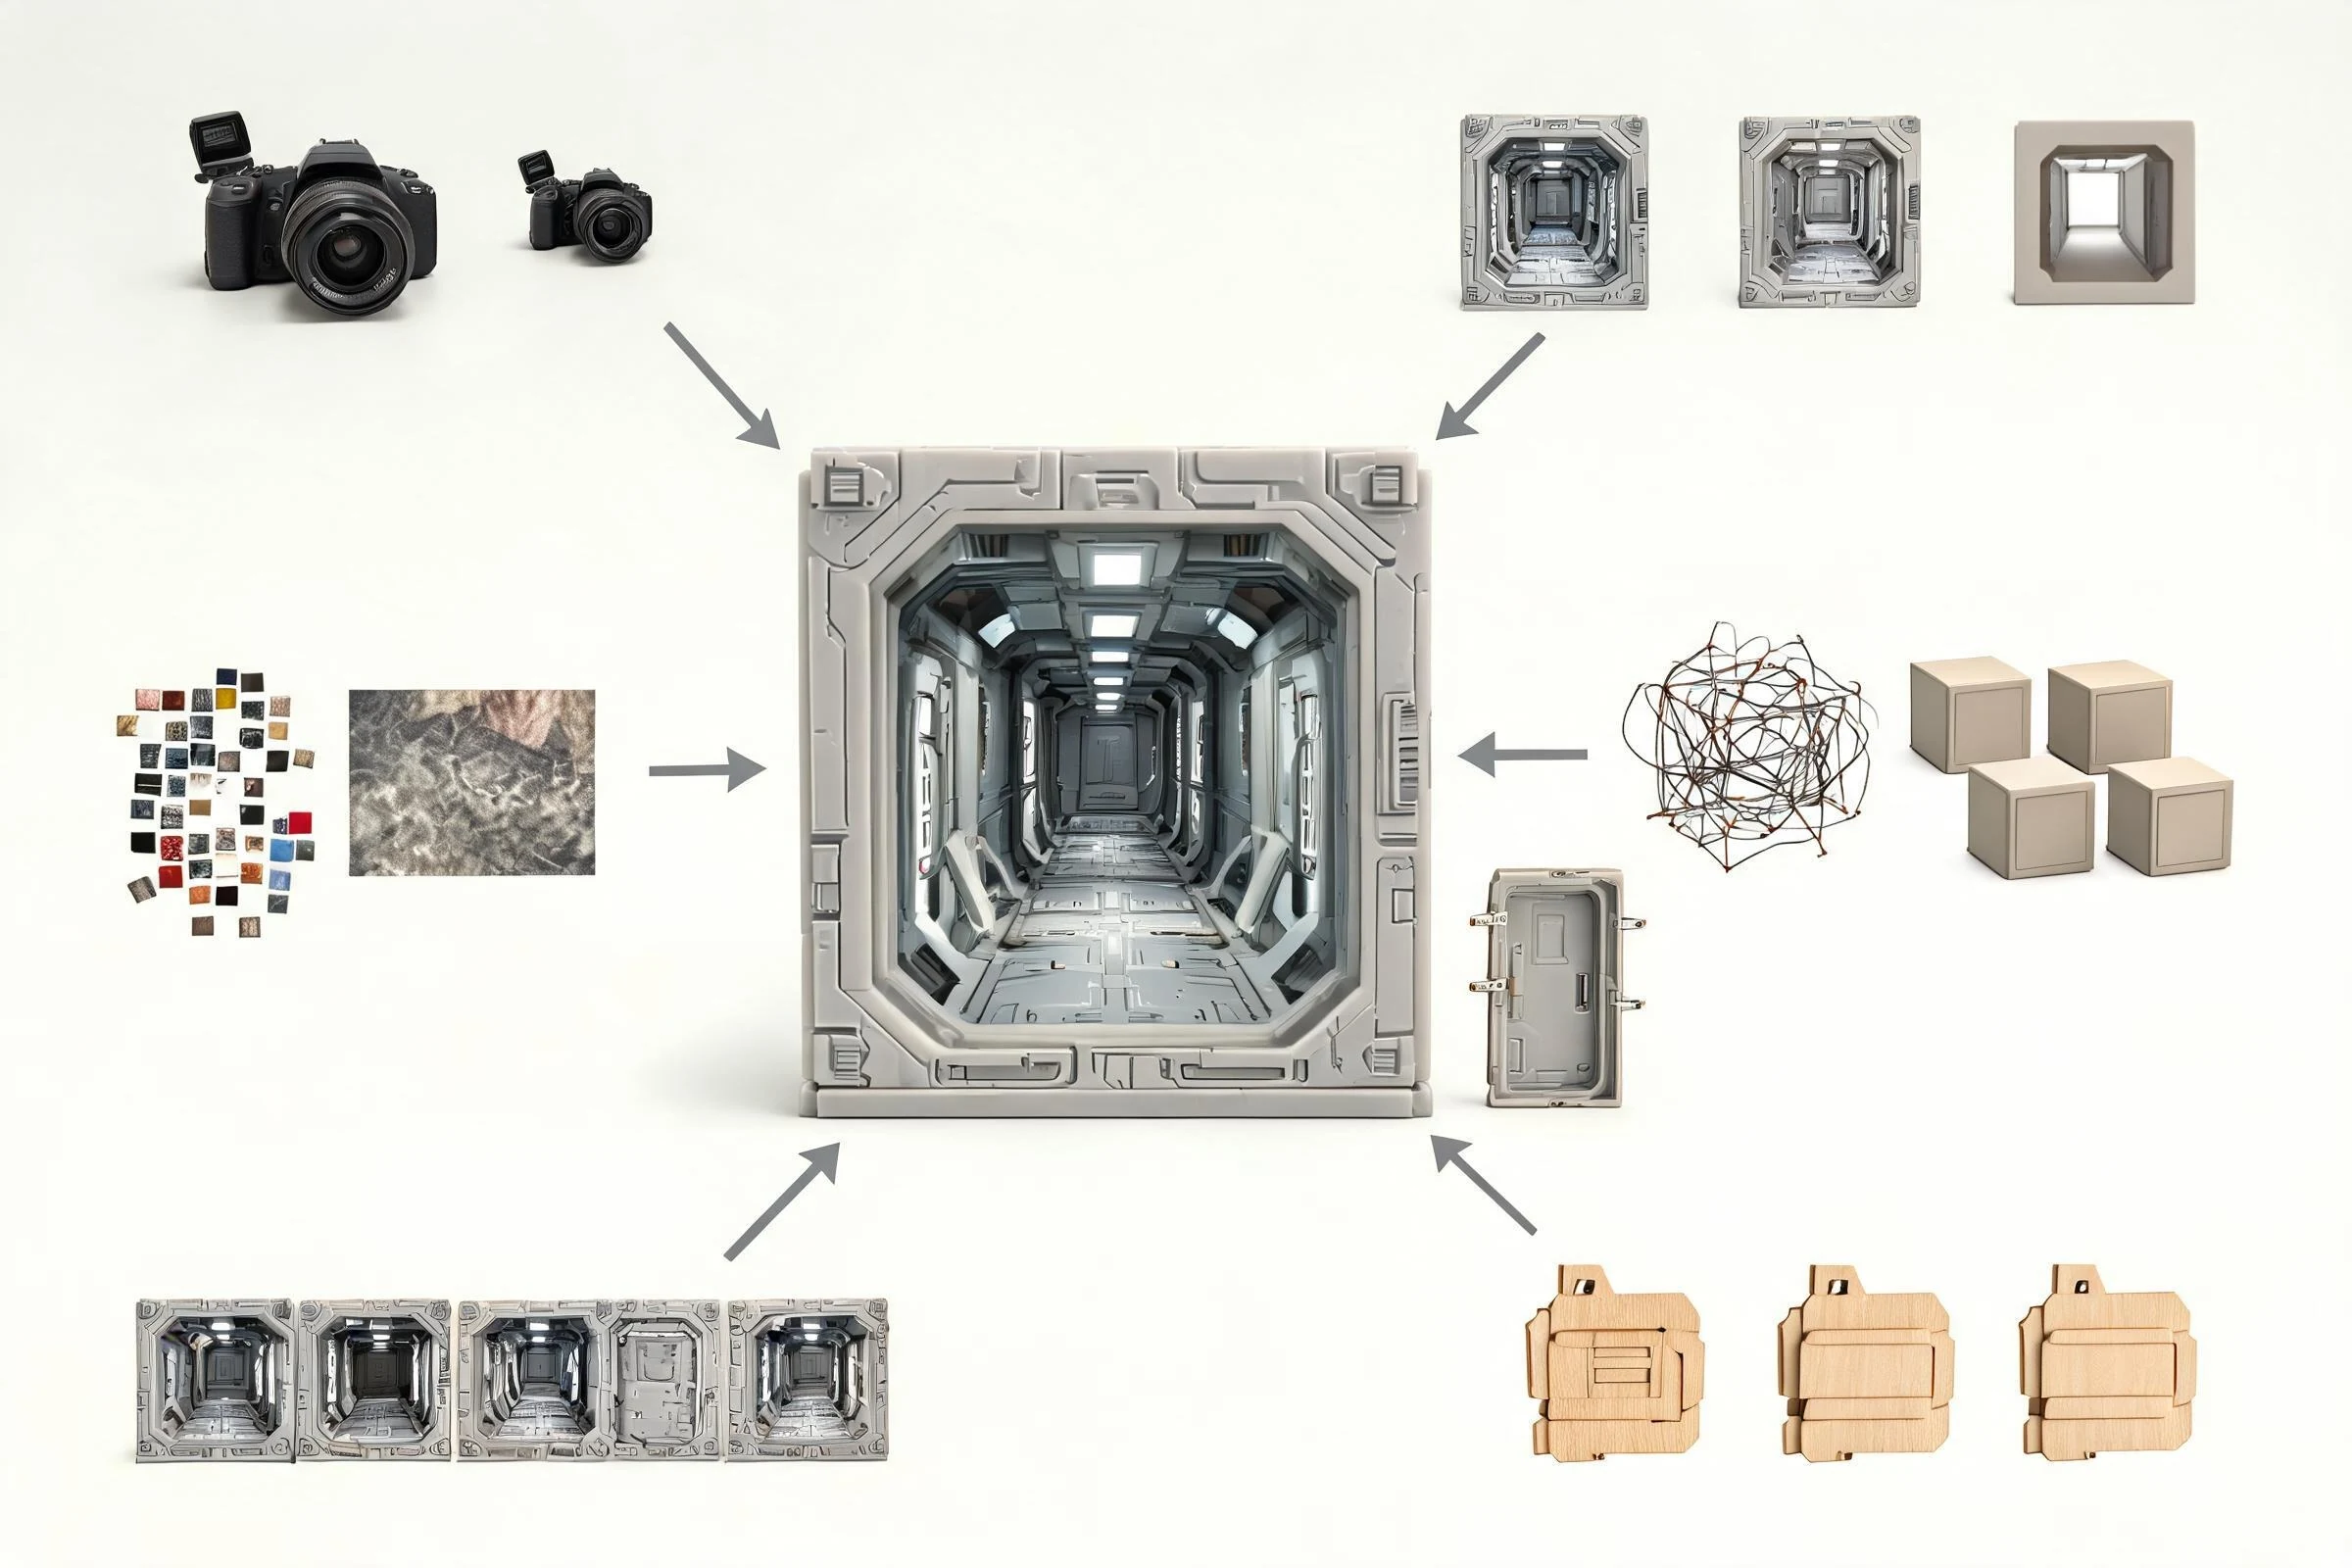
Review mesh density, material count, texture memory, transparency, overdraw, shader complexity, skinning cost, animation complexity, collision, lights, shadows, draw submission, and loading behavior. Use level-of-detail or simplified variants only when transitions and silhouettes remain acceptable. Profile representative gameplay on target hardware; editor frame rate is not sufficient evidence.
A good acceptance note is concrete: “This prop maintains its silhouette at the intended camera distance, uses the project-approved material setup, has a separate simple collider, and remains within the measured scene budget.” “Game-ready” alone is not a test result.
8. A repeatable end-to-end workflow
- Define: record dimensions, gameplay role, camera distance, rights, and target platform.
- Prototype: block out the asset or scene and test scale in context.
- Author: create clean source geometry, UVs, materials, rig, and clips where needed.
- Package conditionally: use settings supported by the current DCC and Unity versions; test one sample.
- Import and validate: inspect geometry, transforms, materials, rig, animation, and hierarchy.
- Integrate: configure prefab/components, collision, animation states, input, and project behavior.
- Profile: measure representative gameplay on the target platform.
- Document: keep source location, rights, version assumptions, and acceptance results with the asset.
Troubleshoot a Unity asset import with controlled tests
When an imported asset looks wrong, avoid changing several settings at once. Duplicate the import configuration or work on a test copy, record the Unity version and source-file version, then isolate geometry, transforms, materials, rig mapping, animation clips, and texture handling as separate checks. A controlled test makes the cause reviewable and gives the team a safe rollback point.
If scale or orientation is wrong, compare the source unit system, object transforms, export axes, model-import scale factor, root object, and pivot behavior. Re-export one unchanged reference object alongside the asset. This distinguishes a scene-wide coordinate mismatch from a problem inside the model hierarchy. Do not compensate with arbitrary scene scaling until the source and import contract are understood.
If a humanoid animation fails, first inspect the skeleton hierarchy, reference pose, avatar mapping, root motion, clip boundaries, and warnings reported by the importer. Test one short clip with obvious contacts, such as an idle-to-step motion. Compare the same clip in the DCC and Unity so foot sliding, twisted joints, or missing motion can be assigned to authoring, export, mapping, or runtime playback.
For missing or incorrect materials, verify that the expected textures exist, the project has rights to use them, and color versus data maps use the intended import handling. Rebuild one simple material before converting the full asset. Pipeline-specific shader graphs, packed channels, transparency, and render-pipeline conversions should be tested under representative lighting rather than inferred from a thumbnail.
Finish by changing one source property—such as a clip name, joint pose, or texture reference—and importing again through the documented path. If the revision updates predictably without manual reconstruction, the workflow is maintainable. Record the accepted source, export settings, Unity import settings, warnings, screenshots, and owner so another contributor can repeat the result.
Frequently Asked Questions
Can you create 3D models in Unity?
You can assemble primitives and use editor tooling, but detailed asset authoring is commonly done in a DCC application. Choose the workflow by asset complexity, then validate it in your current Unity version.
How do I import a 3D model into Unity?
Prepare a rights-cleared source asset, export it using settings supported by your current toolchain, add it through Unity’s documented workflow, then verify scale, orientation, materials, rig, animation, colliders, and runtime performance.
How do I move a model between Blender and Unity?
Treat Blender and Unity as separate stages. Confirm current official documentation for interchange settings, apply transforms deliberately, preserve source files, and test a small sample before committing the full asset set.
How do I animate a 3D character in Unity?
Start with a valid rig and tested clips. Configure the character using the current Unity animation workflow, map states and transitions, test root motion, and inspect the result in the target build—not only in the editor.
How do I add or fix textures and colors?
Check material assignment, texture color space, UVs, shader compatibility, and render-pipeline settings. A missing or pink material is usually a pipeline or shader mismatch, not simply a missing color value.
Can I edit a mesh or Mesh Collider in Unity?
Unity can support limited editor-side adjustments, but destructive topology work is usually safer in the source DCC file. Keep render meshes and collision meshes separate where practical, and validate physics cost.