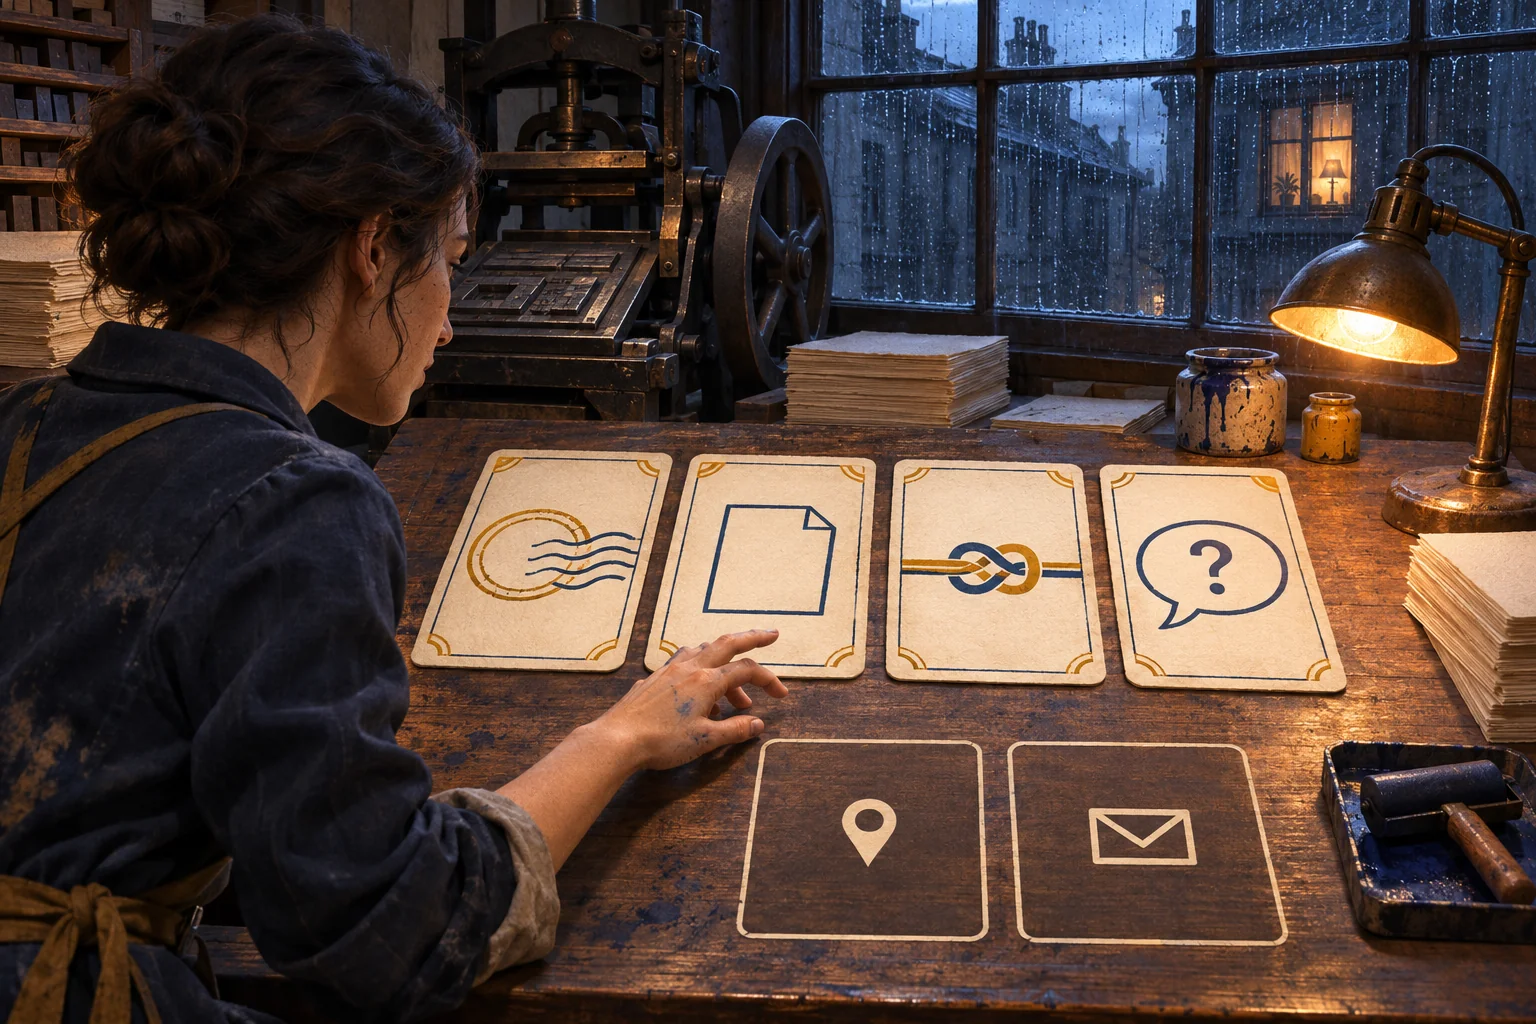
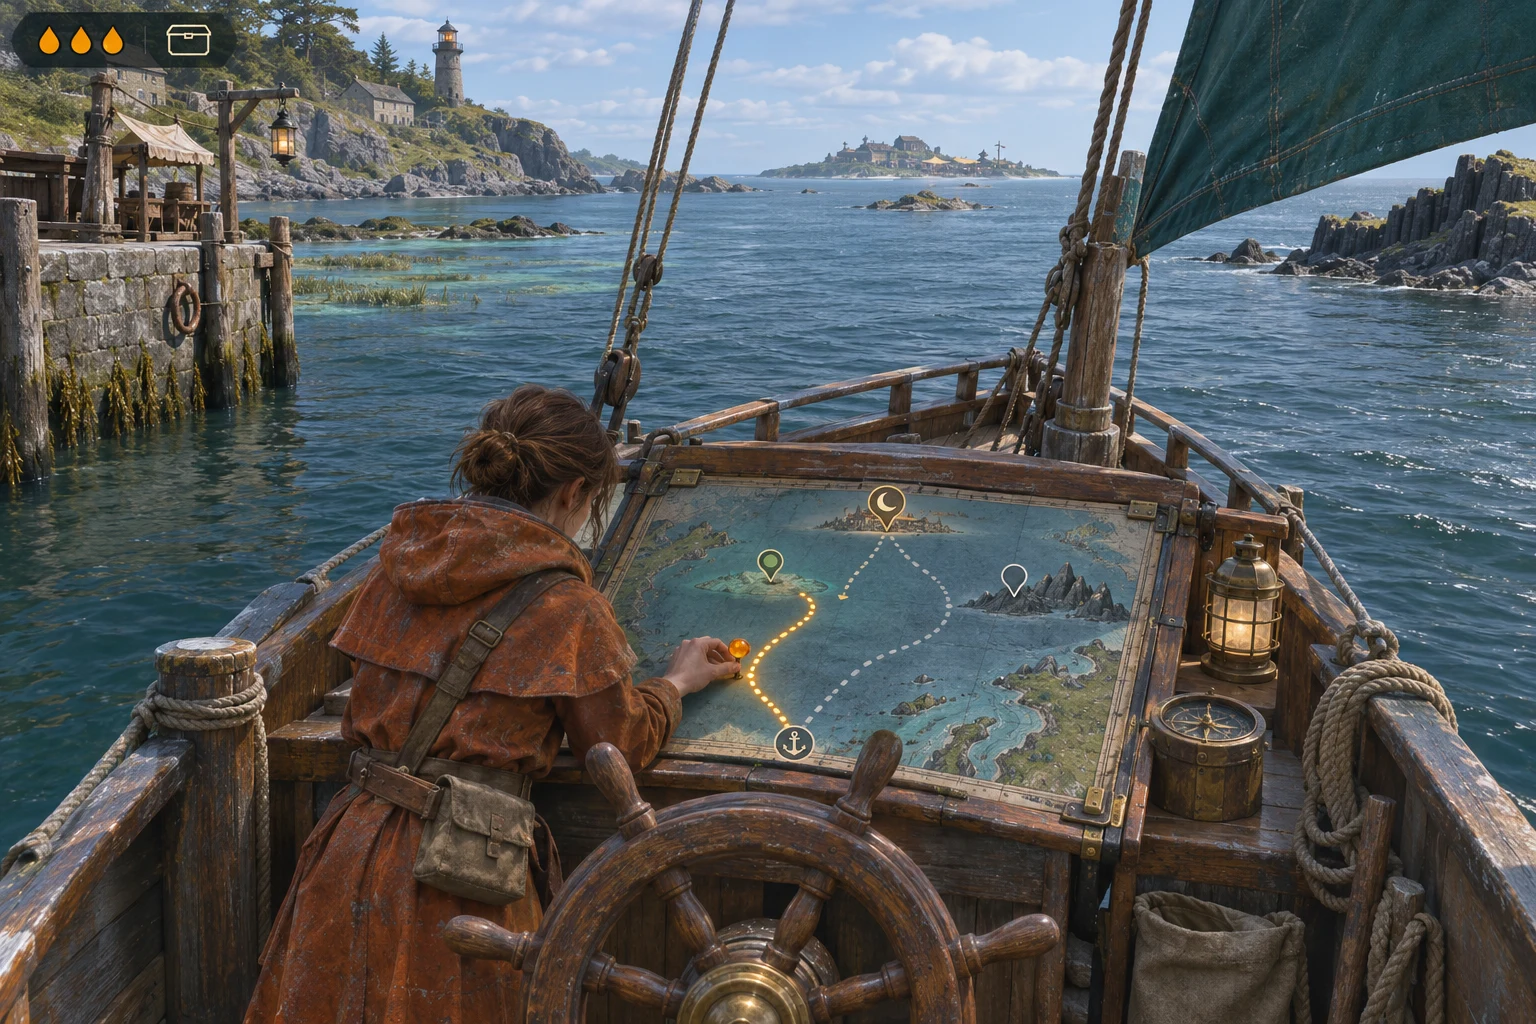
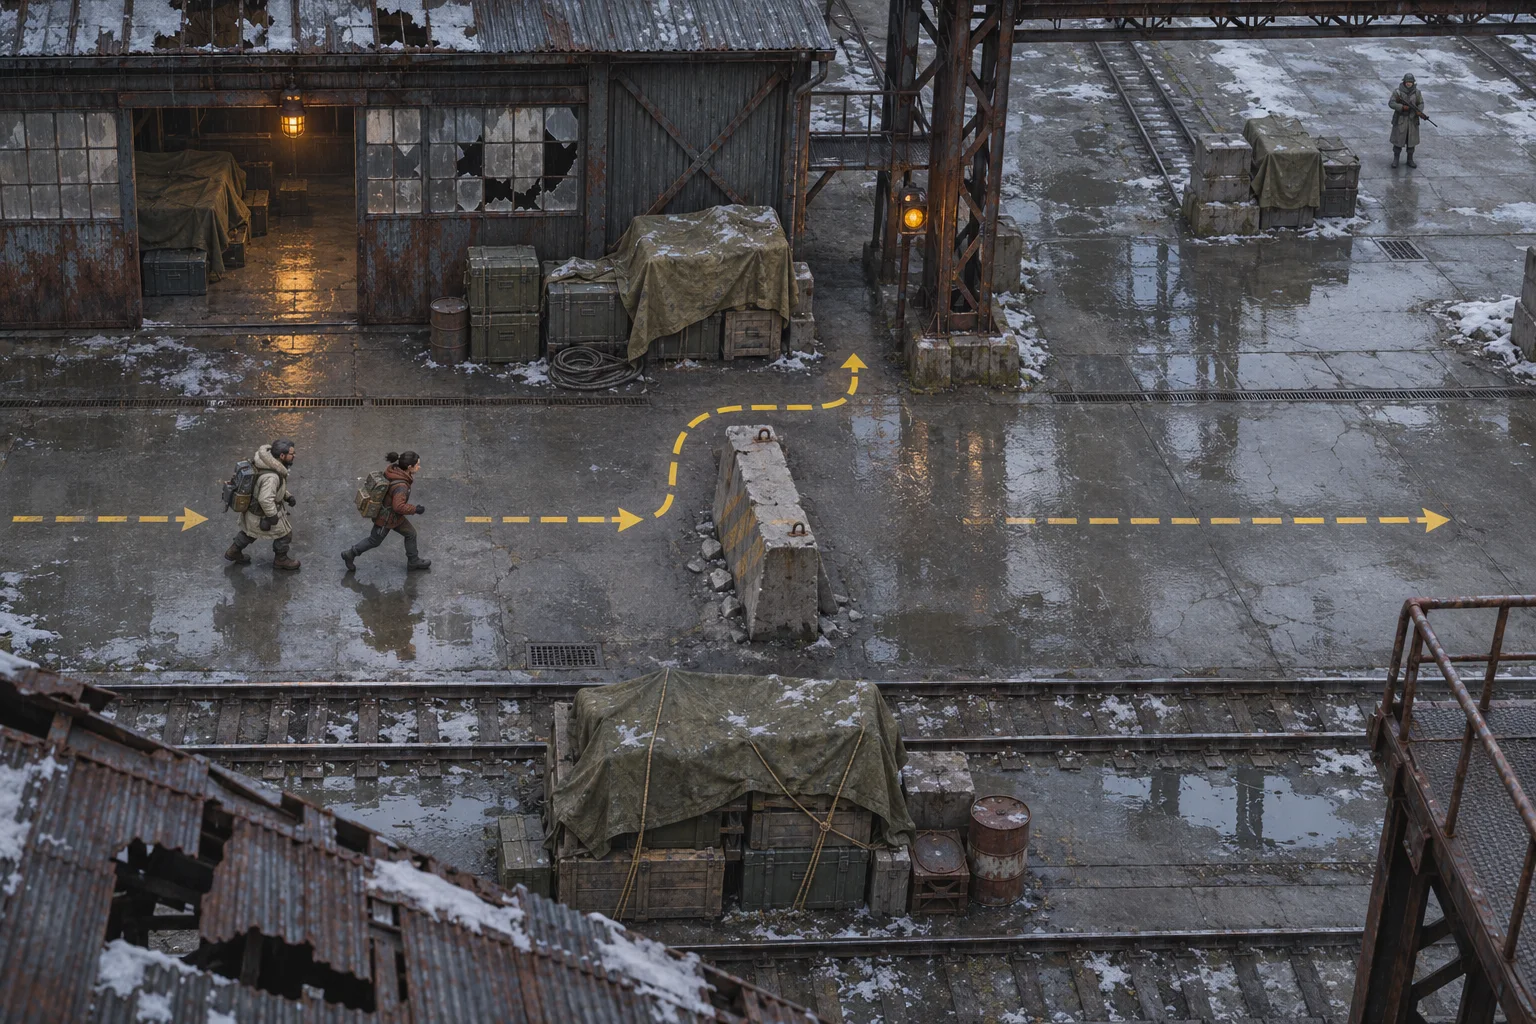
A platformer feels cinematic when the camera reveals a choice before the player must make it. Let the view show the next safe shelf, keep movement input live, and use the landing itself to carry a story cue. That gives the player a clear jump to attempt while the scene still controls what they notice. Sequence the information: preview first, act second, confirm the landing, then use a local detail to point onward. That can direct attention without a cutscene or another movement system. Lightwell Steps is a fictional design exercise: its distances and timing are hand-calculated, not results from a generated build or playtest.
Plan the scene as a traversal beat
Start with the player’s route, then place the camera change where it can help. The compact loop is approach a story marker → reveal the next landing → commit to a jump → land on an environmental cue → continue toward the next reveal. The camera does not replace movement or solve the jump. It helps the player read the space before committing.
In the fictional side-view stage below, a traveler begins on a coastal path. A gap interrupts the route; an unlit lantern marks the first safe shelf. A second gap and lantern repeat the same visual rhythm. The distant lighthouse gives the route a direction, while bootprints near a lantern make a landing feel like a small discovery instead of a bare platform reset.

| Beat | Player state | What the view should show | Story or gameplay cue |
|---|---|---|---|
| Approach | Travel right toward x=220. | Keep the traveler visible in the familiar follow frame. | A worn path leads toward a cliff break. |
| Reveal | Keep horizontal movement available. | Pan right to show both lips, the gap, and the far shelf. | An unlit lantern marks where a safe landing can happen. |
| Commit | Jump from the near lip. | Hold the reveal while the avatar crosses the gap. | The player can judge the landing instead of guessing offscreen. |
| Land | Touch down near the lantern. | Return toward normal follow without hiding the shelf. | The lantern warms and reveals bootprints toward the next stretch. |
| Continue | Run toward the next trigger. | Return to the standard player framing. | The second gap repeats the camera and landing lesson. |
Keep the playable kit simple while you plan the scene. Lightwell Steps has one traveler, one fixed jump, two gaps, two shelves, two lanterns, and an exit marker. No new ability is needed to make the route feel directed. Because the lanterns do not alter the platforms, the player can read their feedback as story rather than a hidden change in the rules.
Show the landing before the jump
A reveal works only if it preserves both route information and control. The normal follow frame keeps the traveler around screen x=160. At ground triggers x=220 and x=620, begin a rightward camera pan lasting 0.80 seconds. The reveal composition moves the traveler toward the left side of the frame and brings the next gap, both lips, and the far safe shelf into view. Inputs remain live throughout the pan.
At the first trigger, the target is the gap from x=340 to x=404 and the shelf that begins at x=404. The lantern sits at x=448. At the second trigger, repeat the framing around the gap from x=740 to x=804, with the second lantern at x=848. In both cases, the shelf and lantern fit in the right side of the 320-unit view. The camera trigger fires once each run; it does not keep pulling the frame back and forth if the player pauses or crosses the marker again.
During the jump, hold the reveal until the traveler lands on the shelf. Then return to normal follow over 0.30 seconds. That short return lets the player resume forward movement without an abrupt cut. If the player reaches a lip before the reveal is settled, the scene asks them to make a jump decision while information is still moving. The timing comparison later gives you a simple way to catch that conflict.
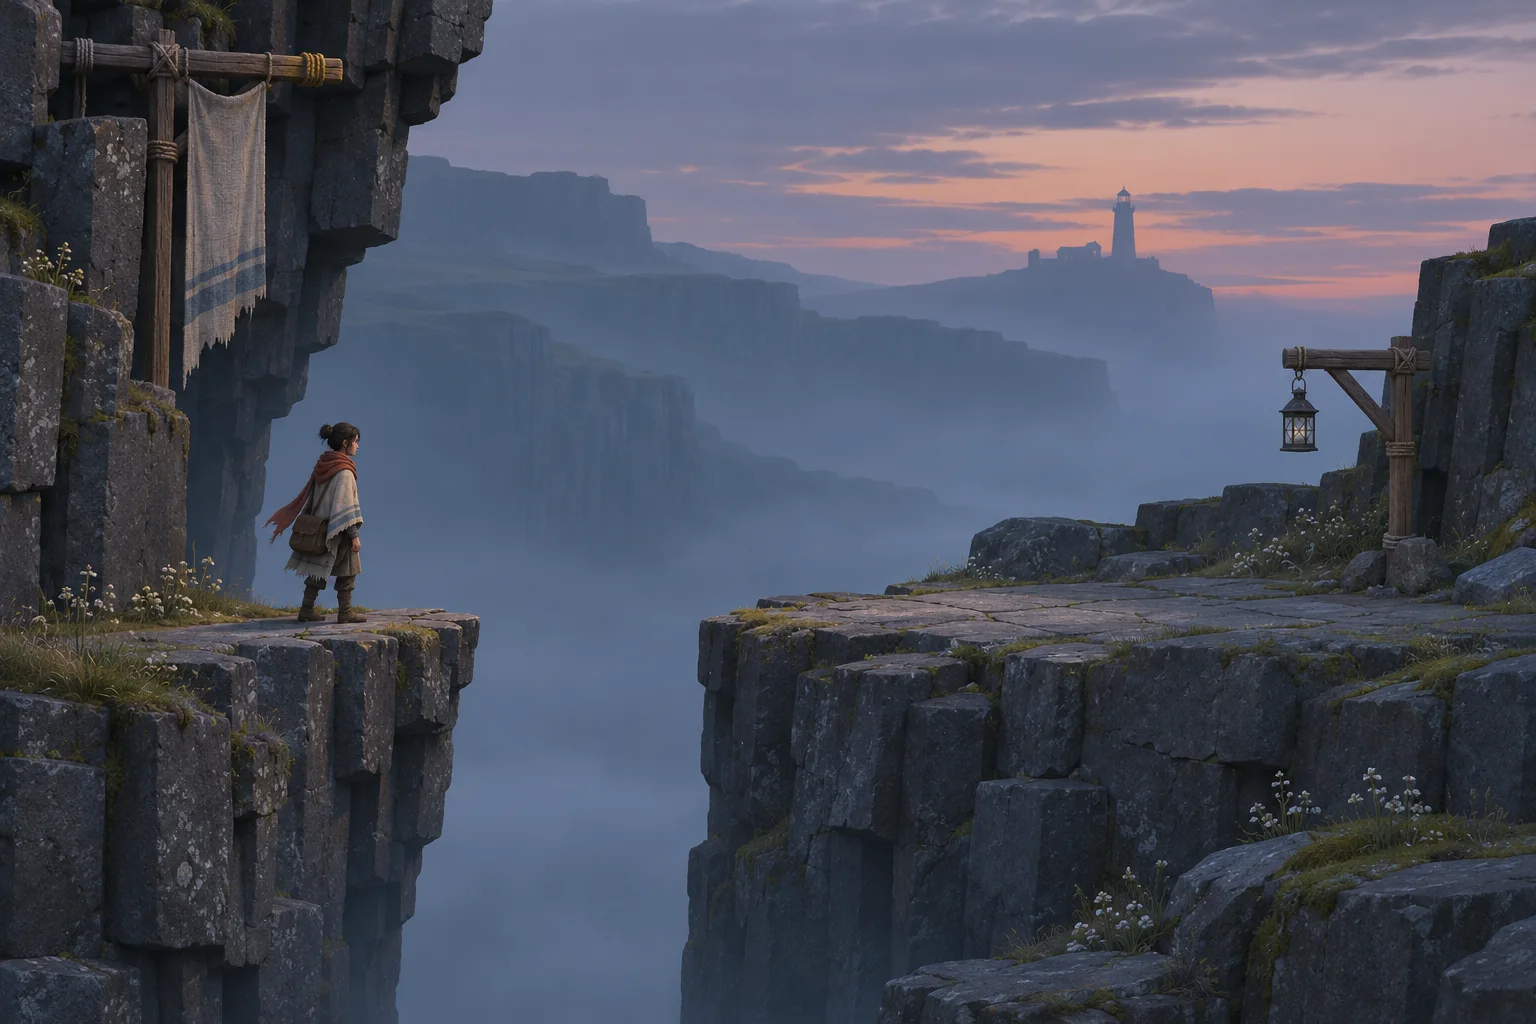
Use a fixed composition target for the reveal, not a string of dramatic cuts. A readable side view lets the player compare the near edge with the landing shelf in one glance. Keep the avatar silhouette separate from the cliff and leave enough space around the far lip to see where a jump can finish. If a foreground cliff shape hides the shelf, simplify the framing before adding another camera move.
Make the platforming checkable
Put the jump and landing in numbers that another person can check. Lightwell Steps uses a 1000-by-500-unit side-view stage and a 320-by-500 viewport. The player starts at x=80 on a path at y=400. A/D moves horizontally at 120 units per second; Space starts the fixed jump only while grounded. Holding direction in the air keeps that speed. The jump lasts 0.90 seconds and reaches an apex 72 units above the path at 0.45 seconds, giving 108 units of horizontal travel.
| Route element | World position | What the jump should do |
|---|---|---|
| First gap | x=340–404; first shelf x=404–740 | From the lip at x=340, travel 108 units and land at x=448, 44 units onto the shelf. |
| First lantern | x=448 | Landing within 24 units lights it and reveals bootprints toward the next shelf. |
| Second gap | x=740–804; second shelf x=804–1000 | From the lip at x=740, the same jump reaches x=848, 44 units onto the shelf. |
| Second lantern and exit | Lantern x=848; exit x=960 | Light the cue on landing, then continue along the stable shelf to win at the exit. |
The 64-unit gap is shorter than the jump’s 108-unit travel. That leaves 44 units between the expected landing point and the far lip, rather than asking the player to land exactly on an edge. The two gaps repeat the same measurement, so a reader can inspect one crossing and compare the second without changing the jump rules midway through the level.
When the player lands within 24 units of either lantern, it lights and reveals a short trail of bootprints toward the next stretch. The outcome illustration shows that authored landing state: the traveler is down beside the warm lantern, and the prints lead along the cliff path toward the lighthouse. This is a planned visual cue, not evidence that a playable game produced it.

Give failure a clear reset too. If the traveler falls below y=500, reload the full scene at x=80, reset camera follow and both one-time trigger flags, and turn both lanterns dark again. Touching the exit marker at x=960 after the second shelf wins. There is no timer, health bar, enemy, boss, score, or alternate exit rule in this design. Keeping those states fixed makes camera timing easier to inspect.
Revise camera timing with a paper check
Before comparing camera versions, calculate the run-up to the lip. The first trigger is at x=220 and the gap lip is at x=340, so the player has 120 units to travel. At 120 units per second, the run-up takes exactly one second. The second trigger at x=620 is also 120 units from its lip at x=740, so the same timing check applies there.
| Paper version | Pan duration | Time from trigger to lip | Framing at the lip |
|---|---|---|---|
| v0 | 1.20 seconds | 1.00 second | The pan remains in progress for 0.20 seconds as the player reaches the decision point. |
| v1 | 0.80 seconds | 1.00 second | The reveal settles at x=316, 0.20 seconds before the player reaches the lip. |
For the paper revision, change only pan duration from 1.20 to 0.80 seconds. Keep the trigger, player speed, jump arc, platform positions, and reveal target fixed. In v0, the player reaches the lip while the view is still moving. In v1, the view settles after 0.80 seconds; the player has moved 96 units from x=220 to x=316 and has 24 units left before x=340. The same 120-unit run-up repeats at the second gap.
| Run | Pan | Landing visible at lip? | Avatar visible? | Input live? | Notes |
|---|---|---|---|---|---|
| 1 | |||||
| 2 |
This is arithmetic over fictional settings, not an observed result and not proof that 0.80 seconds feels best. In an actual build, run the same approach twice and record whether both lips and the far shelf are visible when the traveler reaches the near lip, whether the avatar stays on screen, and whether directional input remains live. Leave observations blank until a real run. If the view still hides the landing, adjust the target composition; do not claim a timing improvement from the calculation alone.
Review the story cue and your own build
A short scene card keeps the camera, jump, and story cue connected. Before you build, write down the trigger position, the frame the player should see, the gap width, the jump travel, the safe landing point, the cue that appears on landing, and the reset after a fall. Then inspect those same items in the playable result. A reveal that looks dramatic but hides the far edge has not solved the reader’s problem.
SEELE’s official Free AI Game Maker page describes a general workflow: describe a game idea in plain English, review a playable 2D or 3D result, and iterate in Workspace. That supports using a compact scene brief as an input and inspecting what comes back; it does not promise that a particular camera pan, jump arc, or lantern trigger will be implemented. Before each generation, check the Koin cost shown in the interface, then verify the actual framing and controls in your result.
For your own side-view scene, start with one reveal and one landing cue. Keep the player visible, show the landing before the jump, and change one camera value at a time when you test. Open the Free AI game maker to describe that first playable idea and review what it produces. Lightwell Steps remains a fictional example, not a SEELE result.
Frequently asked questions
What makes a platformer feel cinematic?
A cinematic platformer uses framing, timing, scale, and scenery to guide attention while keeping the player able to read and control movement. In this example, the camera reveals a safe shelf before a jump, and a lantern gives the landing a small story cue. Those are design choices to check in a build, not universal rules or proof of a particular camera implementation.
Should the camera move during a jump?
It can, if the movement does not hide the landing or make the player lose track of the avatar. Lightwell Steps settles the reveal before the lip in its v1 paper plan, then holds the frame across the jump and returns to follow after landing. Test the exact timing with live input; a smooth pan is not useful if it conceals the far edge.
How much of the landing should be visible?
Show both gap lips, the complete gap, and enough of the far shelf to identify a safe landing point. The 320-unit reveal in this example includes the lantern at x=448, while a 108-unit jump lands 44 units onto the shelf. Use your own jump range and player size to set a safe margin rather than copying these fictional values.
How can I compare two camera timings?
Hold the player speed, trigger, gap, camera target, and jump constant, then change only pan duration. Record whether the full landing is visible at the lip, whether the avatar stays in frame, and whether movement input remains live. The 1.20-to-0.80-second comparison here is a paper calculation; only a real build run can tell you how it feels to play.
Was Lightwell Steps generated or playtested?
No. Lightwell Steps is an original fictional design exercise. Its positions, jump range, camera timing, landing cues, and reset are stated assumptions, and the comparison is calculated from them. No prompt was run to generate a playable level, and no measured iteration or player test is claimed. The three images show planned game states, not screenshots from an existing game.