An AI image generator can give you a dozen lantern designs before you settle on one. It can’t tell you which one snaps cleanly to a hook in your Unity scene or whether a potion bottle is readable from the gameplay camera. Those are project decisions. Unity CLI 1.0 makes the handoff easier to automate: an image generator produces candidate artwork, an agent turns your instructions into project actions, and the CLI gives that agent a way to work with Unity. With the Pipeline package, the agent can use supported operations against a running Editor rather than asking you to repeat every check by hand.
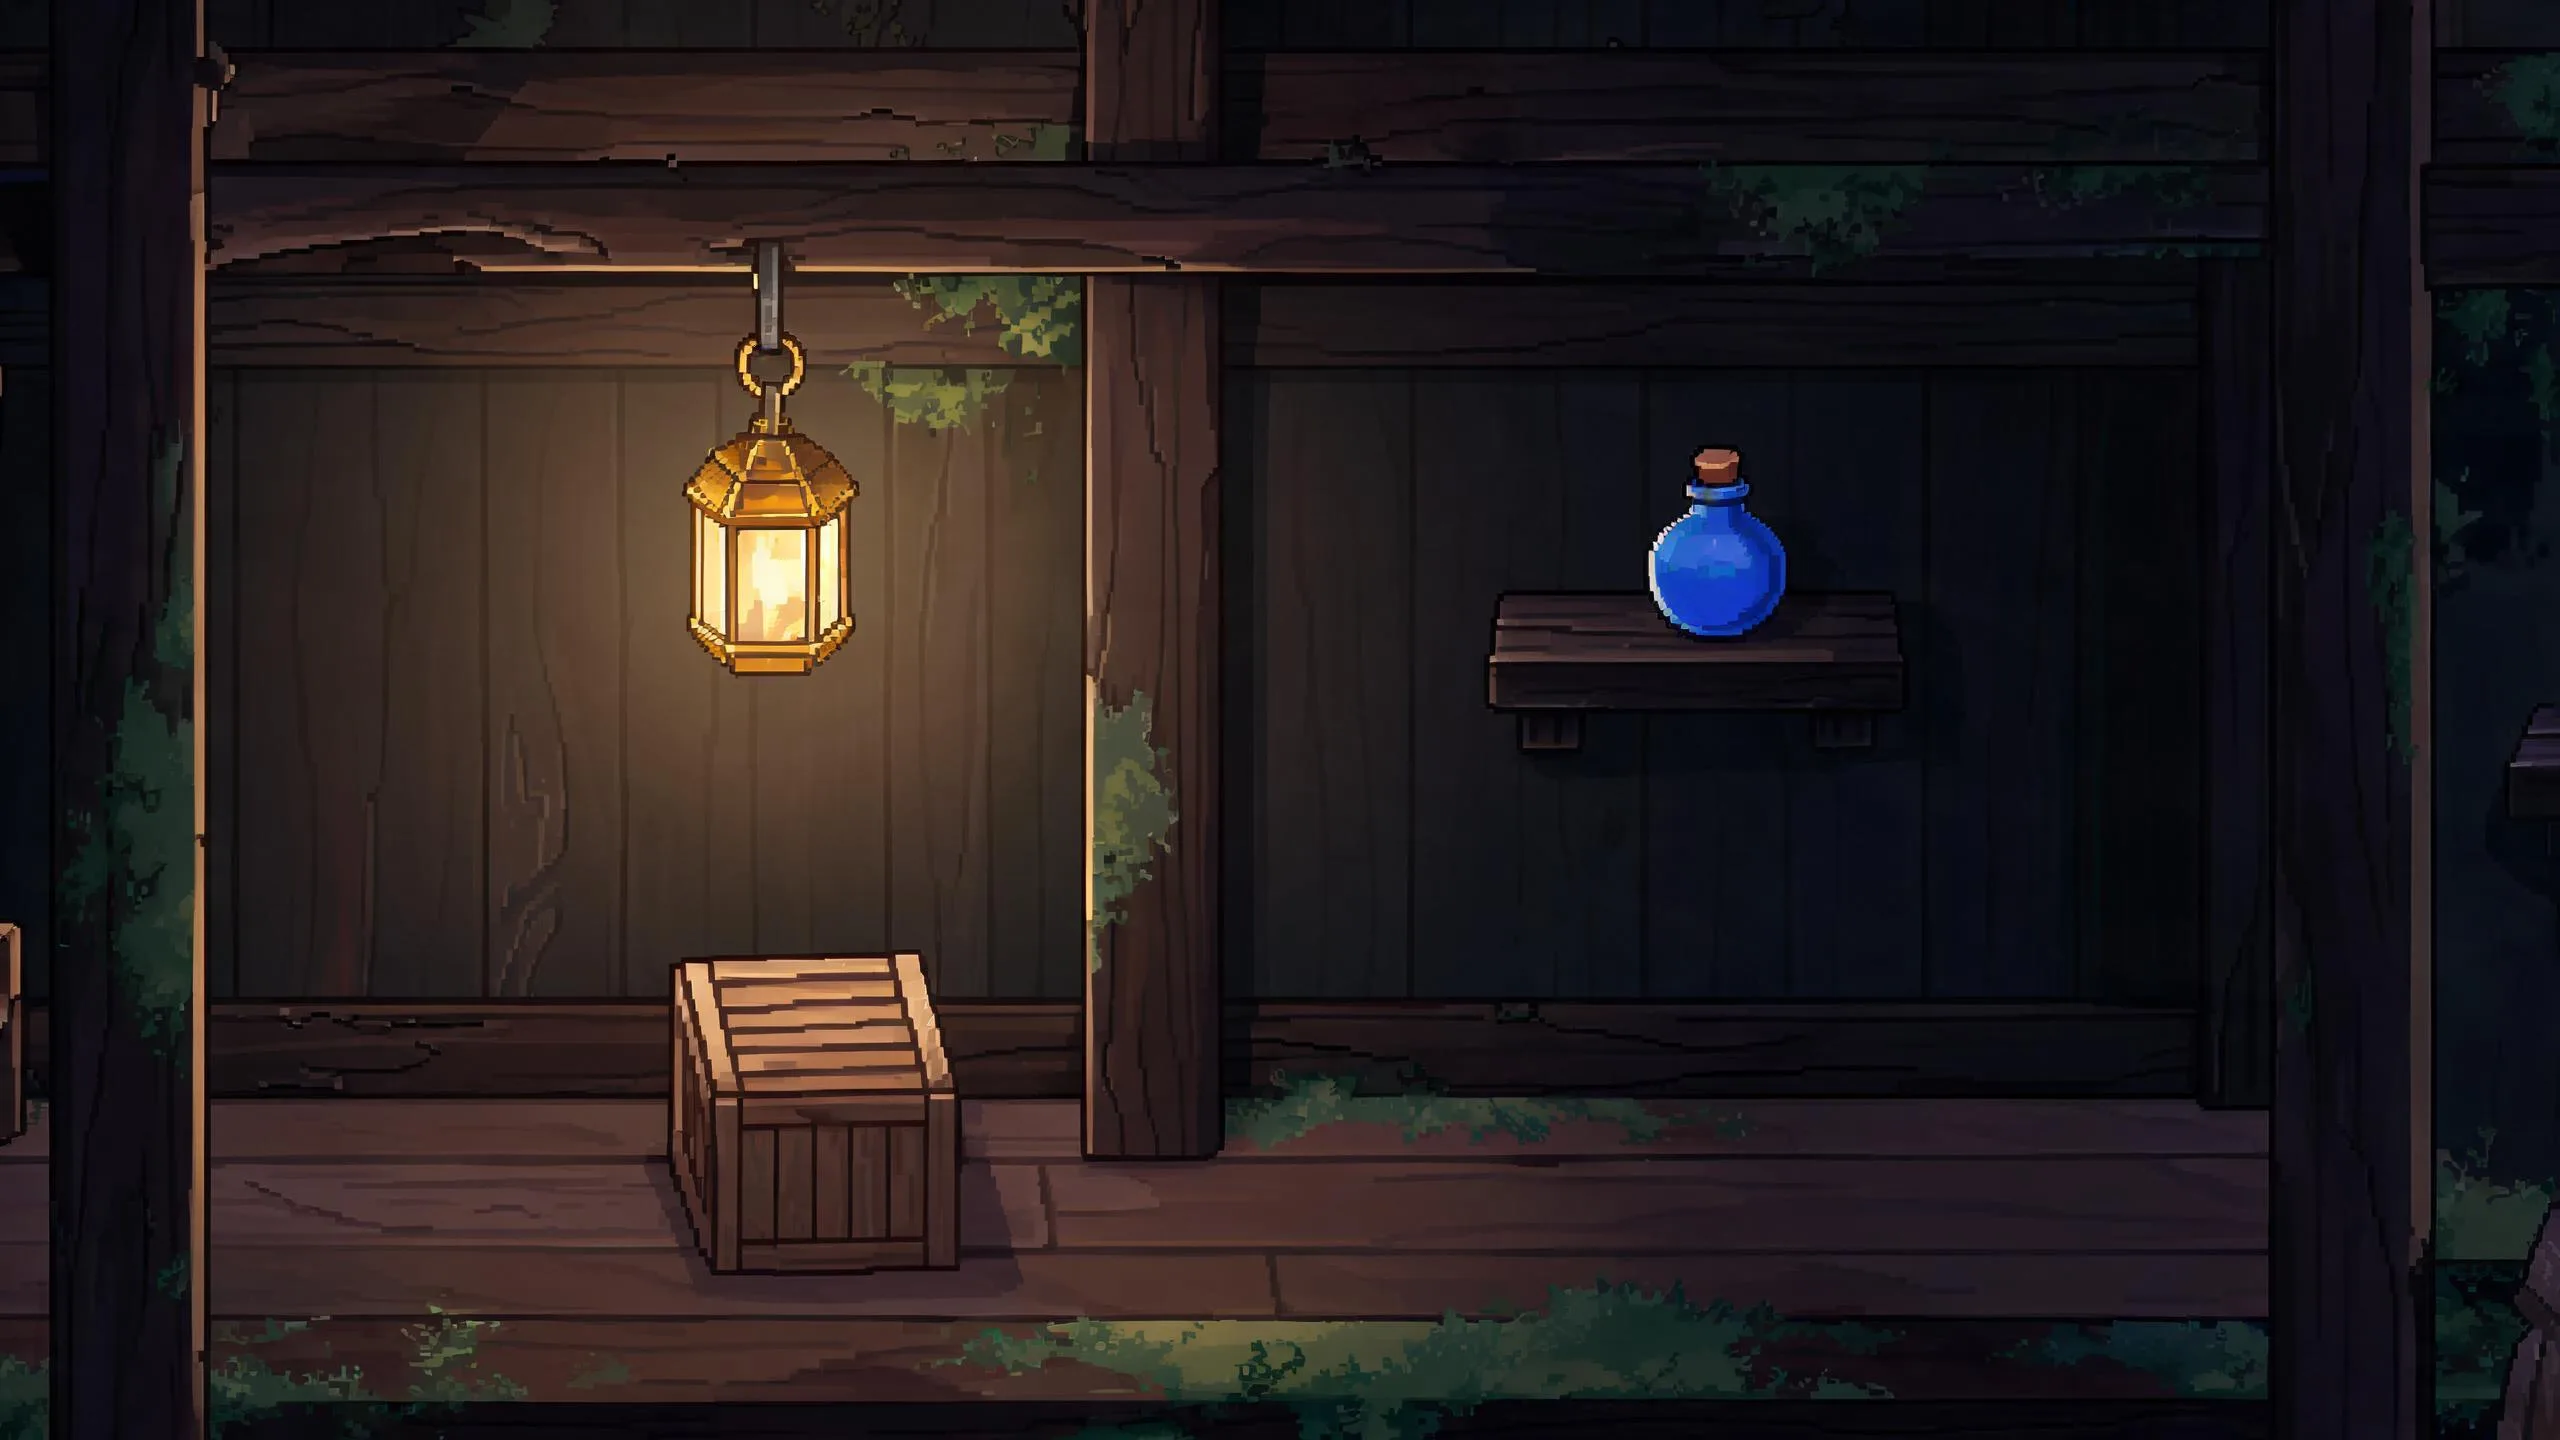
Here’s a worked example for three props in a 2D forest shop: a hanging lantern, a wooden crate, and a blue potion bottle. The goal is not just three PNGs. It’s three imported sprites with repeatable settings and a scene you can review.
What Unity CLI 1.0 adds to an AI asset workflow
Unity CLI 1.0 and the Pipeline package serve different purposes. The CLI manages Unity Editor installations, modules, and projects. The Pipeline package (com.unity.pipeline), which moved out of preview alongside the release, extends that workflow to a running Editor so an agent or script can invoke supported operations and inspect the result. Managing an Editor installation and operating on the project open inside that Editor are different jobs.
JSON or TSV output gives scripts something structured to parse, while exit codes and non-interactive execution help CI distinguish a failed step from a successful one. Version-control tooling can help reviewers see which assets a scene or prefab change touches. Existing MCP integrations can keep using MCP mode where it fits their setup. None of this makes the CLI a native sprite generator or gives it built-in knowledge of your art standards.
Official announcement: The Unity CLI 1.0 Is Here.
From an art brief to three reviewed sprites
1. Give the generator an art brief and the agent a separate task
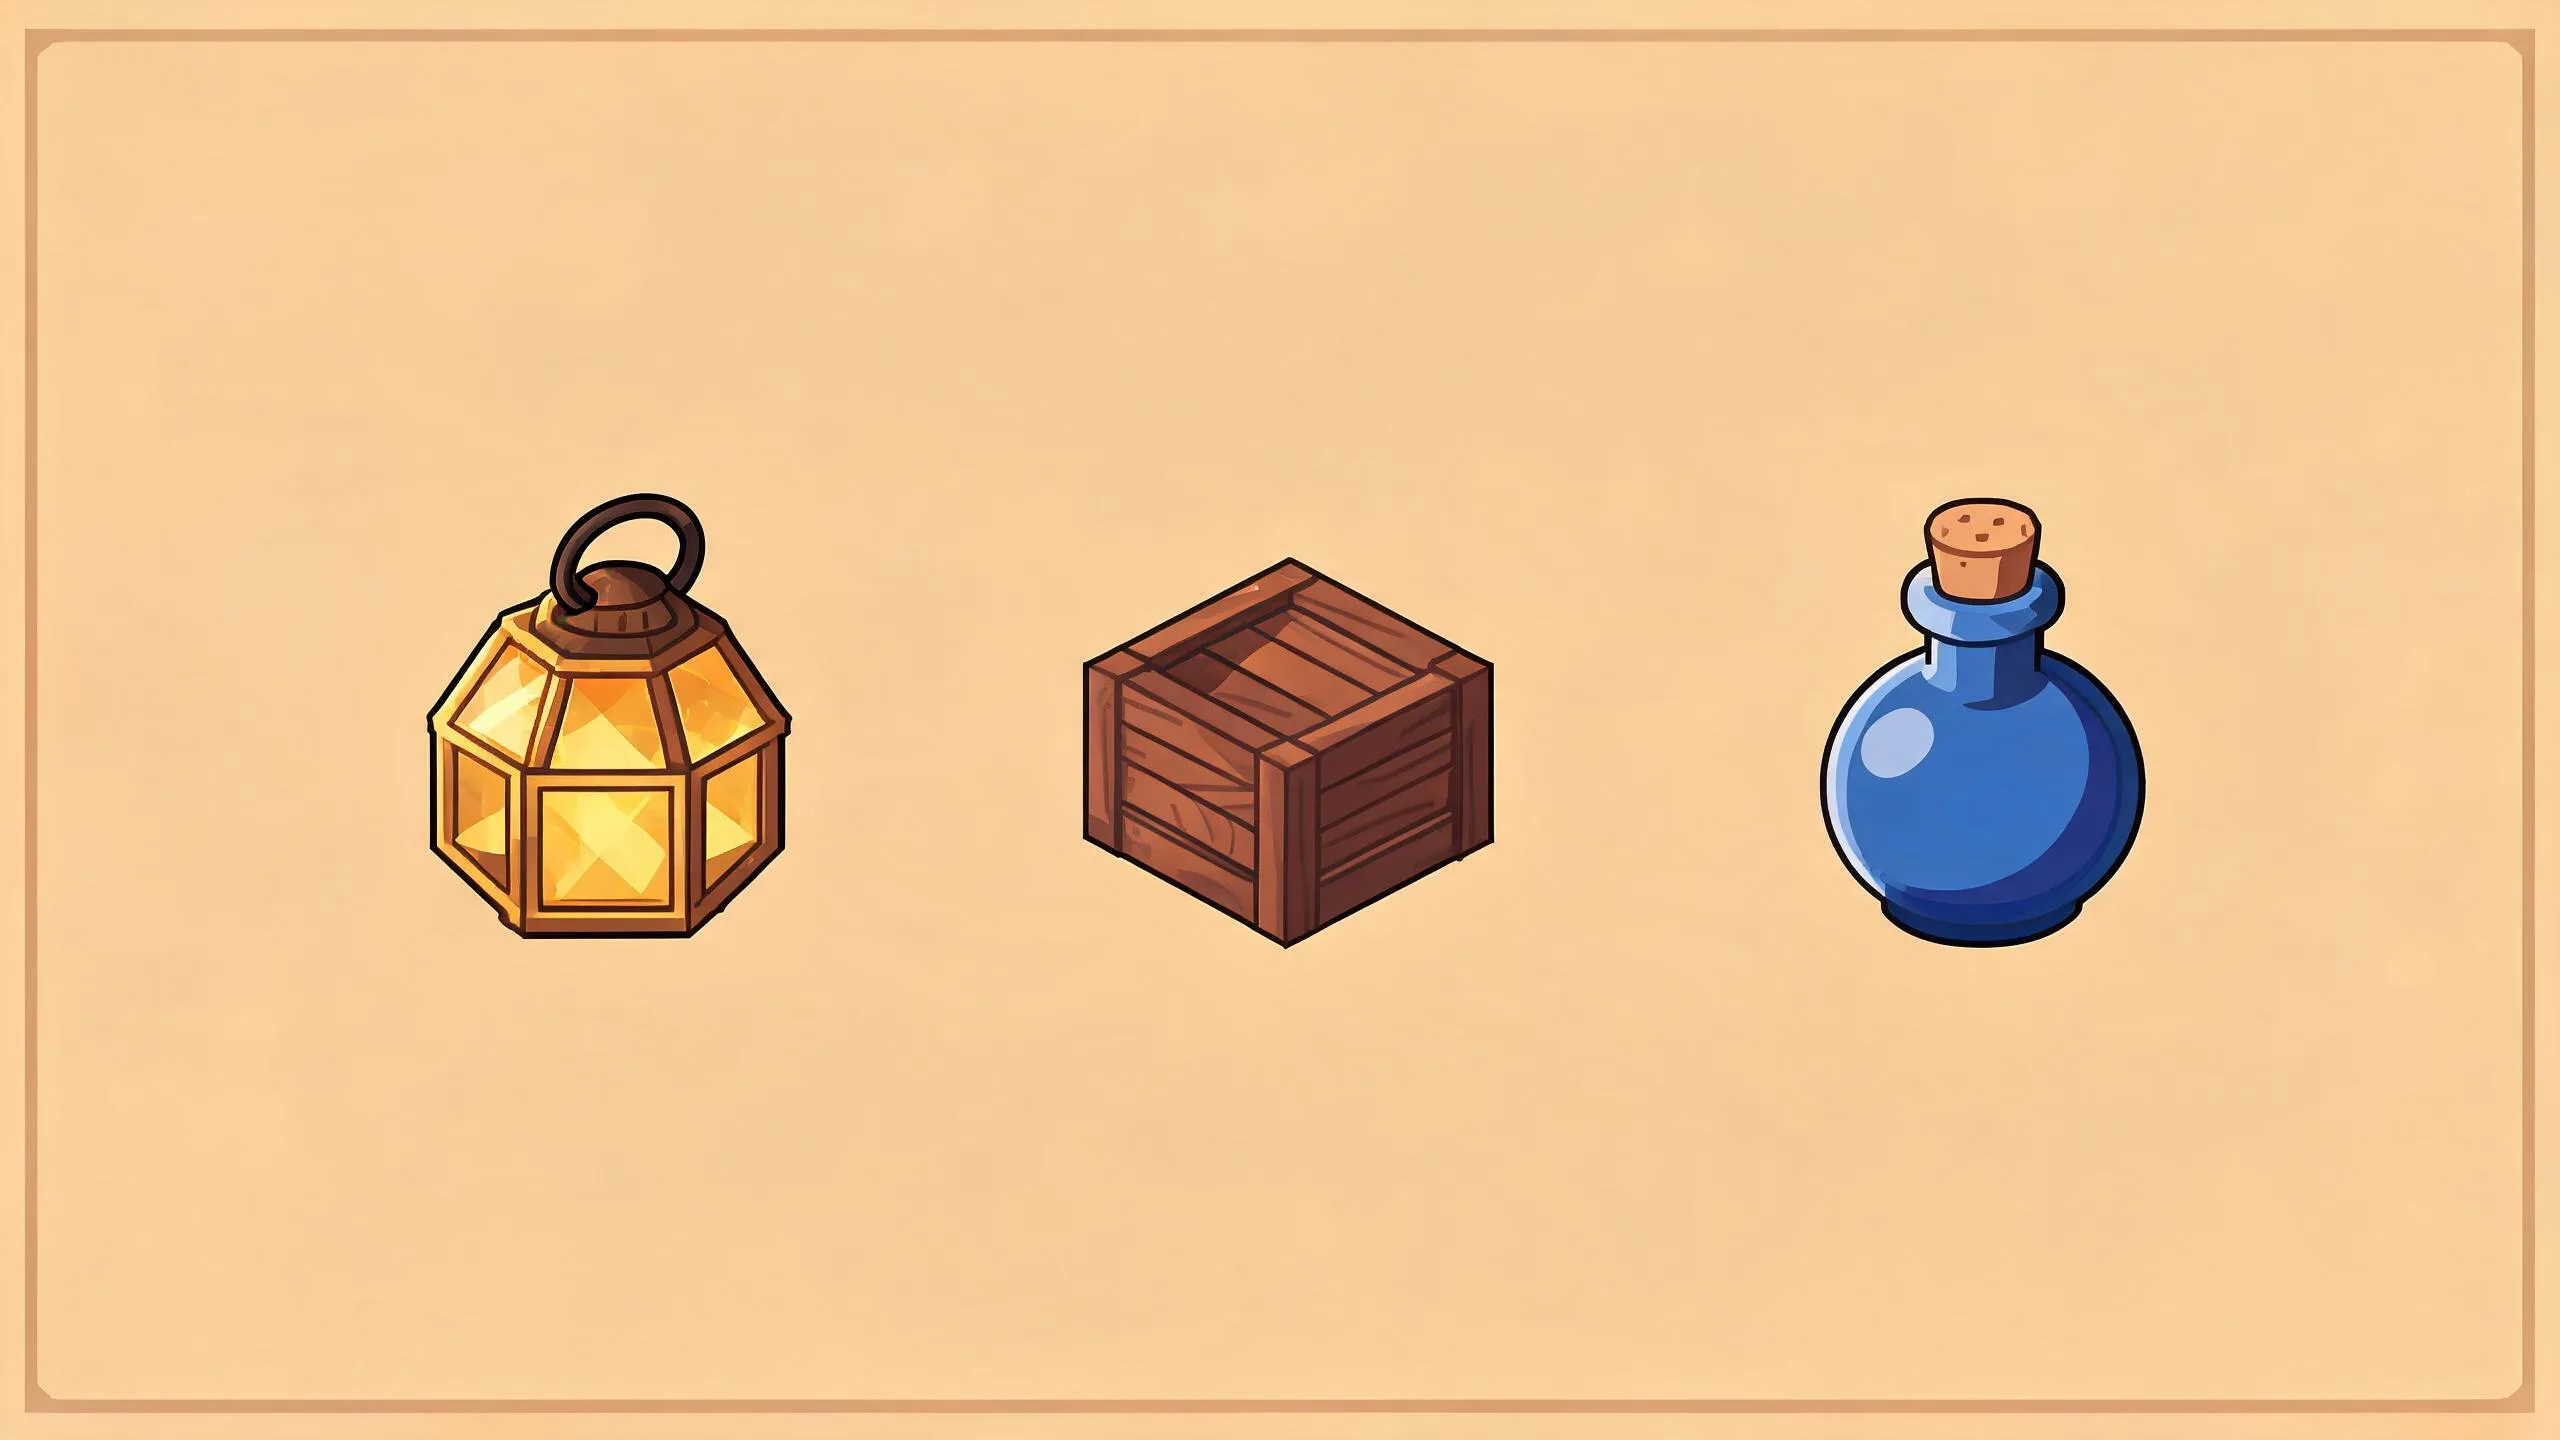
Start with a 2D Unity project, a scratch review scene, and a known camera scale. Use an image generator for the artwork. Give it one prop at a time and keep the viewing angle, palette, outline weight, and direction of light consistent. For example:
Draw one stylized 2D prop for a cozy forest shop: a brass lantern, a low wooden crate, or a squat blue potion bottle. Use a slightly elevated front view, broad silhouettes, muted outlines, and soft light from the upper left. Keep the full object isolated, with no ground shadow, lettering, or extra objects.
Pick the lantern first. If your image tool takes reference images, use that approved lantern to guide the crate and bottle. Check each candidate on both light and dark backgrounds, clean the edges, and confirm the alpha channel is real. Save only the approved PNGs to Assets/Art/ForestShop/ with stable names: shop_lantern.png, shop_crate.png, and shop_potion.png. Keep alternates outside the project’s Assets folder.
2. Let the agent apply a narrow import spec
Open the intended project in a compatible Unity Editor with the Pipeline package available. Configure the agent and CLI using Unity’s instructions for your versions. Work on a branch or in a test project first. Give the agent the exact file paths and the acceptance criteria rather than asking it to “fix the art.” For example:
In the forest-shop test project, inspect only these three PNGs. Use the documented Unity CLI and Pipeline operations available to the running Editor. Set each one to Sprite (2D and UI), Single mode, with the project’s agreed Pixels Per Unit. Put the crate and bottle pivots at bottom center and align the lantern pivot to its hanging point. Report the resulting settings and any files changed. If an operation isn’t available, stop and identify the manual step. Don’t edit unrelated scenes or assets.
The prompt describes the task, not CLI syntax. If the integration cannot edit a particular import setting, set it in the Editor or expose it through a project-owned Editor script. Don’t assume a built-in sprite validator exists. For the import controls, see Unity’s Sprite texture settings.
3. Check machine-readable rules before judging the art
A project-owned check can assert that all three paths exist, import as sprites, and use your chosen scale and pivot settings. Have the agent run the checks your project exposes and return a short report listing each asset, its settings, and any failures. In CI, have a required check return a failing exit code when it finds a mismatch, and keep the structured output for review. A passing exit code means your explicit checks passed, not that a sprite looks good.
4. Review the scene from the gameplay camera
Place the approved sprites in the test scene and enter Play Mode. Check that the lantern meets the hook, the crate doesn’t float, and the blue bottle remains readable against the darkest shelf. If placement is off, check pivots and transparent padding before nudging the object. If the silhouette disappears, revise the artwork. Finally, review the changed PNGs, their .meta files, and any scene or prefab edits before merging.
Start with one sprite, not a fully automated art pipeline
Prototype the shop concept in SeeleAgent to decide what each prop needs to communicate: the lantern marks the entrance, the crate is background dressing, and the bottle is an item the player should notice. Use that concept to write a sharper art brief; keep final PNG approval, Unity import, and visual sign-off in your Unity project. Start with the lantern. Once the import settings and acceptance checks are stable, repeat the handoff for the crate and bottle. Automate the checks you can describe precisely; leave decisions about readability and style to the reviewer.
FAQ
Does Unity CLI 1.0 generate sprites on its own?
No. In this workflow, a separate generator produces the image and the agent carries out the task. Unity CLI and the Pipeline package provide a path to operate on the Unity project and inspect supported results. You still need to select the output, verify usage rights, and review the imported sprite.
Do I need to replace my existing MCP setup?
No. Unity CLI supports MCP mode, so an existing MCP integration can remain in place while you evaluate the CLI. Pick the interface that fits your agent and project, and verify which Editor operations it exposes before relying on it in a build or a team review.
Does a free CLI mean automated Unity builds are license-free?
No. CLI availability is separate from Unity Editor licensing. You can follow the forest-shop example in a running Editor without Docker. If you later move checks or builds into CI, review Unity’s current Build Server licensing guidance and make sure your license covers the workload you plan to run.
What should I commit when replacing an approved sprite?
Commit the new image and keep its matching Unity .meta file. When it’s still the same prop, replace it in place rather than deleting and re-adding it under a different name. Review the diff for unexpected import changes and keep rejected generations outside the Unity asset folder.