To make a colony-management game with AI, give a small group of settlers more work than they can do at once. Assign each person a job, add what they produce to shared stock, then take out what the settlement needs to survive. The same worker who repairs a building is also someone you need to feed.

Make worker selection and job destinations visible
A selection ring can show which worker you clicked. Give each job destination a distinct marker so you can see where the worker can be assigned.

Assign three settlers to two competing jobs
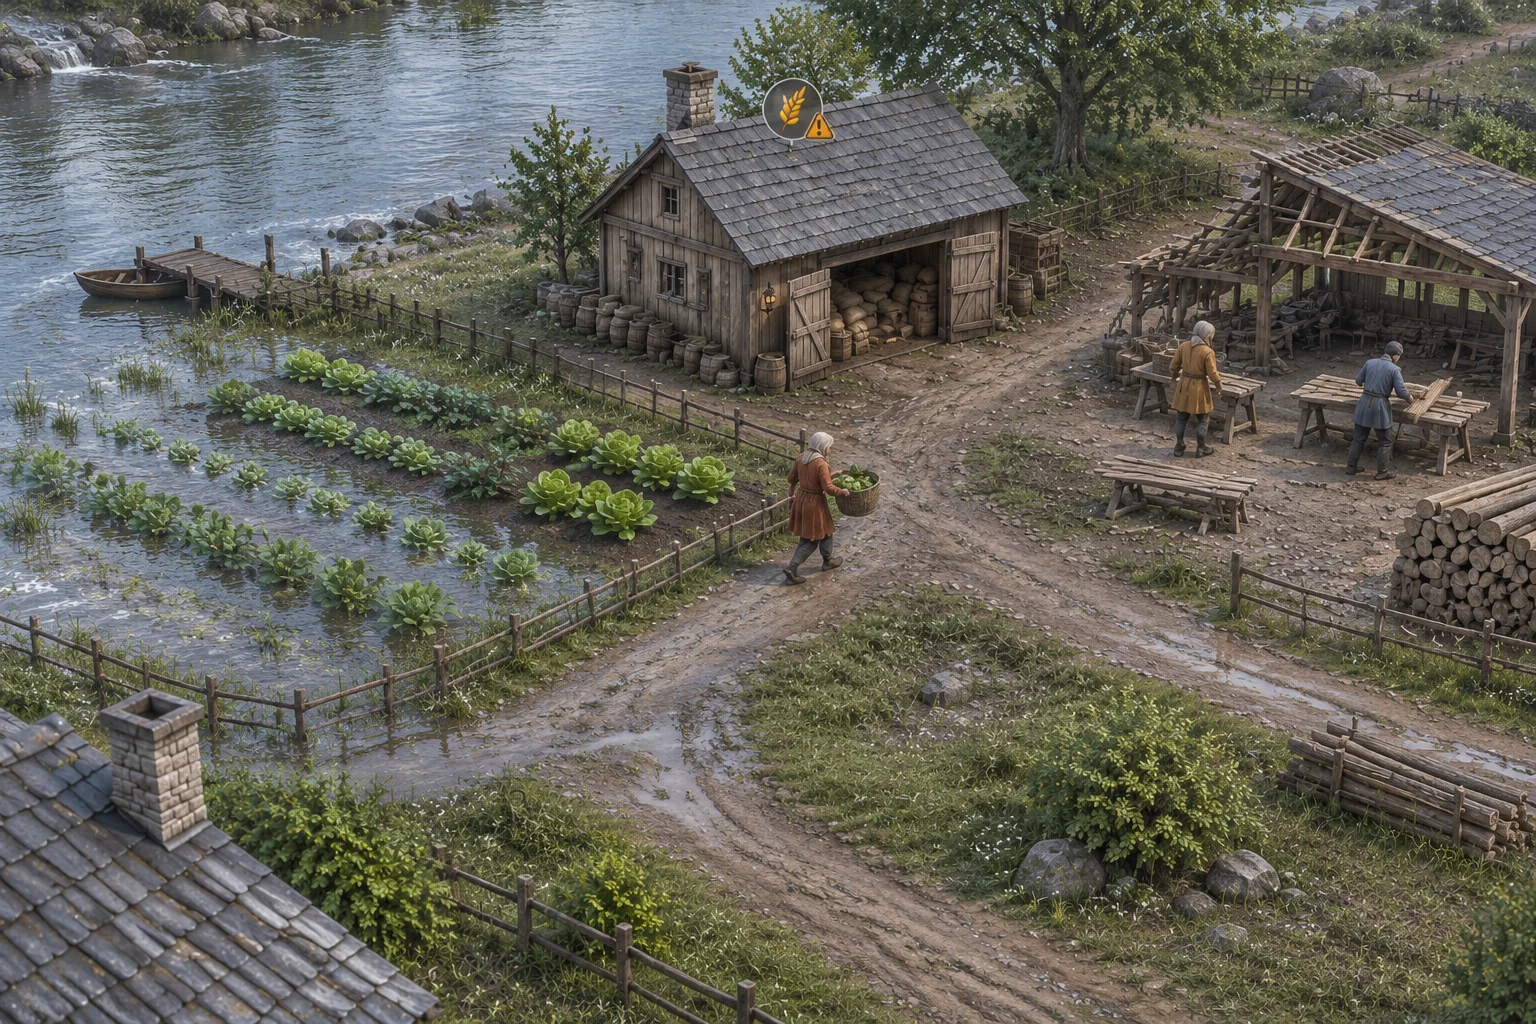
In this fictional four-day design, three settlers divide their time between gathering food and repairing a communal shelter. The shelter needs three repair points by the end of Day 4. Everyone needs a ration every day. On Day 3 the river rises and the forage patch produces less, so a schedule that worked yesterday can fail today.
Start with three food in storage and no repair progress. During planning, each settler takes one job for the day. A gatherer adds two food on Days 1, 2, and 4. On Day 3 a gatherer adds one. A repairer adds one repair point every day. Show the current day's rates before the player commits.
Keep the same three people visible as the workforce and the people who eat. Selecting a settler should show their current job, and moving them to the other job should remove them from the first. Change the assignment as often as you like during planning. The game uses the assignments present when the day commits.
Resolve the day before you advance the calendar
Use the same order every time the player commits. Save the current jobs, add food and repair output, then serve three rations. Food that remains stays in storage for the next day. Show opening stock, food gathered, rations served, and closing stock separately, alongside repair progress.
| Step | Rule | What the player sees |
|---|---|---|
| Validate jobs | All three settlers must have one job each. | Any missing assignment is flagged before the day changes. |
| Produce | Apply the day's gathering rate and add one point per repairer. | Food and repair outputs appear as separate entries. |
| Feed | Spend up to three food. If there is less than three, record how many rations are missing and end the run. | The stock stops at zero and the missing ration count explains the loss. |
| Check the deadline | After everyone eats on Day 4, finish successfully with at least three repair points. Otherwise show shelter failure. | A food shortage and an unfinished shelter have different end messages. |
Three available food is enough for the day and leaves zero in storage. Two available food leaves the same closing stock but misses one ration. Keep the shortage in its own field so the game can tell the difference. Finishing the shelter early still leaves days to feed the settlers.
Compare what happens when the river rises
Assign two gatherers and one repairer each day. A normal day adds four food and uses three. Day 3 adds only two, but the reserve from Days 1 and 2 covers the difference.
| Schedule | Closing food by day | Repair points by day | Outcome |
|---|---|---|---|
| Two gatherers and one repairer throughout | 4, 5, 4, 5 | 1, 2, 3, 4 | Both needs met |
| One gatherer and two repairers throughout | 2, 1, 0 | 2, 4, 6 | One ration missing on Day 3 |
| Same repair-heavy start, then three gatherers on Day 3 and two on Day 4 | 2, 1, 1, 2 | 2, 4, 4, 5 | Both needs met after reassignment |
| Three gatherers throughout | 6, 9, 9, 12 | 0, 0, 0, 0 | Shelter unfinished on Day 4 |
In the repair-heavy run, the colony opens Day 3 with one food and gathers one more if you keep the old schedule. That leaves two available for three people. Reassign one repairer and you can serve all three with nothing left in reserve. Reassign both and you carry one food into Day 4. In this run the shelter is already past its repair target, so the second reassignment gives up progress you do not need.
Give AI the workforce, rates, and end rules together
SEELE's survival game maker provides a prompt-led starting point for a prototype around a resource choice. Describe the assignment and accounting rules before working on the settlement's appearance. Simple buildings and a small ledger are enough to check the first build.
Create a four-day browser colony-management prototype beside a river.
Start Day 1 with three named settlers, three food and zero repair points.
Each settler has exactly one job at day commit: gather or repair.
Allow moving a worker to the other job during planning. Reject a missing
or duplicate assignment without changing stock, progress or day.

On commit, take one snapshot of the jobs and resolve the day once.
Reject any repeat commit for the same day.
A gatherer produces two food on Days 1, 2, and 4, and one on Day 3.
A repairer produces one point every day. Show the rates during planning.
Add both outputs before feeding all three settlers. Each needs one food.
If fewer than three food are available, use what remains, record the
missing rations and end immediately. Never show negative stock.

If Day 4 ends with everyone fed, win at three or more repair points.
Otherwise end with an unfinished-shelter result. Keep playing if the
repair target is reached early. Show opening stock, production, rations,
closing stock, repair progress, and the outcome. Restart returns to Day 1
with three food, zero repair and a clear roster. Use simple buildings
and visible jobs. Leave out travel times, combat and population growth.
Check that the game records one day at a time
- Move a settler from gathering to repair. The worker appears in one job only. Remove an assignment and try to commit. Nothing advances.
- Commit a complete roster and press the button again while it resolves. Only the committed day adds output and takes rations.
- On Day 3 with one food in storage, commit two gatherers. All three settlers eat and stock reaches zero. Repeat with one gatherer and verify the separate shortage result.
- Reach three repair points before Day 4. The run continues. Try the all-gatherer schedule as well, and check that it fails for repairs after its final ration check.
- Restart from a loss and from a win. Day, inventory, progress, assignments and previous results return to their opening state.
Try a forecast before changing the rates
Suppose testers see that Day 3 gathering pays less, yet still approve a shift that leaves someone unfed. Try a preview that shows opening stock plus the planned harvest, minus today's three rations. In the repair-heavy example, that preview would say one ration is missing. Update it when a settler moves, so players can see whether the change solves the problem.
Compare decisions from the same Day 3 state with and without the preview. Keep the starting stock, workforce, yields, and deadlines fixed. Observe whether players reassign a worker before committing and can explain the shortage in their own words. Then rerun the ledgers to make sure a preview never changes stock on its own.
Frequently asked questions
How many jobs should a first colony prototype have?
Start with two that compete for the same workers. One can meet an immediate need while the other works toward a deadline. Add a third when it creates a decision the first two cannot express, such as bringing stored food to a second camp.
How are food stock and gathering rate different?
Stock is what the settlement has available before assignments resolve. Rate is what a worker adds during the day. A high stock can cover a low-rate day, but once it runs down, today's staffing has to meet demand on its own.
When should I warn players about a shortage?
Show a forecast while the player can still move workers. After the day resolves, report how much food was available and how many rations were missing. A forecast helps someone act, while a result explains why the colony reached that state.
When should I add more buildings?
Add a building after the job changes, stock ledger, and failure checks work. Give the building a purpose that changes a decision. A pantry that saves excess food for later can matter if storage has a real limit or resources spoil.
Start with the four-day colony
Put the three settlers on a shared roster, make every ration visible in the ledger, and try a shift that succeeds and one that fails. Start a colony survival prototype with SEELE.