Direct answer: use a deformation-first low-poly pipeline
A low-poly character for Unreal Engine should be built around deformation, silhouette, and a measurable runtime budget—not around the smallest possible triangle count. Define the target camera and platform first, keep enough edge loops at the shoulders, elbows, hips, knees, hands, and face, then rig and test extreme poses before export. For the most predictable Unreal handoff, export the character and its skeleton as FBX, import it as a Skeletal Mesh, validate scale and materials, configure IK Rig and IK Retargeter assets when animation must move between skeletons, and prove the result in a representative packaged scene.
Do not treat a successful import as the finish line. A usable result must preserve the bind pose, bone hierarchy, skin weights, material assignments, animation timing, root-motion decision, collision behavior, and LOD transitions. Nanite can be relevant to supported deforming geometry in current Unreal versions, but it does not replace rig quality, animation testing, platform profiling, or conventional Skeletal Mesh LOD planning.
Fast workflow
- Write a character budget from camera distance, screen size, platform, crowd count, and animation range.
- Model the silhouette and deformation loops; remove detail that never changes the silhouette or material response.
- Create UVs, normals, and a small material-slot plan before skinning.
- Rig, bind, and test extreme poses in the source DCC.
- Export an FBX with the mesh, required skeleton, and only the intended animation data.
- Import as a Skeletal Mesh and verify units, axis, bind pose, materials, physics assets, and warnings.
- Retarget through IK Rig and IK Retargeter assets when source and target skeletons differ.
- Build LODs and validate animation, shadow quality, collisions, memory, and frame time in a packaged build.
Define the character and performance budget before modeling
“Low poly” is an art and production decision, not a universal polygon number. A hero character seen from the waist up needs a different silhouette and deformation budget from a crowd character that occupies 40 pixels of screen height. Before opening the modeling tool, record the target platform, minimum camera distance, maximum simultaneous characters, animation set, material count, texture budget, skeleton complexity, and frame-time allowance. A concrete brief prevents late arguments about whether an elbow needs another loop or a belt should be geometry.
Use a representative shot as the acceptance fixture. For a third-person game, that might include the normal follow camera, one close interaction, a sprint, a crouch, and a sharp turn. For an isometric game, prioritize the overhead silhouette and readable limb separation. For a mobile crowd, test the busiest encounter on target-class hardware instead of judging one character in an empty editor map.
Separate three budgets:
- Visual budget: silhouette at the nearest and most common camera distances, readable facial or hand detail, and the intended faceted or smooth shading style.
- Deformation budget: joints that must bend, twist, compress, or preserve volume, including corrective shapes if the project uses them.
- Runtime budget: triangles per LOD, material slots, texture memory, bone count, animation evaluation, shadow cost, collision, and simultaneous actor count.
The budget is a hypothesis until tested. Keep the source mesh and test scene versioned so later reductions can be compared against the same poses and cameras.
Build the source mesh for clean deformation
Start with the largest readable forms: head, torso, pelvis, limbs, hands, feet, clothing masses, and equipment. Spend geometry where the silhouette changes or where a joint must bend. Long straight regions can stay sparse; shoulders, elbows, hips, knees, wrists, and ankles need enough topology to fold without collapsing. A faceted style can still require several rings around a joint even when the surface deliberately shows planar faces.

Keep topology ownership clear. Weld seams that should deform continuously. Separate rigid accessories when they need independent transforms or materially simpler weighting. Avoid accidental doubled faces, non-manifold edges, isolated vertices, and zero-area polygons. Apply or document transforms before binding, and keep the character at a known world scale. If mirrored geometry is used during authoring, resolve symmetry and inspect the center seam before export.
Test the silhouette in flat lighting and at final screen size. Small bevels, tiny pockets, and modeled stitching often disappear at game distance while still increasing vertex and shading cost. Replace them with normal, color, or mask information when the visual survives. Conversely, do not delete the few vertices that define a recognizable jaw, shoulder line, boot, or weapon profile merely to hit an arbitrary round number.
Three practical examples show why one triangle target fails:
- A blocky robot can use rigid sections and fewer deformation loops, but it may need extra geometry at the outline and separate parts for mechanical motion.
- A stylized human needs reliable shoulder and hip topology even if the face is simple, because locomotion exposes poor skinning immediately.
- A distant crowd character may share animation and aggressively reduce fingers, facial structure, materials, and shadow detail, but only after the crowd shot proves the reduction is invisible.
Plan UVs, textures, normals, and material slots
Low geometry does not guarantee a cheap character. Multiple material slots create additional draw work, oversized textures consume memory, and inconsistent normals can make a simple mesh look broken. Create a material plan before export: decide which surfaces truly need separate shaders, which colors can share an atlas, and whether masks can replace additional materials. Keep UV islands padded for the intended mip chain and test the lowest expected texture resolution.
Choose shading intentionally. Flat normals reinforce a faceted style; smooth normals can make a sparse mesh appear rounder but may expose gradients across poorly arranged triangles. Hard edges can split render vertices, so the source vertex count is not the whole GPU cost. Inspect tangents and normal-map seams in the destination engine rather than assuming the DCC viewport is authoritative.
Name texture and material assets predictably. Record color-space and compression intent for base color, normal, roughness, metallic, opacity, and packed masks. Unreal material setup is a separate destination task: an imported material graph is rarely proof that the shader is correct, efficient, or consistent with the project's master-material policy.
Rig, skin, and stress-test the bind pose
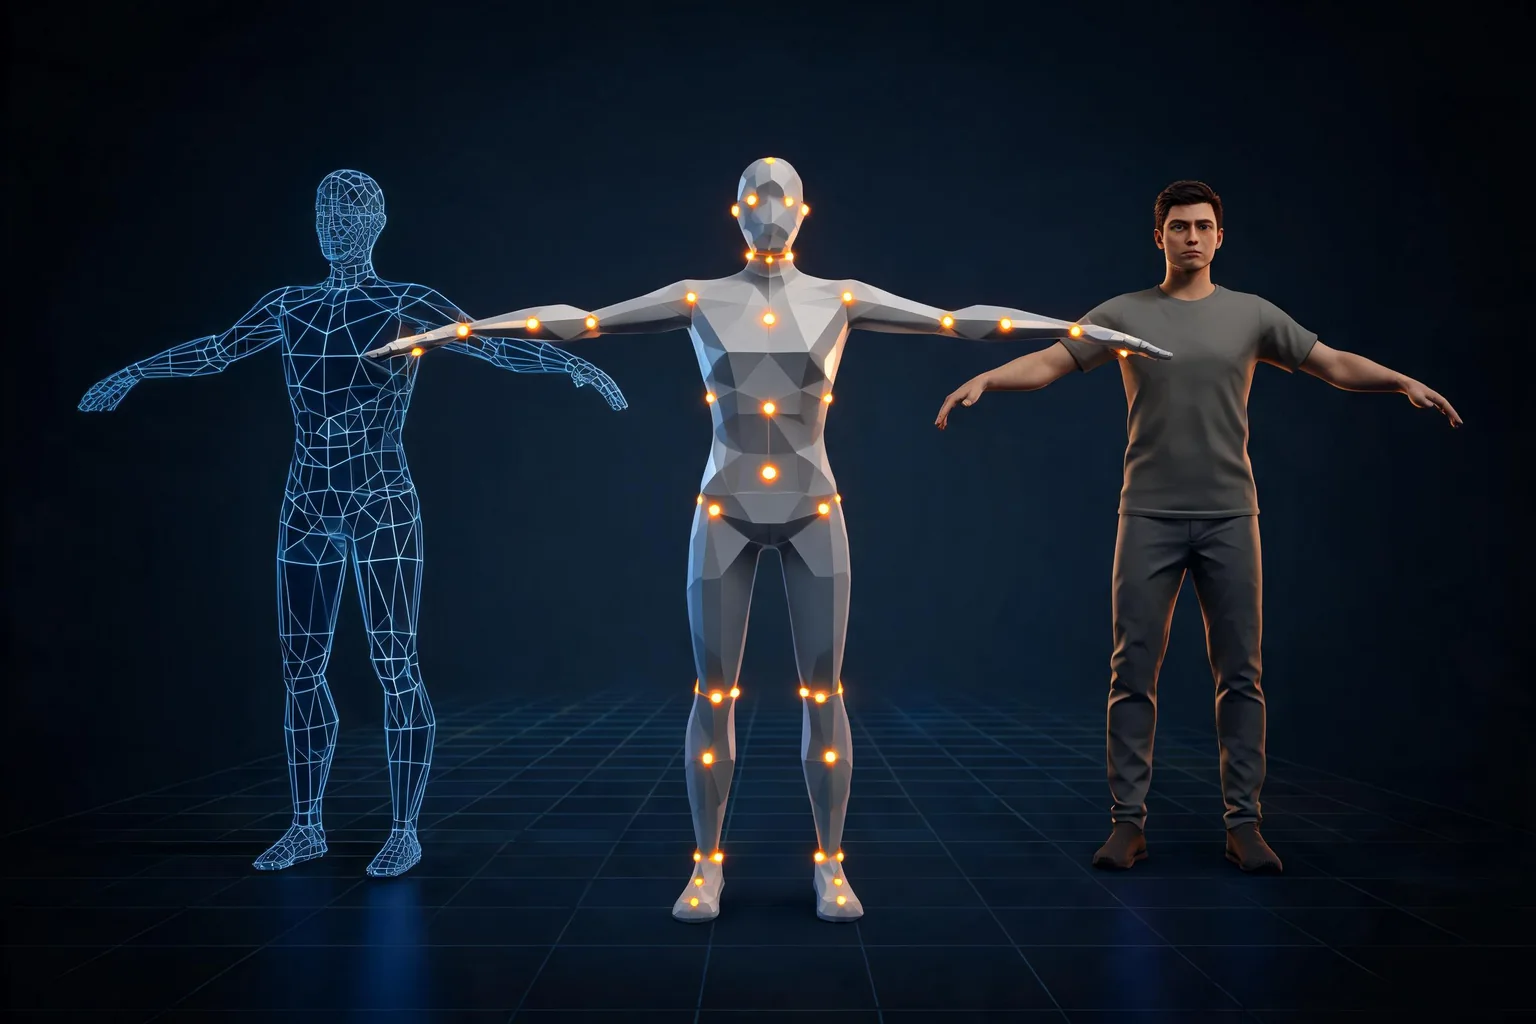
Build the skeleton for the animation set, not for a generic humanoid checklist. Name bones consistently, keep a stable hierarchy, define the root-motion owner, and avoid adding helper bones without knowing whether they must export. The bind pose should support the intended retargeting and deformation range. An A-pose often gives the shoulders more natural room; a T-pose can simplify some alignment checks. The correct choice is the one shared by the source skeleton, destination setup, and animation plan.
Skinning quality is easiest to judge with failure poses. Rotate the upper arm, twist the forearm, lift the knee, crouch deeply, bend fingers around a prop, and test the neck at its limits. Look for collapsing volume, candy-wrapper twists, vertices influenced by the wrong limb, gaps between clothing and body, and rigid accessories that bend. Normalize weights and respect the influence limits supported by the chosen Unreal path and target hardware.
Do not hide a weak bind with one polished idle. Create a compact deformation suite that every revision must pass. Include a neutral pose, extreme joint rotations, locomotion contacts, a mirrored pose, and any game-specific action such as climbing or two-handed aiming. Save screenshots or turntables with the mesh revision and skeleton revision.
Export FBX and import as an Unreal Skeletal Mesh
Epic's FBX Skeletal Mesh Pipeline documents the established Unreal path for skeletal geometry, skeletons, morph targets, materials, and animation data. Match the exporter to the Unreal version's documented FBX expectations, export only the intended objects, and freeze the export preset with the source asset. Avoid relying on whatever objects happen to be selected on one workstation.
Before export, verify:
- known units, orientation, origin, and transforms;
- one owned skeleton hierarchy with the intended root;
- bind pose and skin weights after modifiers are evaluated;
- material slot order and UV sets;
- animation frame range, sample rate, and root-motion decision;
- whether morph targets, sockets, or helper bones belong in this handoff.
On import, choose Skeletal Mesh rather than Static Mesh, then inspect the import report instead of dismissing warnings. Confirm the character's physical size against a known reference, open the Skeleton Tree, preview every required animation, inspect material assignments and normals, and review the generated or assigned Physics Asset. Reimport once from a controlled source change; a pipeline that works only on the first import is not production-ready.
FBX is usually the clearest owner for a conventional rigged character. GLB/glTF is valuable for compact web and tool interchange and can enter Unreal through supported Interchange paths, but the exact transfer of skeletons, animation, materials, and custom data must be tested in the project's engine version. OBJ carries geometry and basic material references but not the character rig or animation, so it is a poor primary format for this workflow. USD is useful for scene-scale interchange and layered pipelines; it does not remove the need to validate the final Unreal Skeletal Mesh and animation assets.
Retarget animation with IK Rig and IK Retargeter
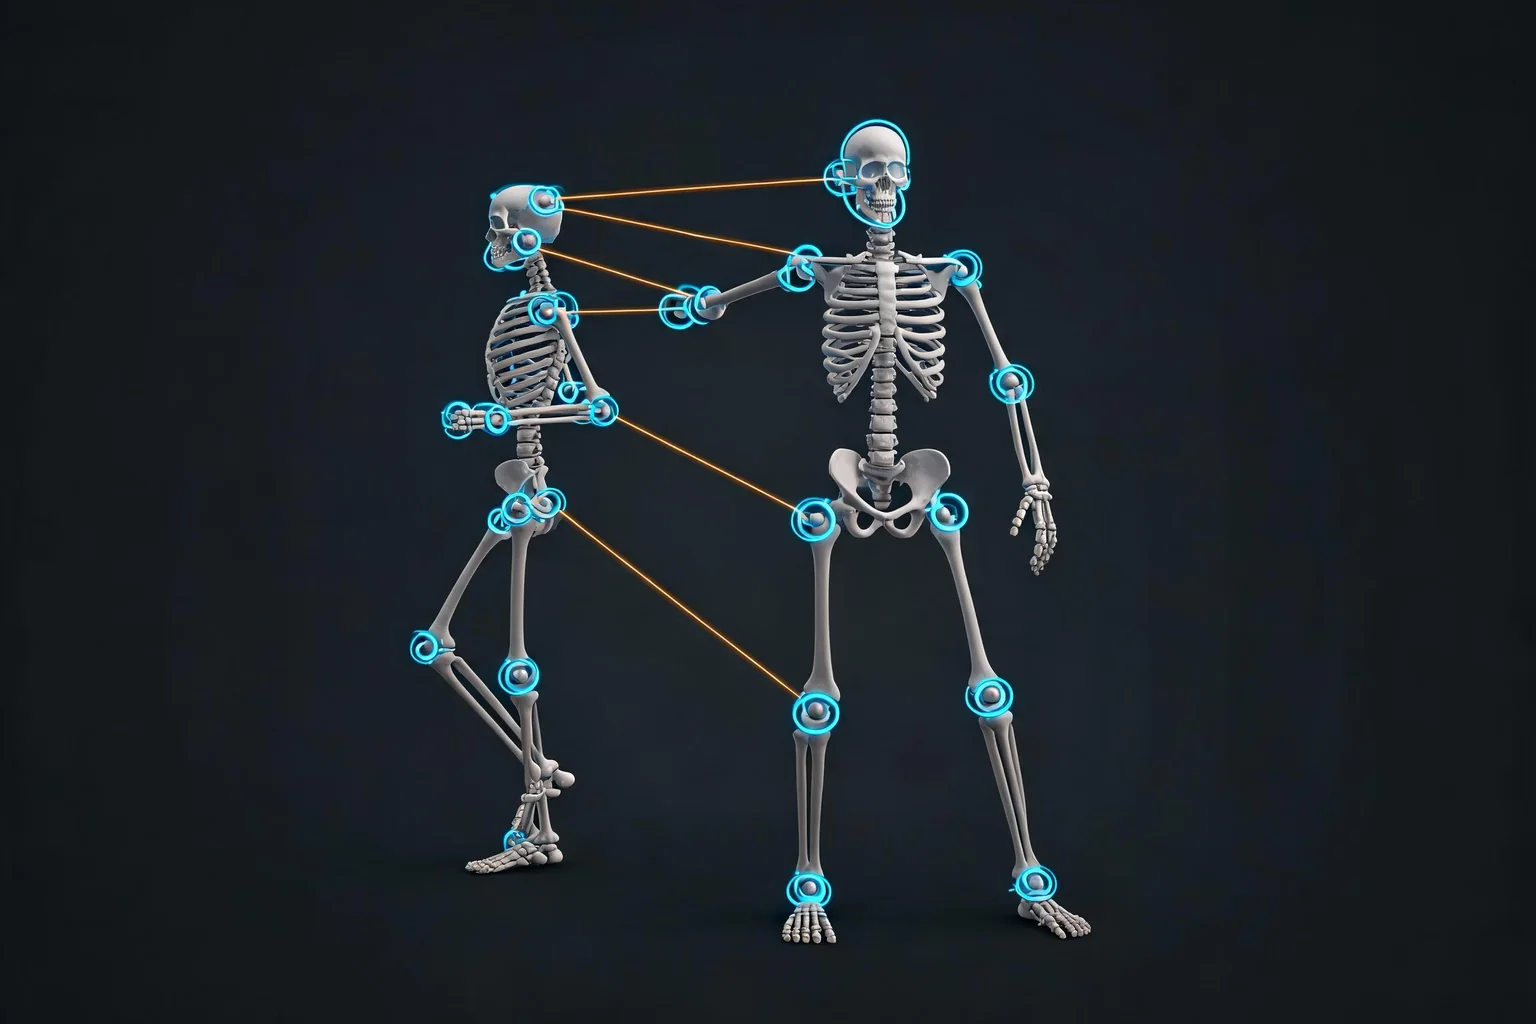
When the animation skeleton differs from the character skeleton, treat retargeting as an explicit mapping task. Epic's IK Rig Animation Retargeting describes the IK Rig and IK Retargeter workflow. Create or verify an IK Rig for each skeleton, define compatible retarget chains, set the retarget root, align retarget poses, and preview representative animations before exporting or assigning results.
Start with locomotion because feet, hips, and root motion make scale and pose errors obvious. Then test reaches, turns, crouches, and asymmetric actions. Compare limb length, shoulder height, stance width, and hand placement. A clip playing without an error is not enough; pass criteria include stable feet, believable contacts, correct facing, expected root displacement, and no new mesh penetration.
Keep the source clip, source skeleton, target skeleton, IK Rig assets, Retargeter asset, pose offsets, and engine version in the handoff record. If the character uses an unusual limb count, very different proportions, facial animation, or complex props, document the portions that need bespoke animation rather than implying a humanoid retarget solves them automatically.
Build LODs and decide where Nanite fits
Skeletal Mesh LODs remain a direct way to reduce geometry, materials, bones, and other character cost by distance or screen size. Epic's Skeletal Mesh LOD documentation covers generation and per-LOD settings. Build reductions from the representative camera range, preserve the outer silhouette longer than interior detail, and inspect every animation at the transition distances.
Do not reduce only triangles. Later LODs may also merge material sections, remove small accessories, simplify shadow behavior, reduce or remove costly morph targets, and apply bone-reduction policies where the project can tolerate them. Watch for fingertip collapse, facial popping, skirt or coat deformation changes, altered weapon grips, and shadow discontinuities.
Epic's Nanite Virtualized Geometry documentation is the version-specific authority for current Nanite support and limitations. Even where Nanite Skeletal Mesh support is available for the target engine and platform, it is not a blanket instruction to skip LOD planning. Profile animation, skinning, materials, shadows, memory, platform support, and fallback behavior. A deliberately sparse character may gain little while conventional LODs remain easier to reason about across a broad device matrix.
Validate LOD, animation, and runtime cost
Create a validation map that resembles the shipping workload. Place the character under representative lighting, materials, post processing, shadows, camera motion, and actor density. Test the closest approved camera, the normal gameplay range, and the farthest range where the actor remains visible. Use the same route for every revision.

Validate in layers:
- Asset layer: scale, skeleton, bind pose, normals, UVs, materials, morphs, collision, sockets, and reimport.
- Animation layer: clip timing, contacts, root motion, blend behavior, retargeting, and extreme deformation.
- Rendering layer: silhouette, shading, LOD transitions, shadows, material complexity, and texture mips.
- Runtime layer: character count, animation evaluation, skinning cost, draw calls, memory, frame time, and target-platform behavior.
- Delivery layer: cold launch, cooked assets, standalone behavior, packaged build, source revision, and rollback.
Profile on the lowest claimed hardware class. An editor viewport on a powerful workstation can hide shader compilation, streaming, animation, or memory problems. Repeat a cold packaged run and a dense encounter. Record the engine version, RHI, resolution, scalability level, character count, and camera route with the result so another developer can reproduce it.
Common failures and the owning fix
When a character arrives at the wrong size, the owner is usually the source unit or export/import transform contract. Compare against a known Unreal reference and fix the source or preset; do not scale every placed actor as a permanent workaround.
When the mesh imports but does not animate, inspect the skeleton association, bind pose, animation export, frame range, and import mode. An OBJ cannot carry the needed rig. A mismatched FBX skeleton may require a deliberate retargeting workflow rather than repeated reimport guesses.
When shoulders collapse, knees pinch, or wrists twist, return to topology and weights. Retarget settings can align motion but cannot reconstruct missing deformation geometry or correct arbitrary skinning. Preserve a failing pose as a regression fixture.
When materials look wrong, inspect UVs, normals, texture color spaces, compression, material-slot order, and the Unreal master material. Do not equate automatic material creation with production shading parity.
When LODs visibly pop, compare silhouette, material sections, bone removal, morph support, and transition thresholds under motion. Fix the earliest LOD that changes the read of the character, then re-profile rather than moving the transition out of sight on one camera.
SEELE AI handoff and product boundary
If the goal is a new low-poly Unreal game concept rather than repairing an existing character asset, open the Unreal game creator with a concrete brief: “Create a stylized third-person Unreal 5 prototype with one low-poly explorer, readable faceted materials, idle and locomotion states, a small traversal loop, and a packaged-build validation checklist.”
SEELE AI can generate a new native Unreal 5 game, provide a browser preview, support optimization and packaging, and provide the project or packaged output for download. That does not mean it opens and modifies an existing .uproject, imports this character on the team's behalf, installs plugins, authors the production rig, or configures the team's IK Retargeter. Those existing-project tasks stay with the Unreal team and its source-controlled DCC-to-engine pipeline.
Unreal Engine is a trademark of Epic Games. SEELE AI is independent, and this guide does not imply Epic endorsement.
Team handoff checklist
- Character brief, target camera, platform, actor count, and supported quality tiers.
- Source DCC version, source file revision, units, axis, and export preset.
- Mesh statistics by LOD, material slots, texture set, skeleton and bone count.
- Bind pose, deformation suite, source clips, root-motion decision, and retarget assets.
- Unreal version, importer path, warnings, reimport result, Physics Asset, and collision policy.
- Representative map, camera route, lighting, actor density, profiling captures, and packaged-build result.
- Known exceptions, unsupported platforms, rollback revision, and the condition that reopens the budget.
FAQ
How many polygons should a low-poly Unreal character have?
There is no universal number. Set the budget from camera distance, platform, animation range, simultaneous character count, materials, bones, and frame time. Compare the nearest and most common gameplay views, then remove geometry only when silhouette and deformation still pass.
Should I use FBX or GLB for a rigged Unreal character?
FBX is the established, well-documented path for conventional Unreal Skeletal Mesh, skeleton, morph-target, and animation workflows. GLB/glTF can be useful through supported Interchange paths, but test skeleton, animation, material, and reimport fidelity in the exact engine version before choosing it as the production owner.
Why does my low-poly character deform badly after import?
Check source topology, bind pose, normalized skin weights, influence limits, exported skeleton hierarchy, transforms, and Unreal import warnings. Retargeting cannot repair missing joint loops or arbitrary weights. Save an extreme failing pose and fix the earliest source stage that explains it.
Can I use Nanite instead of Skeletal Mesh LODs?
Do not assume so. Confirm Nanite Skeletal Mesh support and limitations for the exact Unreal version, renderer, platform, materials, and animation workload. Profile it against conventional Skeletal Mesh LODs and keep a fallback for unsupported targets or regressions.
How do I retarget animations to a low-poly character in Unreal Engine?
Create or verify IK Rig assets for source and target skeletons, define compatible chains and retarget roots, align retarget poses, and preview locomotion plus extreme actions in an IK Retargeter. Validate feet, hips, root motion, contacts, and proportions before accepting the clips.
Can SEELE AI import this character into my existing Unreal game?
No product claim should imply that. SEELE AI's supported path is generating a new native Unreal 5 game with browser preview, optimization, packaging, and downloadable output. Existing-project import, plugin, rig, and IK Retargeter work remains with the Unreal team.