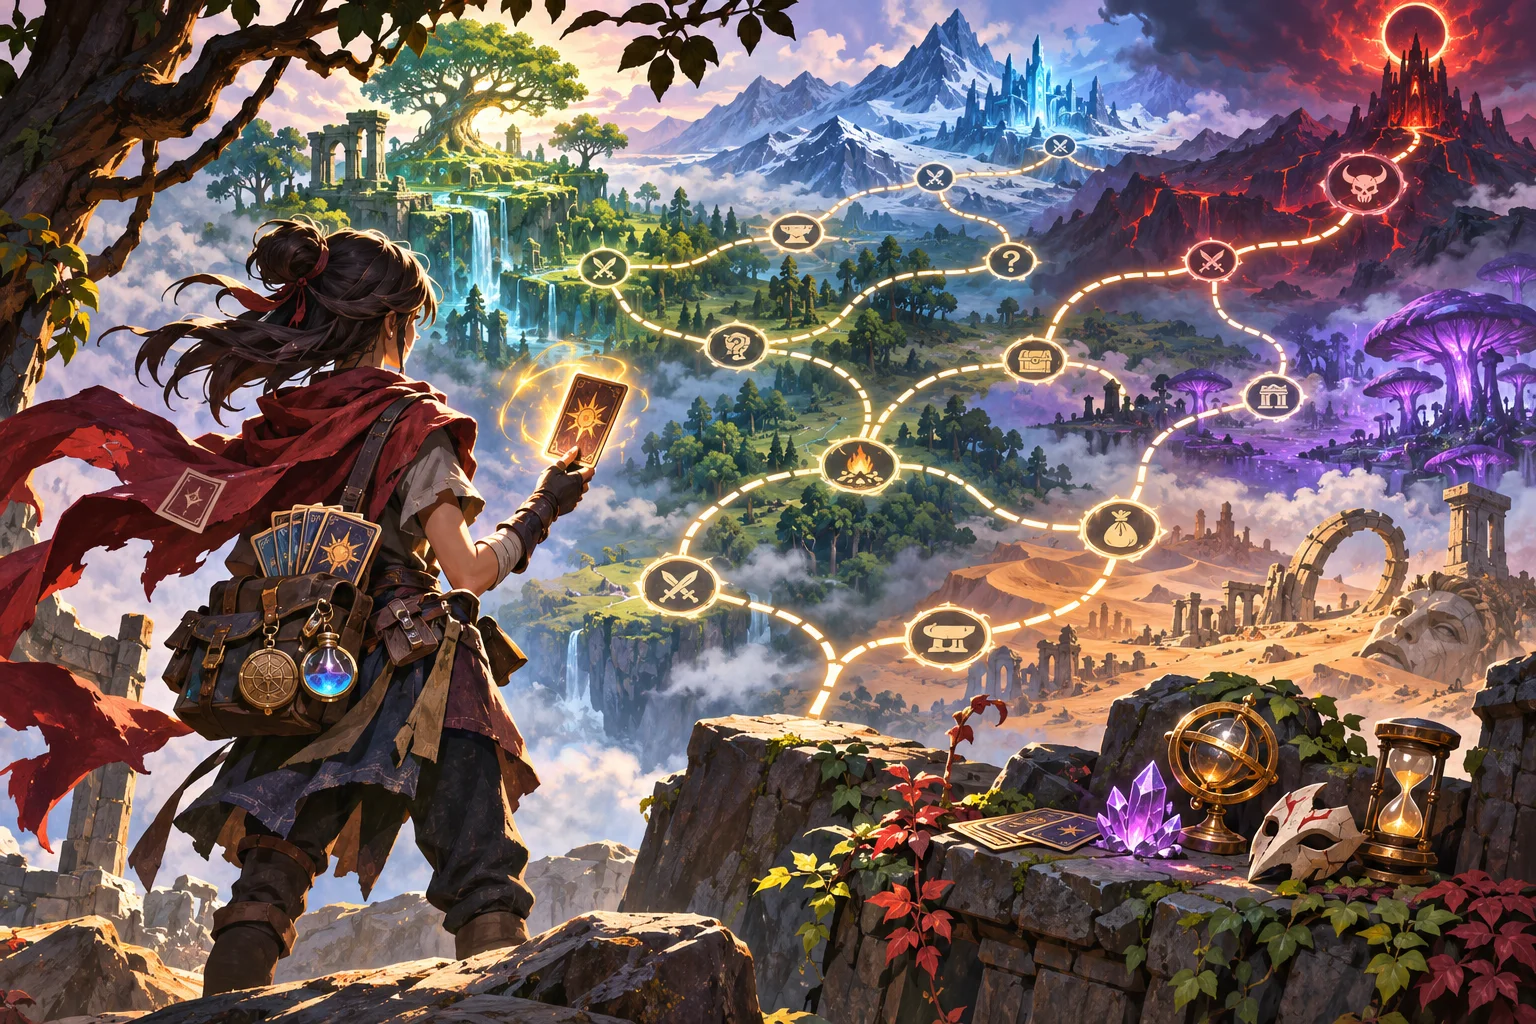
A branching encounter map is a graph the player can read and choose from. Treat it as two connected systems: a data model that guarantees legal routes, and a visual layout that makes their consequences understandable. Start with a small layered graph, give each route a distinct cost or reward, then test connectivity and choice quality across many generated seeds.
Model the map as a directed graph
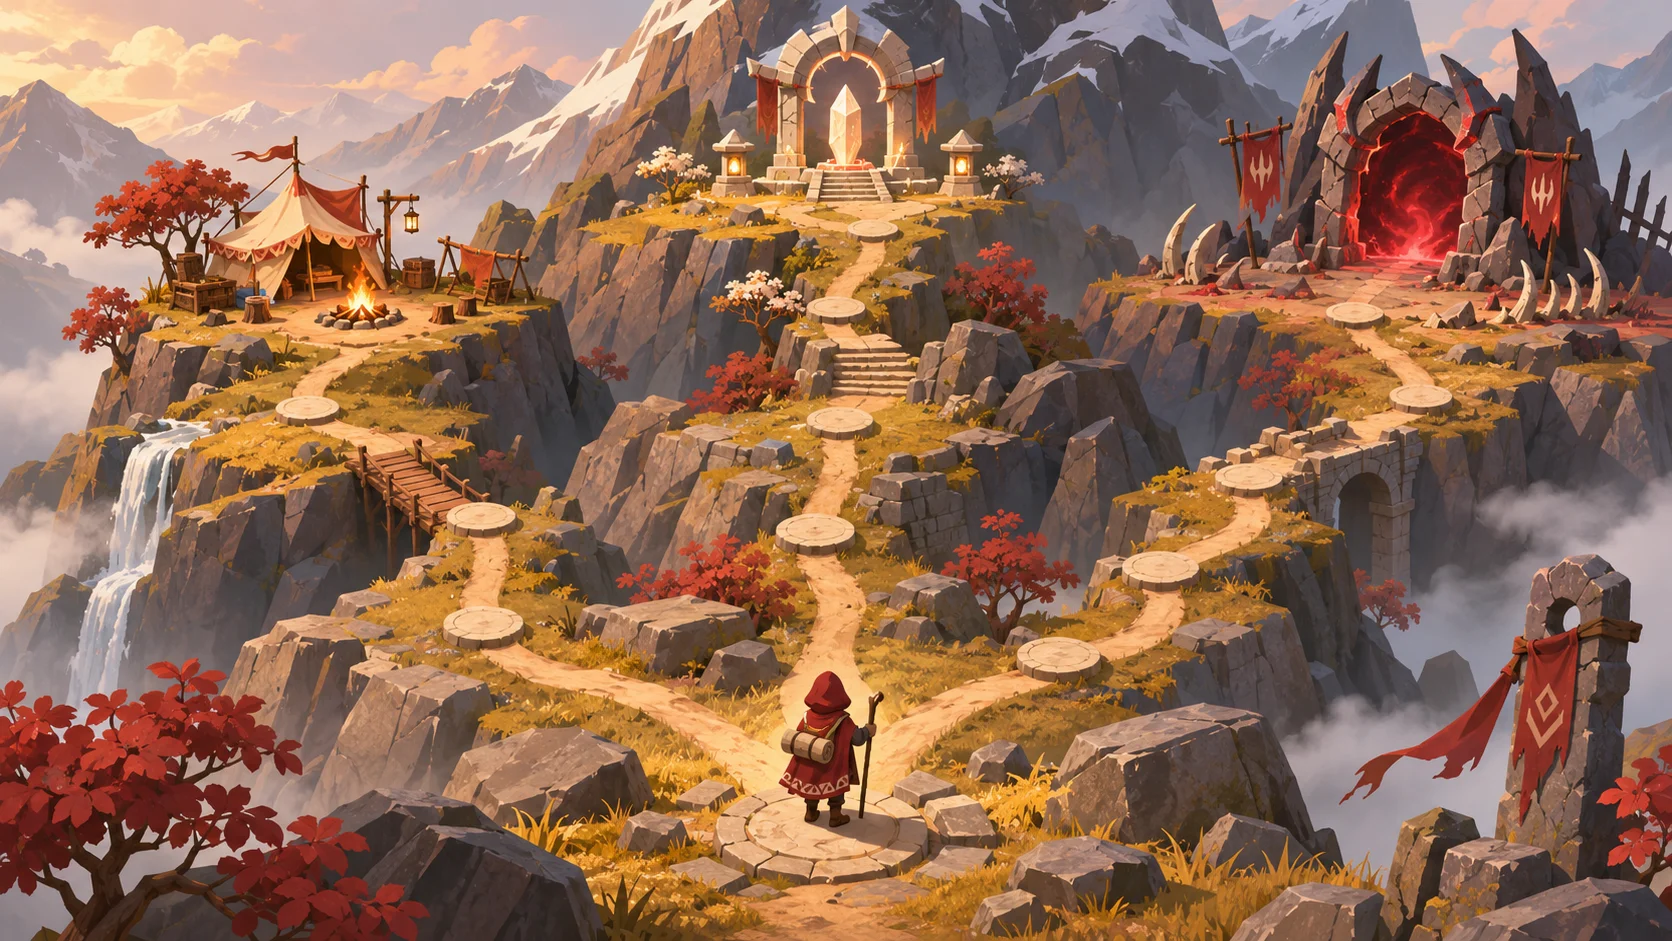
Represent each encounter as a node and each legal move as a directed edge. A simple node record might contain an identifier, a layer, a type, and any content reference: { id, layer, type, encounterId }. Store connections separately as pairs such as (nodeA, nodeB). Keeping these concerns separate lets you change the map’s drawing without changing its rules.
For a first prototype, divide an act into ordered layers. The start occupies layer zero, the boss occupies the final layer, and ordinary nodes sit between them. Edges should move forward so the player cannot accidentally enter a cycle. The map can still look winding: its presentation coordinates are independent from the graph’s layer and edge data.
Define the node vocabulary before generation. For example, combat, elite, event, shop, and recovery nodes can represent different decisions. A node type should have a gameplay purpose, not just a color. If two types produce the same decision and reward, merge them until they differ in a way the player can recognize.
Decide how branches may split and rejoin. A split creates route choice; a join limits how wide the map grows and helps the player compare what is ahead. If every branch rejoins immediately with identical encounters, the visual fork is cosmetic. If branches never rejoin, the map can become too wide to scan. A compact prototype can use a few layers, two or three alternatives at key points, and one or more joins before the final encounter. Treat those numbers as a starting configuration to test, not a universal formula.
Set generation constraints before drawing
First write down invariants that every generated map must satisfy:
- There is exactly one valid start and one boss destination.
- Every selectable node is reachable from the start.
- Every selectable node can eventually reach the boss.
- Edges advance toward the boss and never form a cycle.
- Required encounter types appear within their allowed layers.
- The player is not forced into an invalid sequence, such as multiple high-risk encounters without the recovery your design requires.
These rules turn “the map looks plausible” into checks you can run. Generate nodes layer by layer, add candidate edges only between allowed neighboring layers, then validate the full graph. A forward reachability pass from the start marks nodes the player can reach. A reverse pass from the boss marks nodes that can finish. Any selectable node missing from either set is a dead end and should be rejected or repaired.
Here is a small algorithm outline for an original prototype:
- Create the start and boss nodes, then create the planned number of candidate nodes in each intermediate layer.
- For each layer, connect every node to at least one legal node in the next layer, respecting limits on branch width and degree.
- Run forward and reverse reachability checks. If a required node fails, repair its edge or discard the candidate map.
- Assign encounter types only after connectivity is sound, while enforcing layer and spacing rules.
- Run the checks again after assignment, because type restrictions may invalidate a route.
This separation makes failures easier to diagnose. If a map is disconnected, fix edges. If it is connected but monotonous, adjust type assignment or route scoring. Avoid hiding both problems inside one large random-generation step.
Make each branch carry a consequence
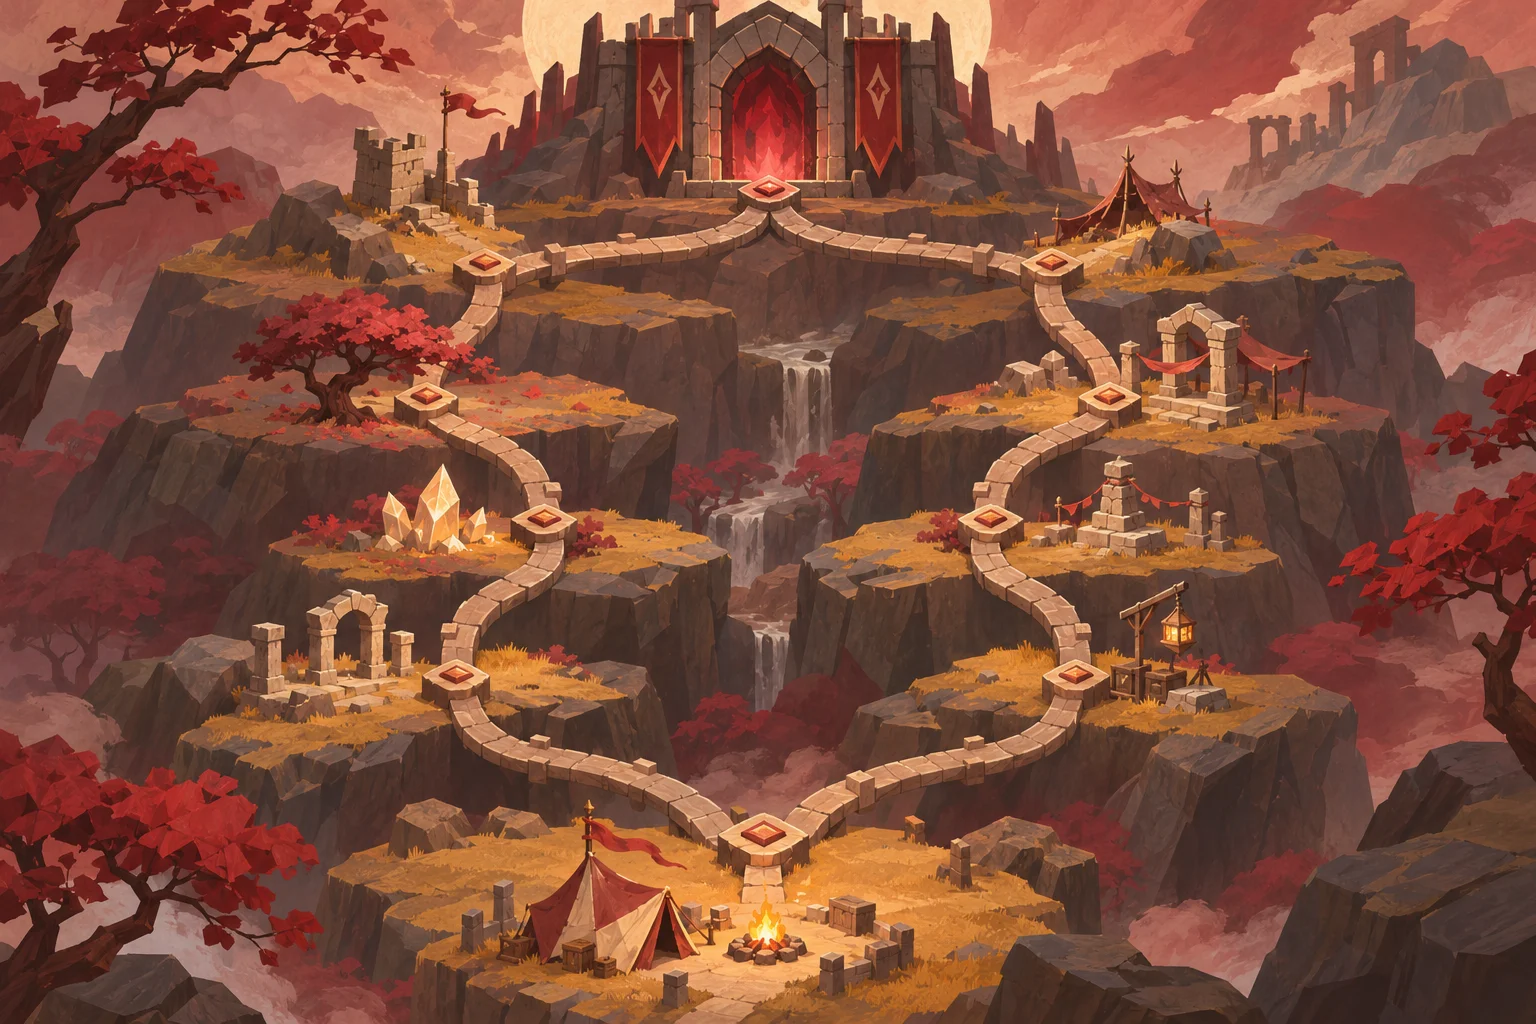
A useful choice asks the player to trade one benefit for another. An elite route might promise a stronger reward at a higher health risk; a longer route might include recovery but delay access to a shop. The player should be able to infer enough from the visible map to form a plan, even if the exact encounter remains unknown.
Use a route table during design to check that alternatives are meaningfully different:
| Route pattern | Likely benefit | Cost or uncertainty | Best fit |
|---|---|---|---|
| Elite then reward | Higher-value progression opportunity | More demanding combat | A deck prepared for a challenge |
| Event then shop | Flexible discovery and purchase | Less predictable immediate value | A run that needs a specific tool |
| Combat then recovery | More stable survival path | Lower reward ceiling | A damaged or fragile run |
These are design examples, not claims about another game’s internal rules. When a branch is chosen, expose the information your design intends players to use: upcoming node types, possible rewards, or a clear risk signal. If an important difference is hidden, the choice may feel arbitrary. If every detail is revealed, uncertainty may disappear. Test how much information supports planning without removing the tension you want.
Give the map a visual grammar. Keep node shapes and colors consistent, show paths behind or between nodes, and make available choices distinct from completed or unavailable locations. Do not rely on color alone: shape, icon, spacing, and labels can reinforce meaning. At small screen sizes, check that adjacent routes remain tappable and that their connections do not overlap confusingly.
Test maps with repeatable checks
Give each generated map a seed and save it with the graph. When a test fails, the seed lets you reproduce the same layout instead of hoping random generation produces the bug again. Record simple metrics for a batch of seeds: reachable-node count, dead-end count, route lengths, encounter frequency, and how often each layer offers more than one viable choice.
Automated checks can catch structural defects, but they cannot decide whether the player’s options are interesting. Inspect a sample of maps at normal play scale. Ask a tester to explain what they expect from two routes before choosing. If they cannot tell the difference, improve the map’s information or make the consequences more distinct. If one option dominates in every state, rebalance its cost or add conditions that make the alternative useful.
When using an AI creation workflow, describe the map’s intended decision loop and constraints in plain language, then inspect the resulting prototype against the same checklist. SEELE’s documented game-creation capability can help creators start from a game idea; this does not establish that it automatically implements any particular graph algorithm. Treat generated code or content as a draft, verify connectivity, and adjust the rules yourself.
Frequently asked questions
How many branches should an act map have?
Use only enough branches to create decisions the player can understand. Start with a compact graph containing a few route alternatives and planned joins, then inspect it at the actual display size. Add width only when testers can compare the options and each route has a distinct consequence. More paths increase visual and balance work without automatically creating more meaningful choice.
How do I guarantee every node is reachable?
Run a graph traversal from the start and mark every visited node. Then traverse backward from the boss through reversed edges. A selectable node should appear in both visited sets: the first proves the player can reach it, and the second proves a route from it can finish. Reject or repair a generated map when either check fails.
Should routes converge before the boss?
Convergence is useful when it keeps the map readable and lets different choices feed into a shared finale. It is not required at every layer. Rejoin routes when the alternatives have already delivered a meaningful cost, reward, or encounter difference; avoid decorative forks that immediately merge without changing the run.
How can I test map generation across seeds?
Generate a fixed batch of maps from saved seeds and run the same structural checks on each one. Track reachability, route length, node-type spacing, and the number of viable choices. Then review representative maps visually and ask testers what tradeoff they see. Keep failing seeds as regression cases after you change the generator.
Build the graph and its validation rules first, then make its choices legible and worth comparing. Once the prototype works across repeatable seeds, expand the node vocabulary or add more route variety one rule at a time. Explore an AI game creation starting point if you want to shape an original game idea into a prototype.