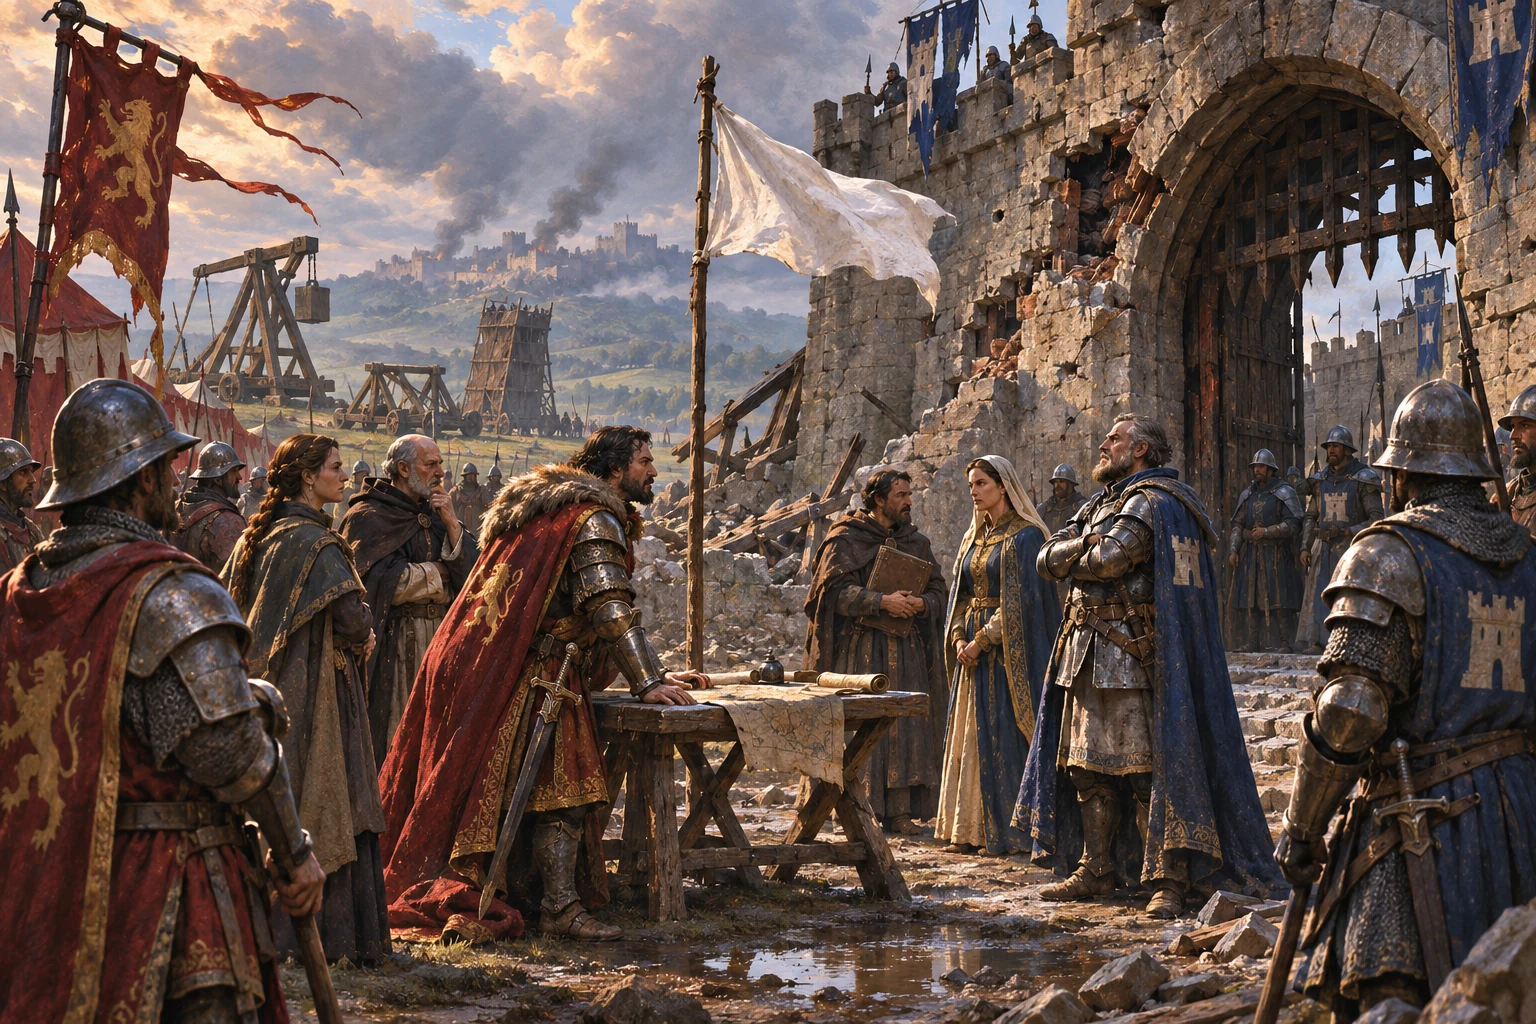
In the fictional Crosswind Pass, a supply crate moves one tile east after each turn along the middle lane. A three-unit formation must claim it before it leaves the 5-by-3 map. Place Guard at (2,1), Lancer at (2,0), and Archer at (1,0). When the crate reaches (2,1) on turn two, Guard intercepts it and gains two command charges. Adjacent Guard formation lets Lancer spend both charges on a strike for five damage against a five-health Sentinel at (4,1). Archer then deals two damage to a two-health Skirmisher at (3,2). The test compares this wedge with a formation that misses the crate and cannot power the strike. Crosswind and all values are fictional; the local test checks only these rules.
Track the supply crate as a moving map resource
Represent the map as a 5-by-3 grid with a supply lane along y=1. Spawn one crate at (0,1) and move it east by one tile after each turn. Resolve unit movement first and then move the crate; a unit occupying the crate’s destination intercepts it at the end of that turn. If it reaches x=4 without interception, it exits the map and its two command charges are lost.
Place Guard at (2,1) so the formation can meet the crate on turn two. Keep the resource visibly moving between turns rather than teleporting it into inventory. Show its route, remaining tiles, and current holder. This makes formation placement a prediction problem: the player must preserve a lane to the interception tile while considering the enemy’s next move.
Form a wedge that turns supply into a matchup
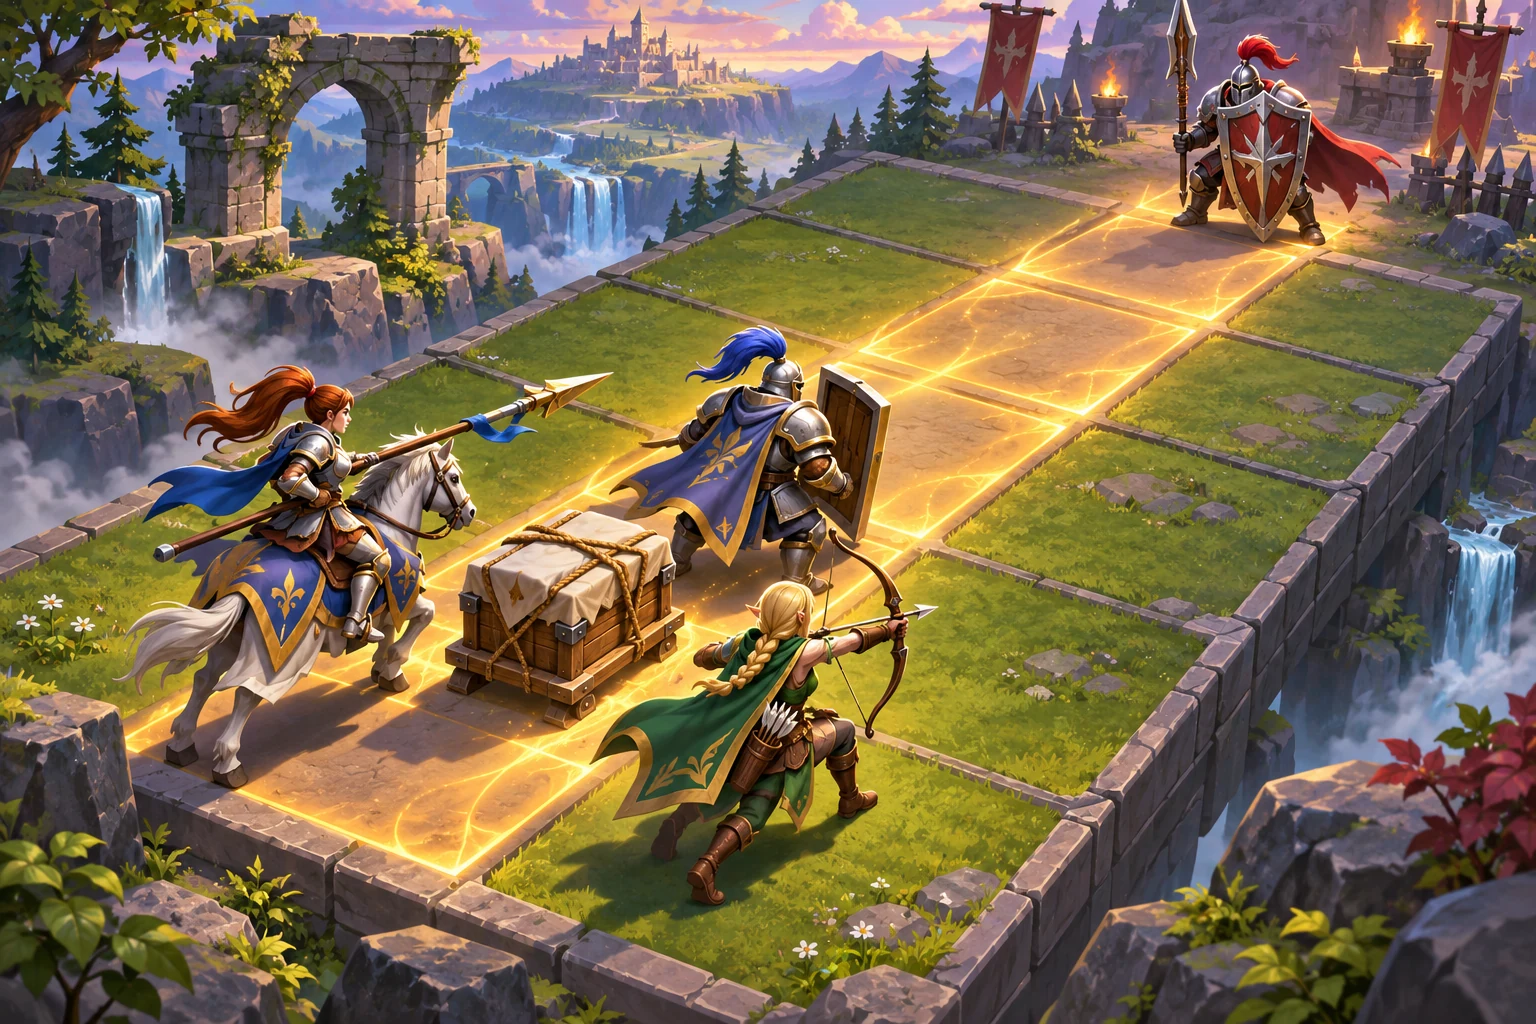
Put Lancer at (2,0), adjacent to Guard at (2,1), and Archer at (1,0). Intercepting the crate gives two command charges. Lancer spends both on a formation strike. The attack deals three base damage plus two when Guard is adjacent, enough to defeat the five-health Sentinel at (4,1). Without the adjacent Guard, the same strike deals only three and the Sentinel survives.
After the strike, Archer fires from the rear line at a two-health Skirmisher in range at (3,2), defeating it with one two-damage shot. Keep the roles distinct: Guard anchors the intercept tile and provides the adjacency bonus, Lancer converts supply into a shield-breaking hit, and Archer clears a lighter target. The formation’s value comes from where units stand when the resource arrives.
Compare the intercepting wedge with a missed-supply control
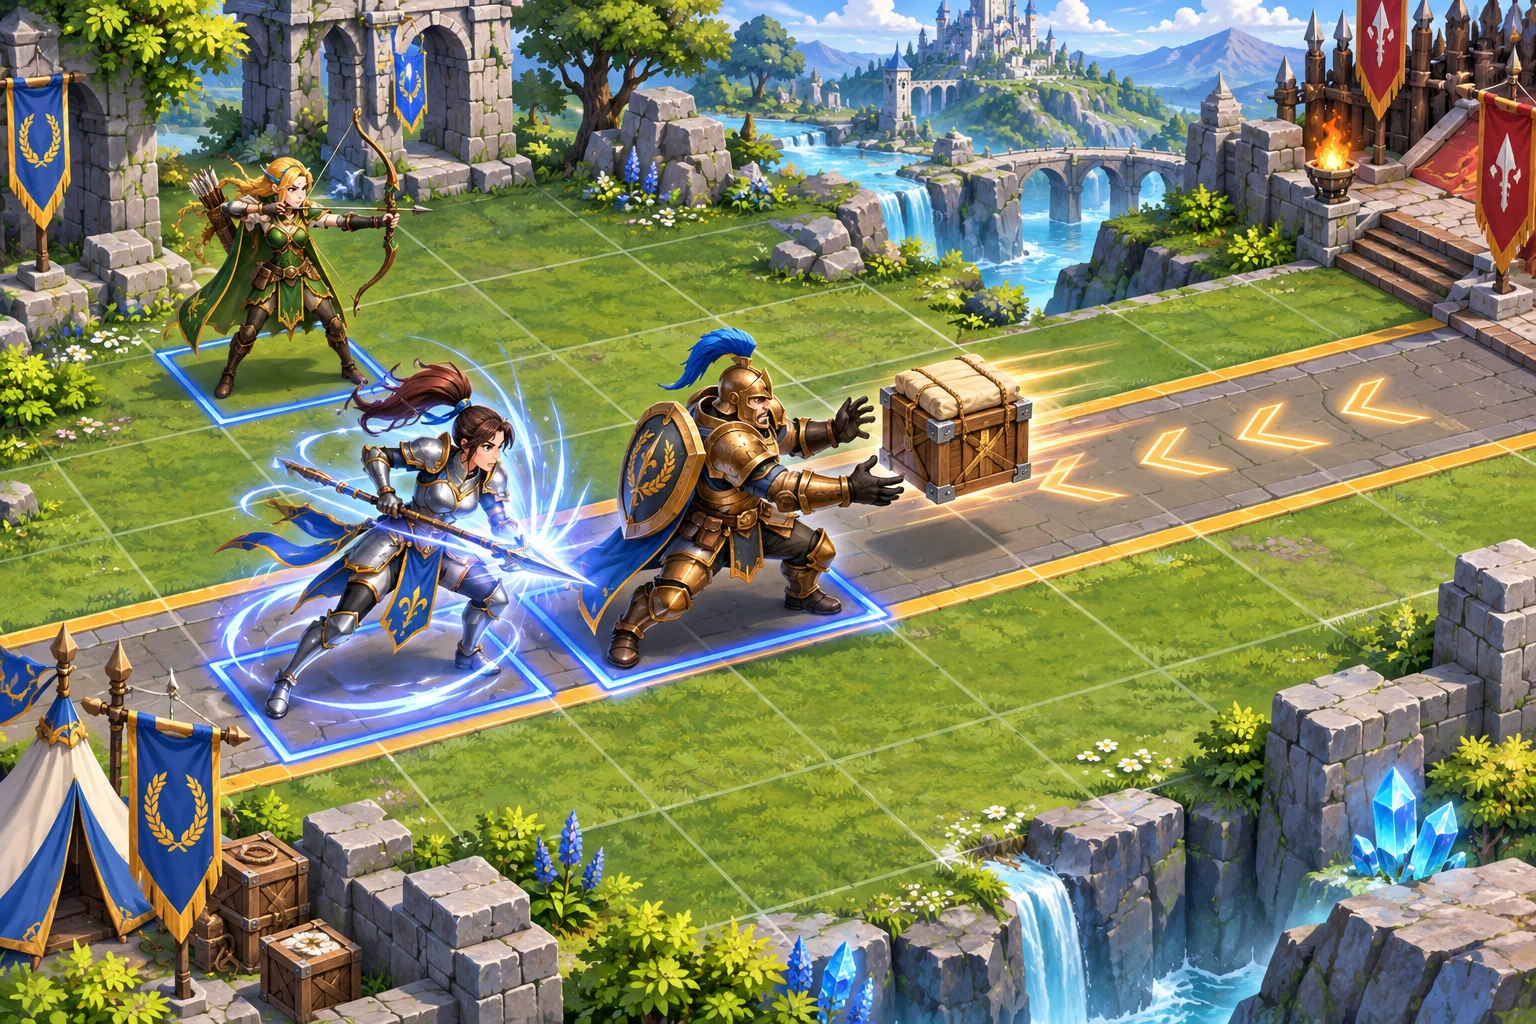
Run three turns with the crate path x=0 to 1 to 2. The Guard at (2,1) intercepts on turn two and collects two charges. Lancer’s adjacent formation strike deals five and defeats the Sentinel before it can attack. Archer removes the Skirmisher for two more points of damage. Record crate position, charges, unit coordinates, each damage value, and surviving enemies at the end.
For the control, move Guard one row away from (2,1). The crate passes the interception tile and continues toward x=4, so the formation has no charges. Lancer can deal only three base damage and the Sentinel remains at two health. The formation misses the objective and takes the Sentinel’s attack. Crosswind, unit roles, and outcomes are fictional; the local test verifies only the movement, resource, and damage rules stated here.
Ask an AI game maker to test moving supply and formations
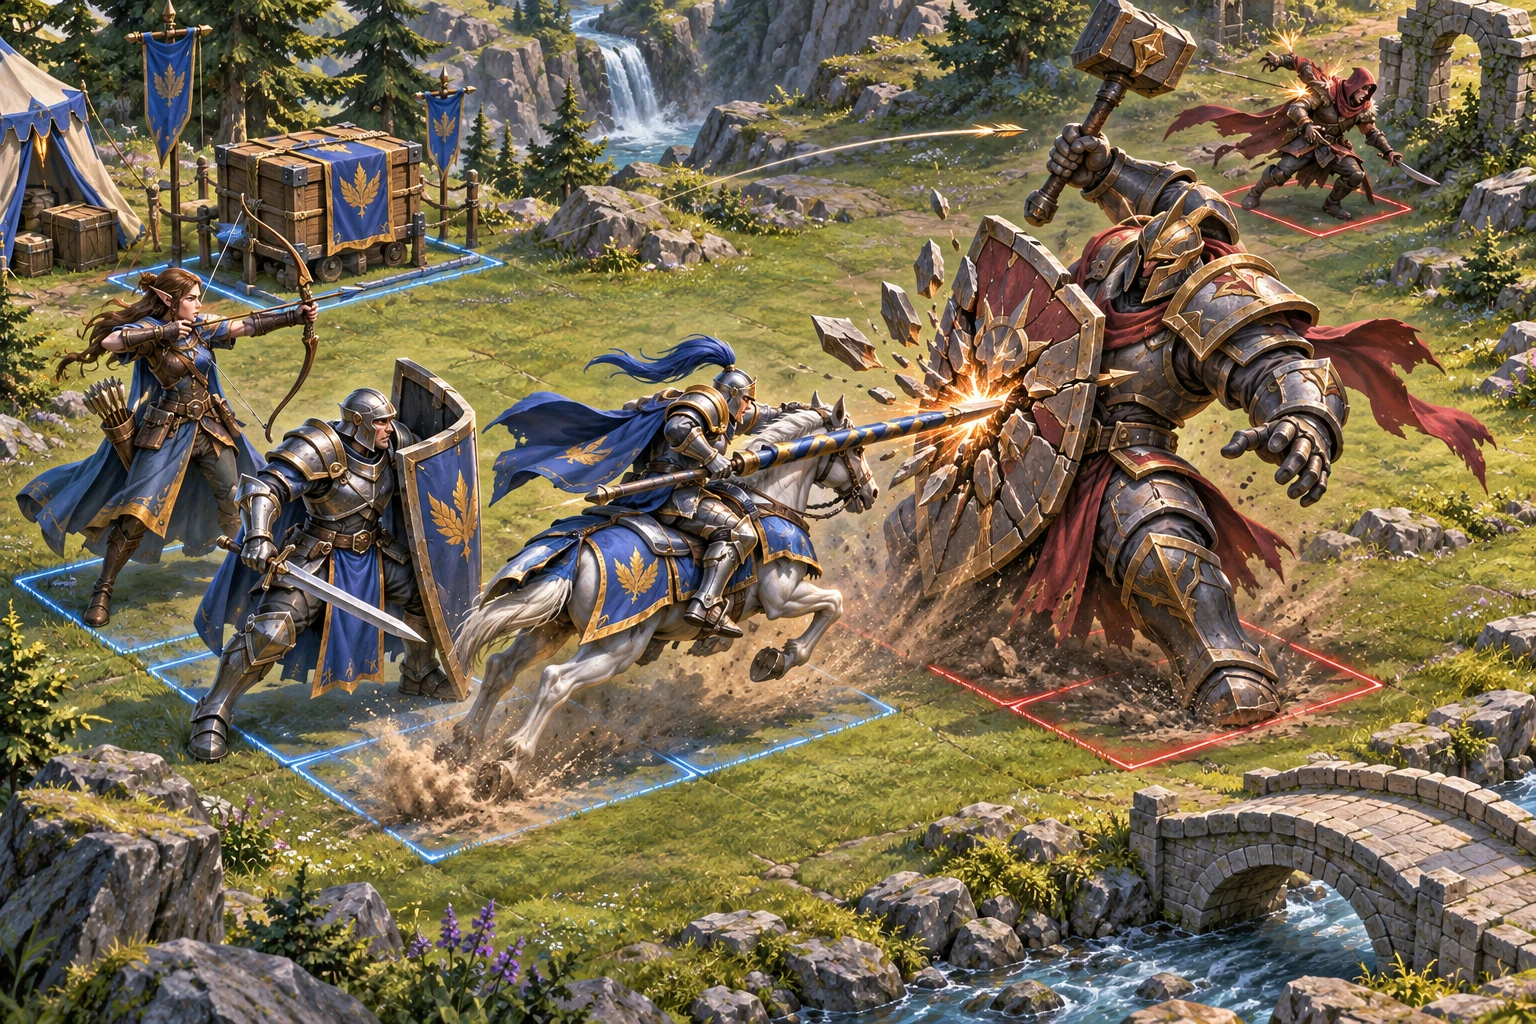
Create a turn-based formation strategy prototype on a 5-by-3 grid in fictional Crosswind Pass. A supply crate spawns at (0,1) and moves east one tile after each turn; units move first, then a unit on its destination intercepts it. Guard at (2,1), Lancer at (2,0), Archer at (1,0). On turn two, Guard captures the crate and gains two command charges. An adjacent Guard lets Lancer spend both charges on a strike for 3 base plus 2 bonus damage, defeating a 5-health Sentinel at (4,1). Archer deals 2 damage to a 2-health Skirmisher at (3,2). Compare a control with Guard away from (2,1): crate is missed, Lancer deals only 3, and Sentinel survives. Show turns, positions, charges, and health.
Verify crate movement from x=0 to x=1 to x=2 and end-of-turn interception by Guard. Confirm two charges power Lancer’s 5-damage adjacent formation strike; Archer deals 2 to the Skirmisher. In the missed-crate control, Lancer deals 3 and the Sentinel remains at 2 health. Keep movement order and unit stats identical.
FAQ
How do moving resources change a formation strategy game?
A resource that travels across the board gives units a timed interception goal. Players must position the formation where the resource will arrive, not only where combat is already happening. You can then connect the captured supply to a role-specific attack or formation bonus and log the result by turn.
How should I resolve a unit and resource reaching the same tile?
Choose and document a consistent turn order. This prototype moves units first, advances the crate second, then checks interception at its destination. Show the crate’s path and holder so players can predict a capture and distinguish a deliberate intercept from a resource disappearing into inventory.
What should I test in a formation strategy prototype?
Record unit coordinates, resource position, interception turn, charges gained, attack damage, and surviving enemies. Compare a formation that reaches the supply tile with one that misses it. Keep enemy health and turn order fixed so the test isolates placement and resource timing.