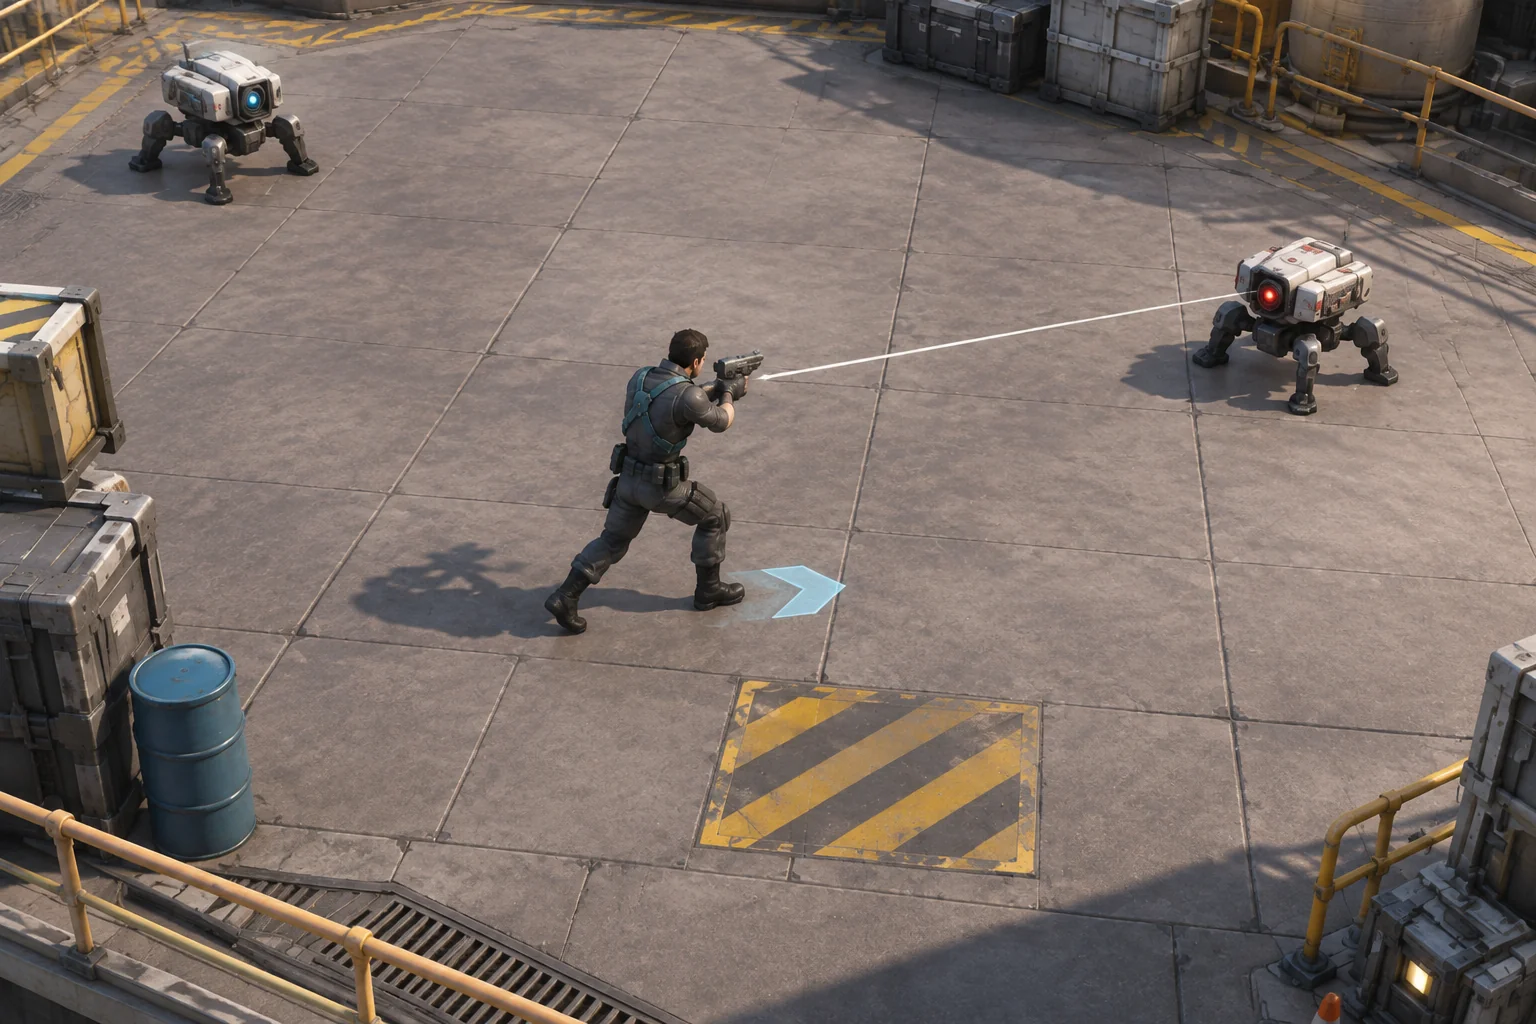
Start your twin-stick shooter with one move that points away from the shot. Put the player on a floor tile that is about to activate and place a target off to the side. The player steps clear with one control and aims at the target with another. The shot should come from the new position, even when the player is moving in a different direction.
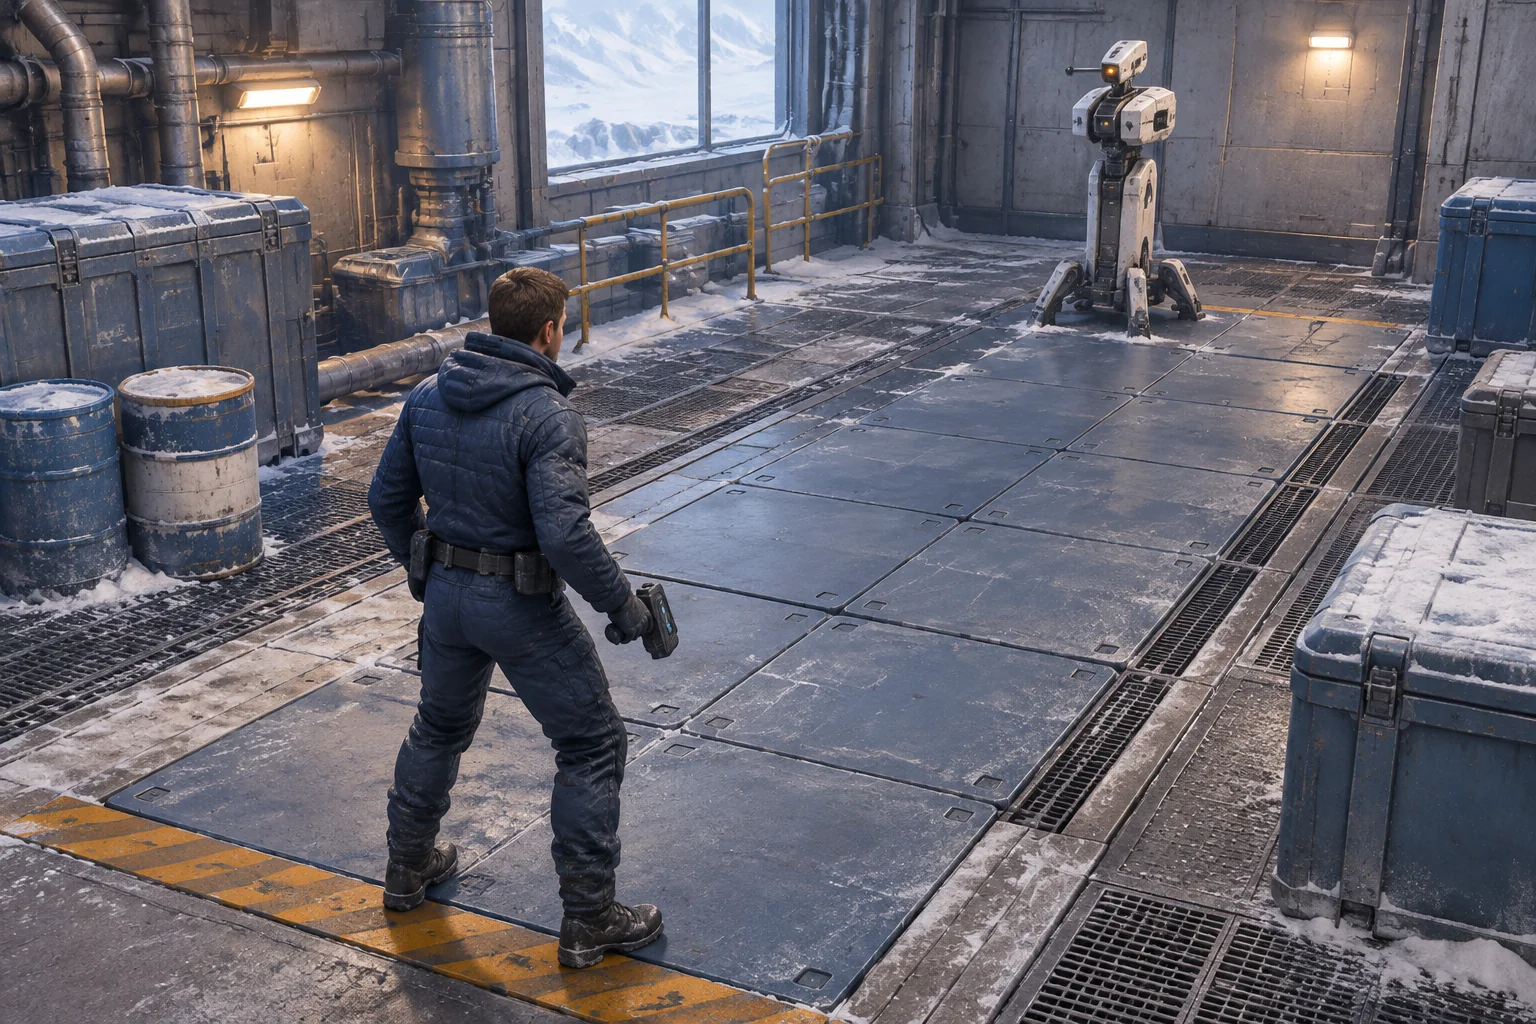
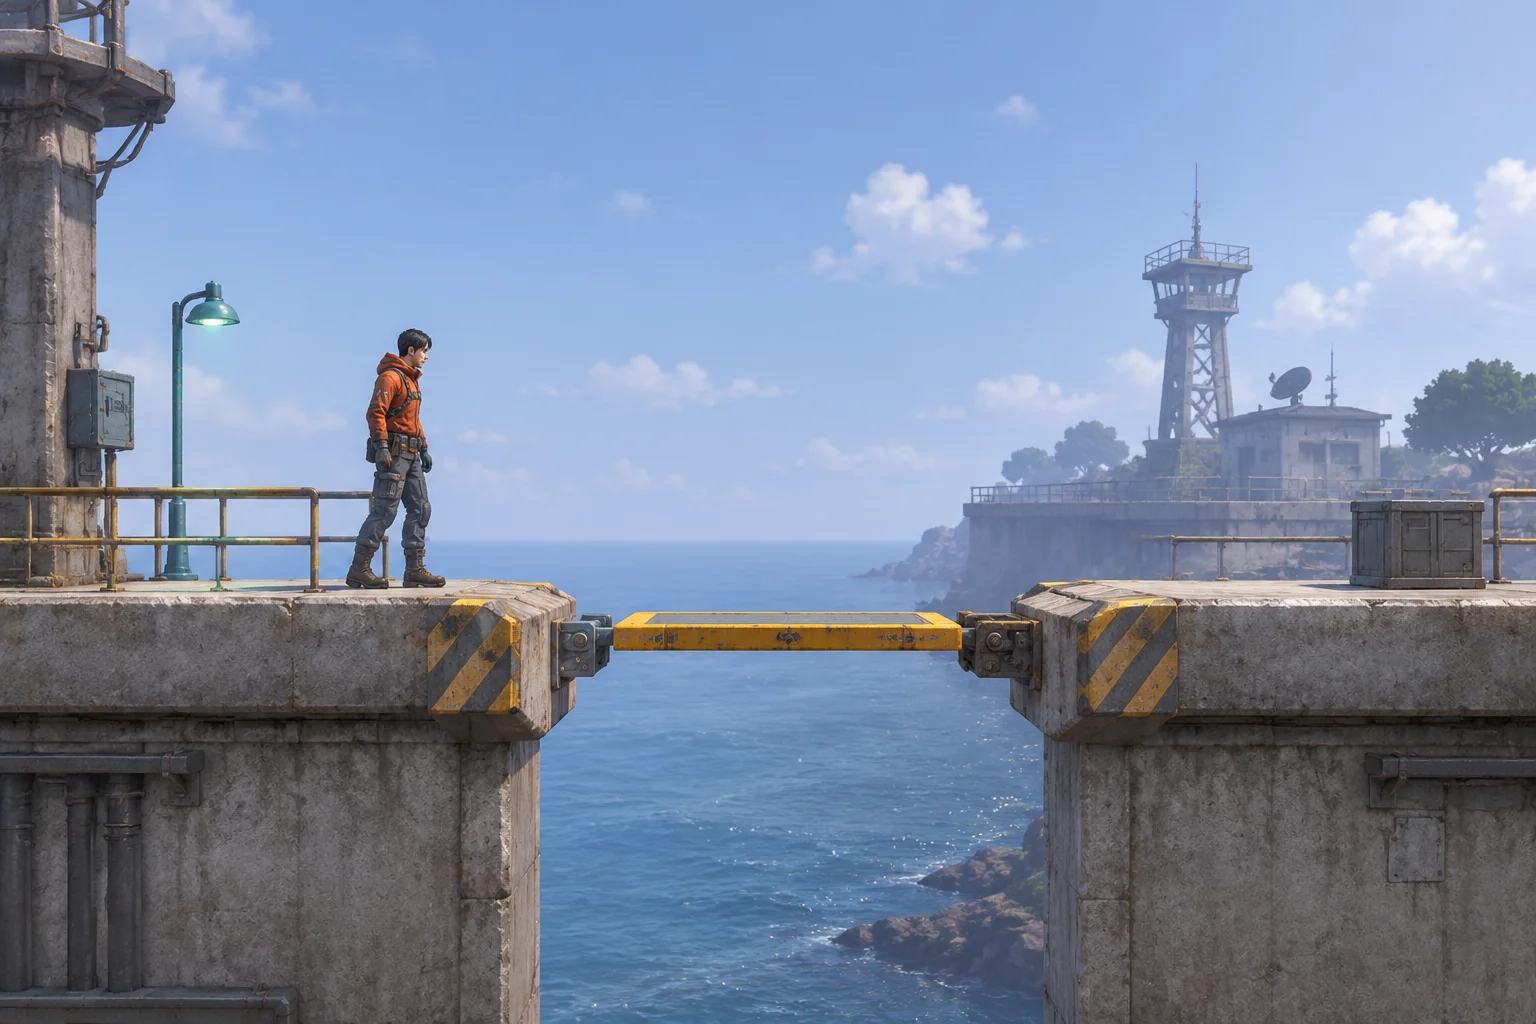
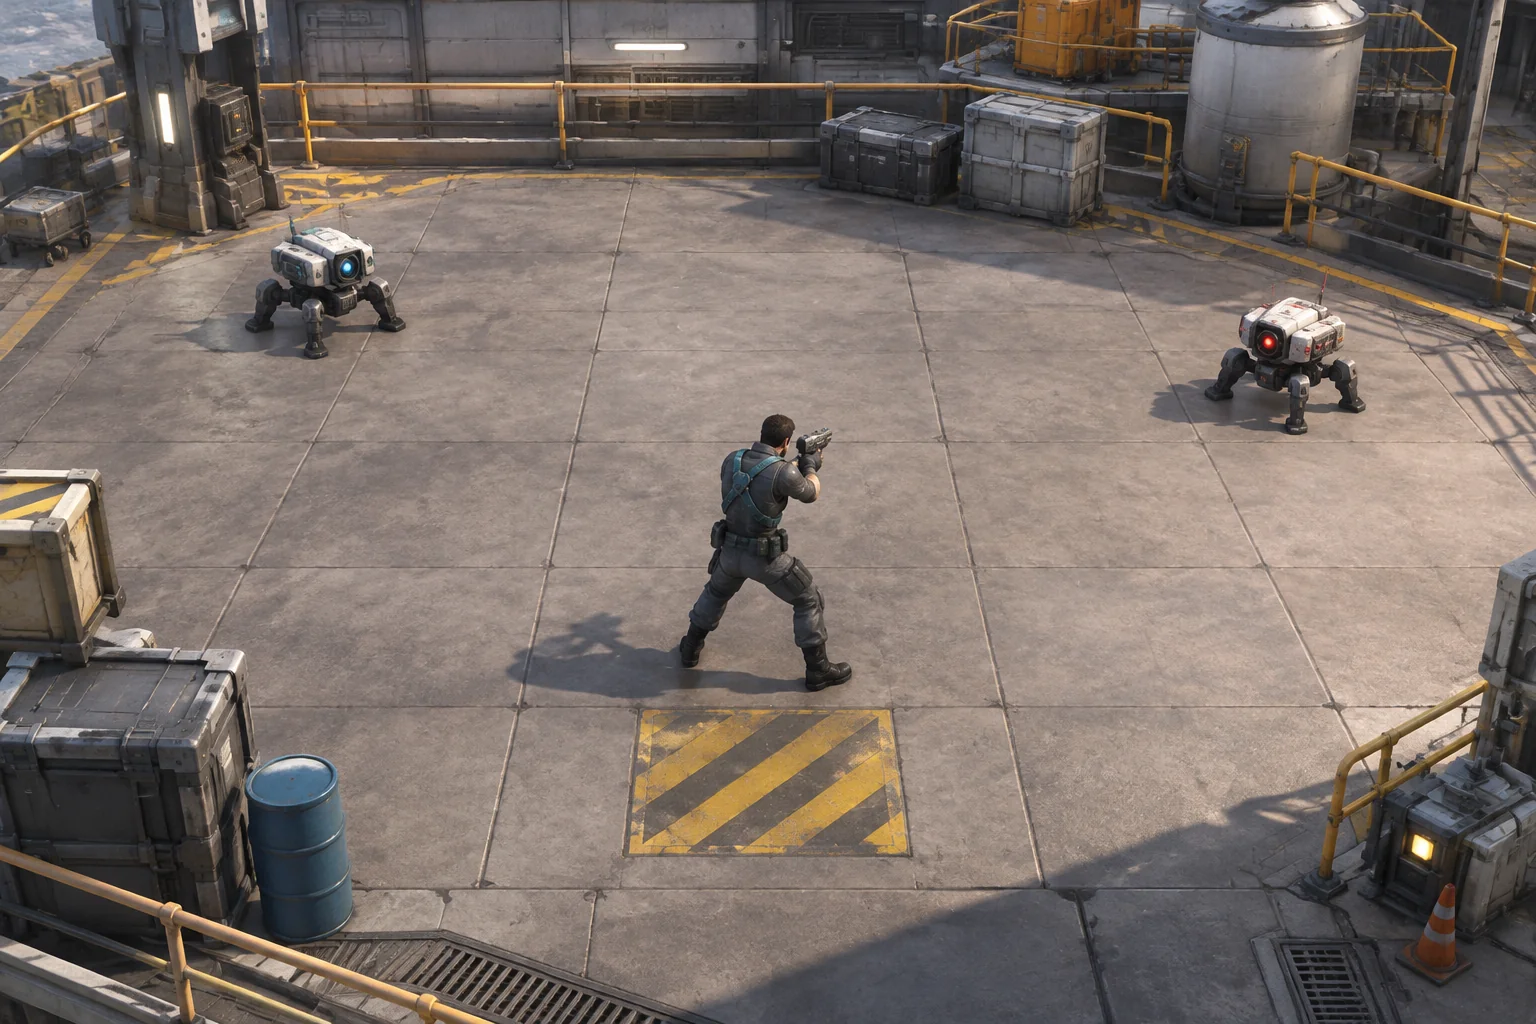
The fictional test bay below gives you two shots and a short walk to the exit. Use it to check that movement, aim, and firing stay separate before adding moving enemies or faster controls.
Give movement, aim, and firing separate inputs
Use a five-by-five grid. Count columns from zero to four going east, and rows from zero to four going south. Start the technician at (2, 2) with one health. Put one fixed target at (4, 1) and another at (1, 4). Set the exit at (1, 0) and keep it locked until both targets are gone.
Sample a move direction, an aim direction, and a Fire input each debug tick. For this trial, each direction can be neutral or one of the four cardinal directions. You can use two keyboard direction clusters to check the rules first. If you add an analog controller, map its movement and aim separately and verify those inputs on the device you intend to support.
| Phase | What to apply | What to verify |
|---|---|---|
| Move | Step one legal tile or stay. An out-of-bounds move leaves the position unchanged. | The aim input cannot move the player. |
| Aim and fire | With Fire active and a non-neutral aim, trace one shot from the resolved tile to the first live target on that line or the board edge. | The shot uses aim independently of the movement direction. Neutral aim produces no shot. |
| Check the floor and exit | After the shot, check the tile under the player. On an active tile, lose. Otherwise, crossing into the unlocked exit wins. | Hitting a target does not save the player from the floor hazard. |
Use a warning marker on tile (2, 2) for tick 1 and tile (2, 1) for tick 2. Those are the two hazard checks in the exercise. Give each target one hit of durability. Keep reloading and enemy attacks out of this room so you can tell whether a miss came from aim or shot origin.
Walk the two simultaneous-input shots
| Tick | Move, aim, and Fire | Expected outcome |
|---|---|---|
| 1 | North, east, Fire active | Step to (2, 1), clear of the active tile. The eastward shot hits the robot at (4, 1). |
| 2 | West, south, Fire active | Step to (1, 1), clear of the second active tile. The southward shot hits the robot at (1, 4). The exit unlocks. |
| 3 | North, neutral, Fire inactive | Reach the unlocked exit at (1, 0) and win. |
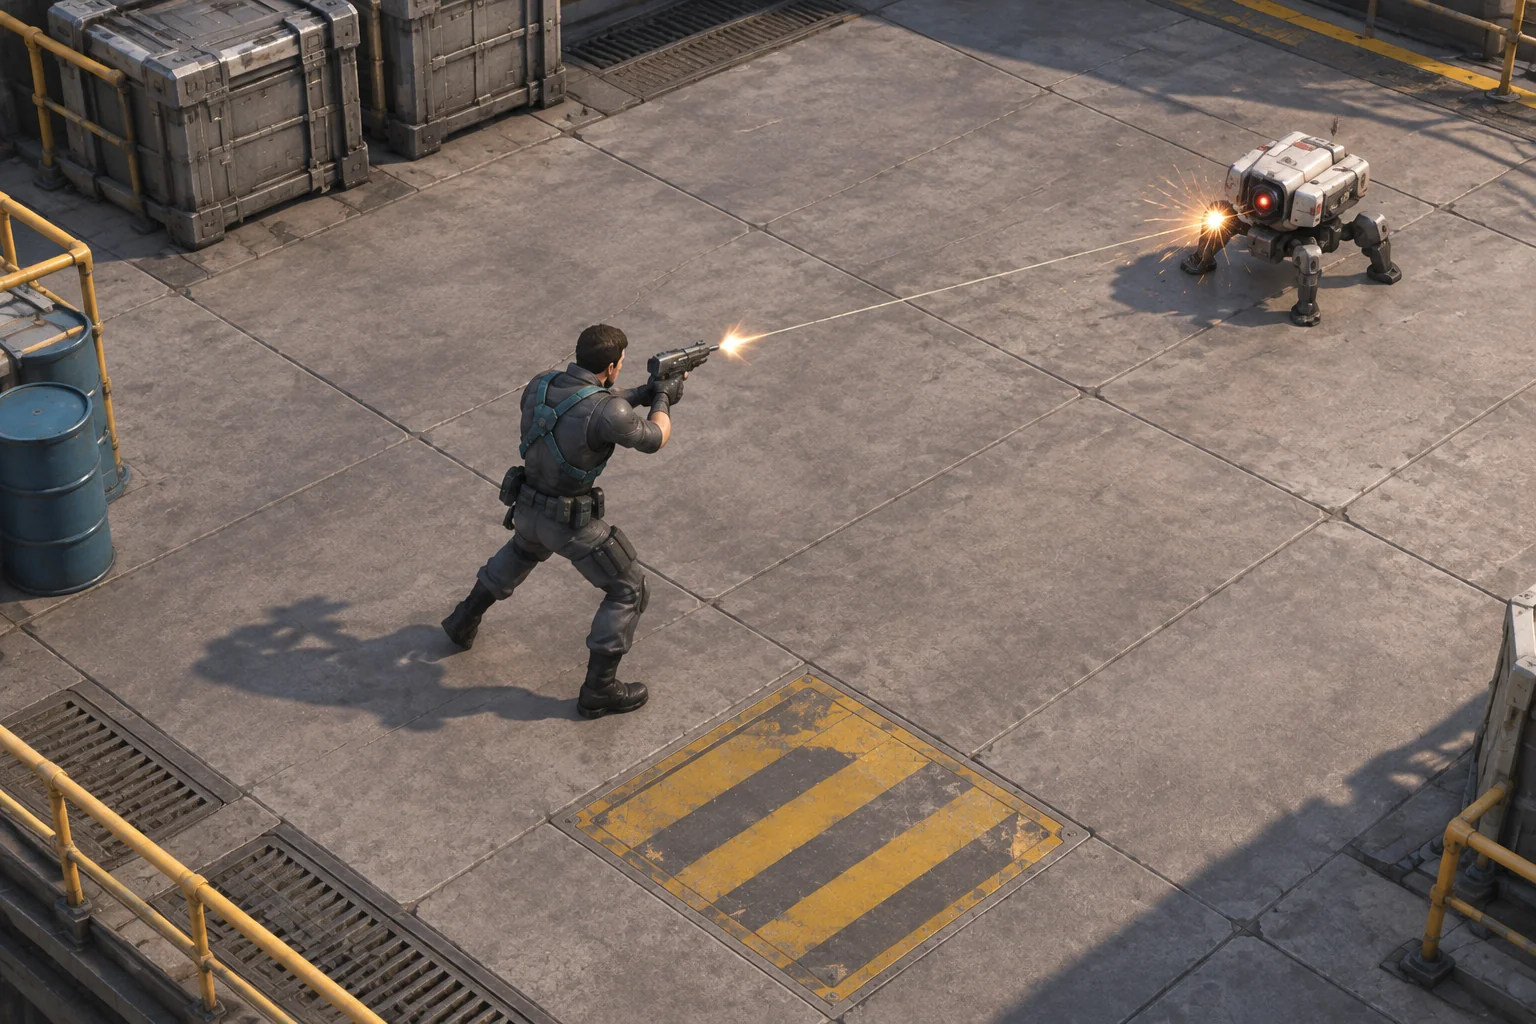
The first move changes the row from two to one, so an eastward shot lines up with the first target. The second move changes the column from two to one, so a southward shot lines up with the other. In both cases the movement and aim inputs must survive the same tick. If firing follows the last movement direction, neither shot takes the intended line.
Ask AI for one arena and a step control
SEELE’s AI game maker offers a starting point for a small game with one loop to check. Give it the exact tile and input rules along with the visual setting. Ask for a debug view that shows where each shot starts, so you can tell whether a miss came from aim or action order.
Build a top-down browser twin-stick shooter test bay on a 5-by-5
grid. Use x=0–4 eastward and y=0–4 southward. Start at (2,2) with
one health. Put one-hit targets at (4,1) and (1,4). Put the exit
at (1,0), locked until both targets are gone.

Read independent move, aim, and Fire values each debug tick. Move
and aim can each be neutral or one cardinal direction. Apply one
legal movement step first. Ignore steps outside the grid. Do not
copy the movement direction into aim. With Fire active and aim
non-neutral, trace one shot from the post-move tile. Hit the first
live target in that direction or let the shot leave the board.
Neutral aim produces no shot, even with Fire active.

After the shot, check the floor tile under the player. Tile (2,2)
is active on tick 1 and tile (2,1) on tick 2. Standing on either
active tile at its check fails the attempt. After checking safety,
win on the unlocked exit. No further hazards or target movement.

Show the move and aim values, the shot's start and end, and the
outcome. Add a one-step debug control. Restart restores the player,
health, targets, exit, and initial tick.
Check the inputs separately before running the trace. From a safe test tile, aim with no movement and confirm the position stays fixed. Then hold Fire with aim neutral while moving and confirm there is no shot. Run both worked shots, then swap move and aim on the first tick to verify that the expected hit disappears. Try staying on the first active tile, and check that Restart restores the original targets and locked exit. The guide to checking an AI game in small steps shows how to request a focused fix after a failed check.
Update the preview after the move
Suppose the aim preview uses the tile where the player started the tick. On tick 1 it would point east from (2, 2), along the wrong row. On tick 2 it would point south from (2, 1), down the wrong column. The actual shot already uses the destination tile, so the preview can disagree even when firing works.
Change only the preview origin to the resolved position. In the worksheet, the old preview matches neither shot and the revised preview matches both. The target hits and hazard checks stay the same. In a built version, compare the preview and shot together during fast direction changes before deciding whether the cue reads clearly.
Keep the first arena small enough to diagnose
Build the room around one simultaneous move and shot, then add the second direction pair. Check both the ray and the player’s position before introducing moving threats. Start your twin-stick prototype with SEELE’s AI game maker and use the three-tick trace to see whether the controls stay independent.
Frequently asked questions
Should I test the raw stick values or normalized directions first?
Start with normalized directions, such as north or neutral, so you can repeat the same input on any test setup. Check raw stick values when you add a device adapter. Verify how it turns small movements near the center into neutral without affecting the other stick.
What should happen when the aim returns to neutral?
In this room, hide the aim cue and skip the shot even when Fire is active. That gives you a clear check that aim is separate from movement. If you want aim to persist later, give it its own rule and test how the player clears it.
Do I need visible projectiles for the first shooting test?
A straight trace is enough to verify the shot’s origin and direction. Give it a brief line or hit cue so the player can see what happened. If you later add travel time, test it separately because a target can move after a shot has launched.
When should I add moving threats?
Add one after the player can move and aim independently and explain which direction a shot will take. Give the threat one predictable route at first. That makes it easier to tell whether a missed shot came from a moving target or from the controls.