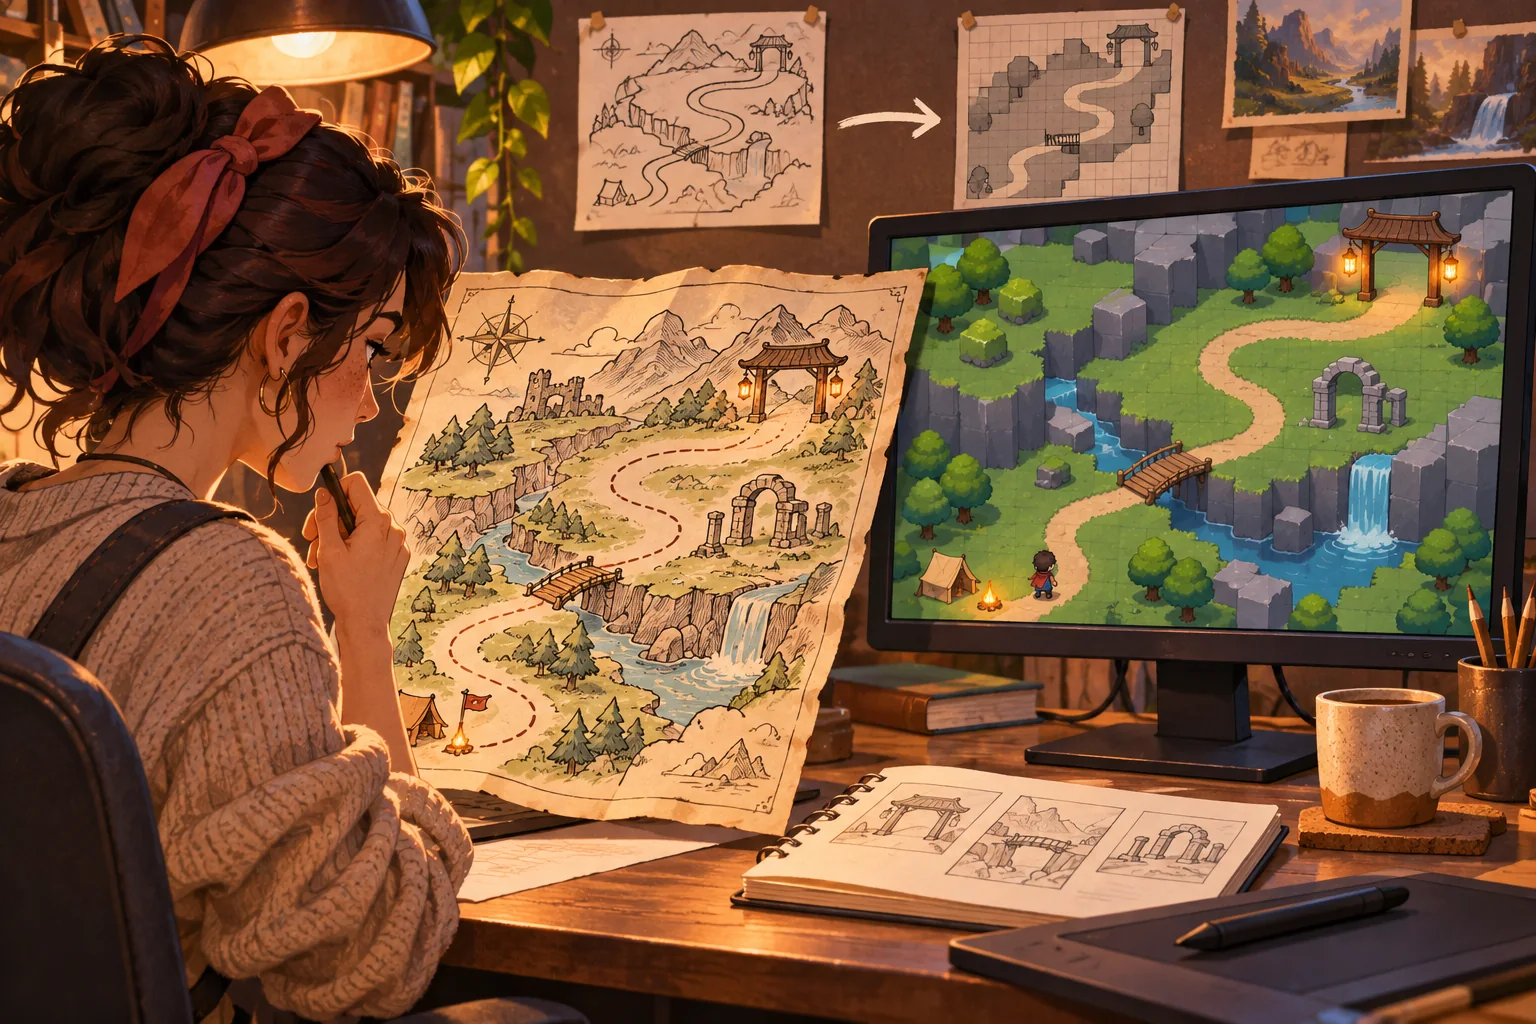
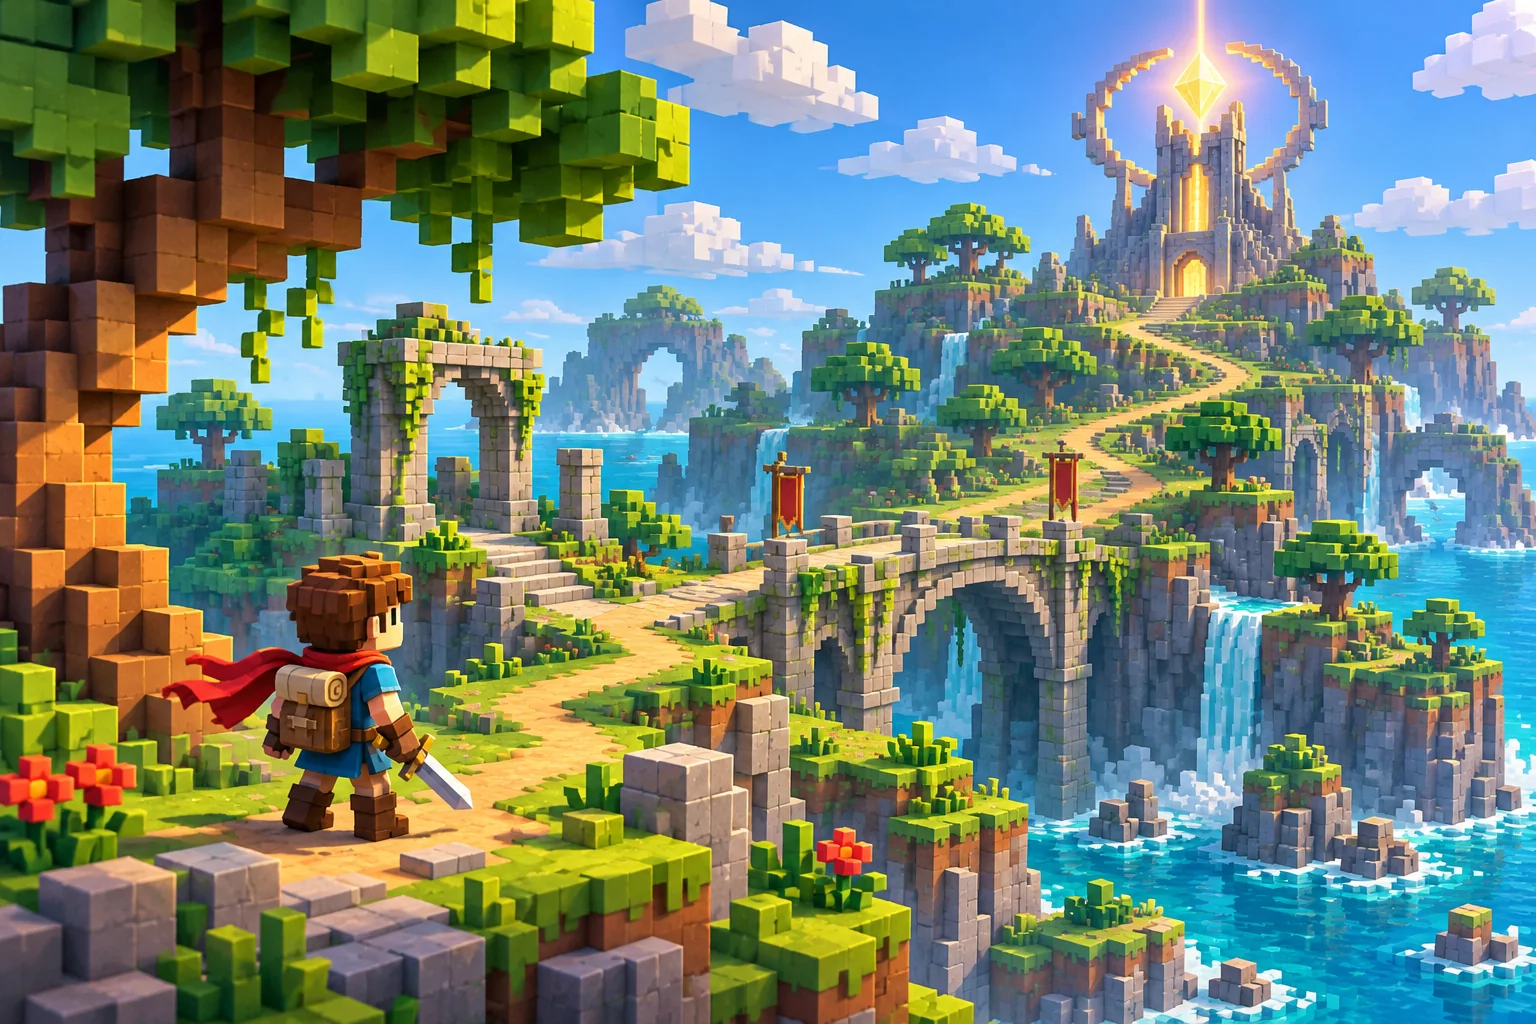
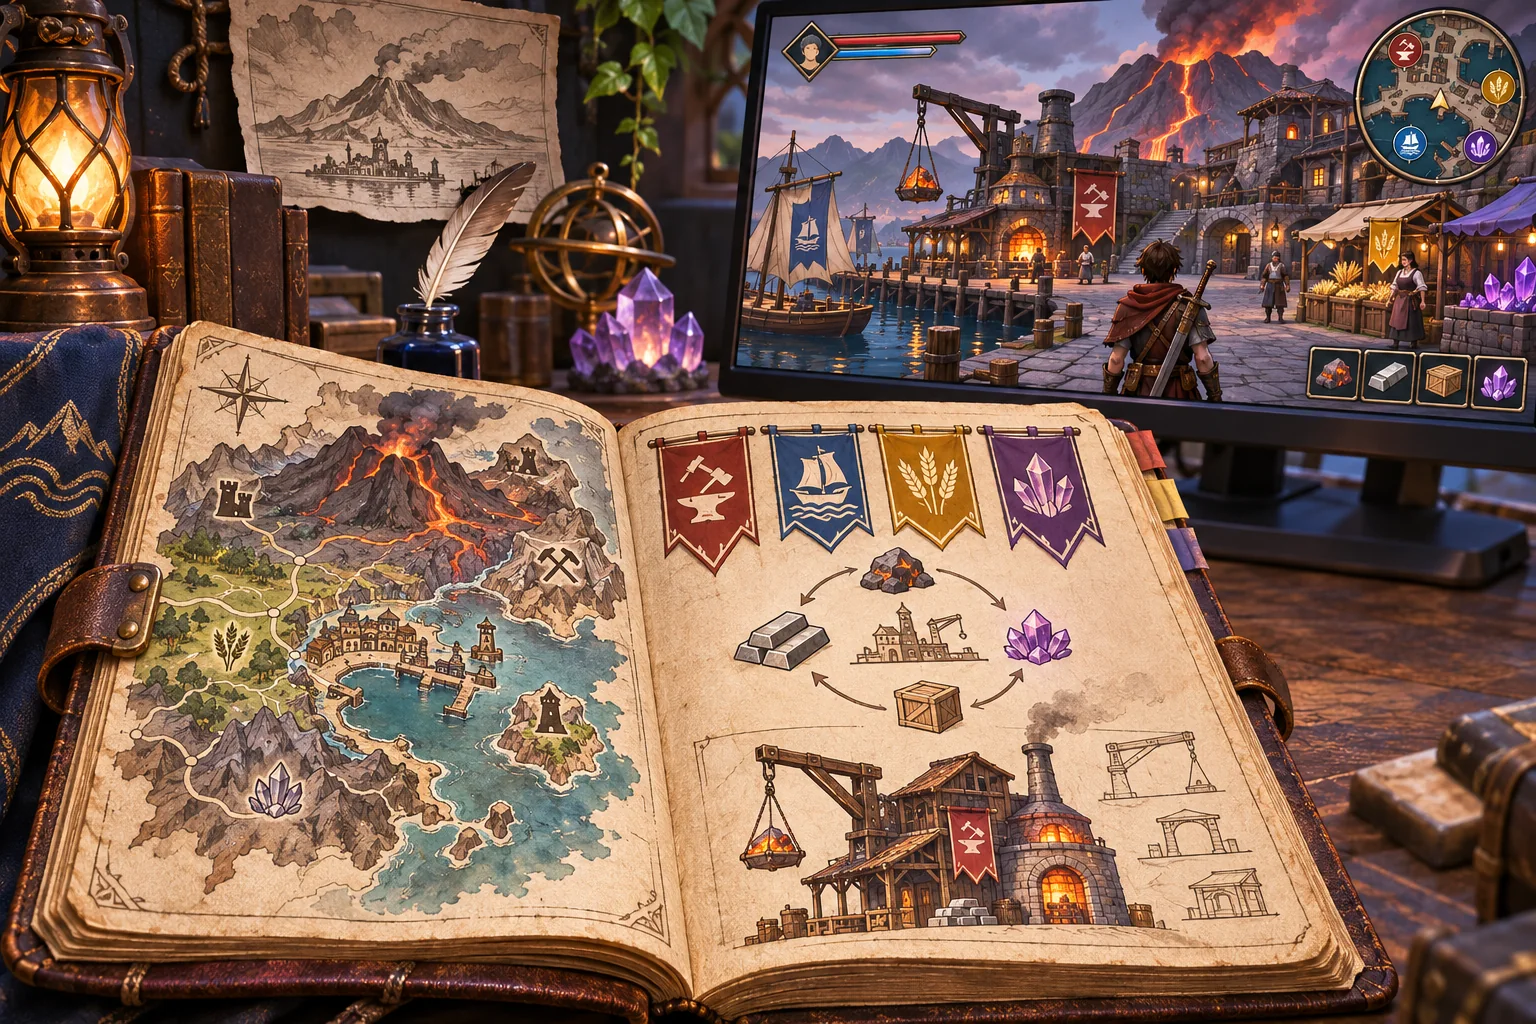
Environment concept art can communicate a place before it communicates a level. A painting may show a dramatic ridge, a ruined arch, and a glowing valley, but it rarely tells you where the player can walk, what blocks movement, or how the scene changes from a moving camera. Turning it into an exploration game means making those assumptions explicit, then testing them in a small playable space.
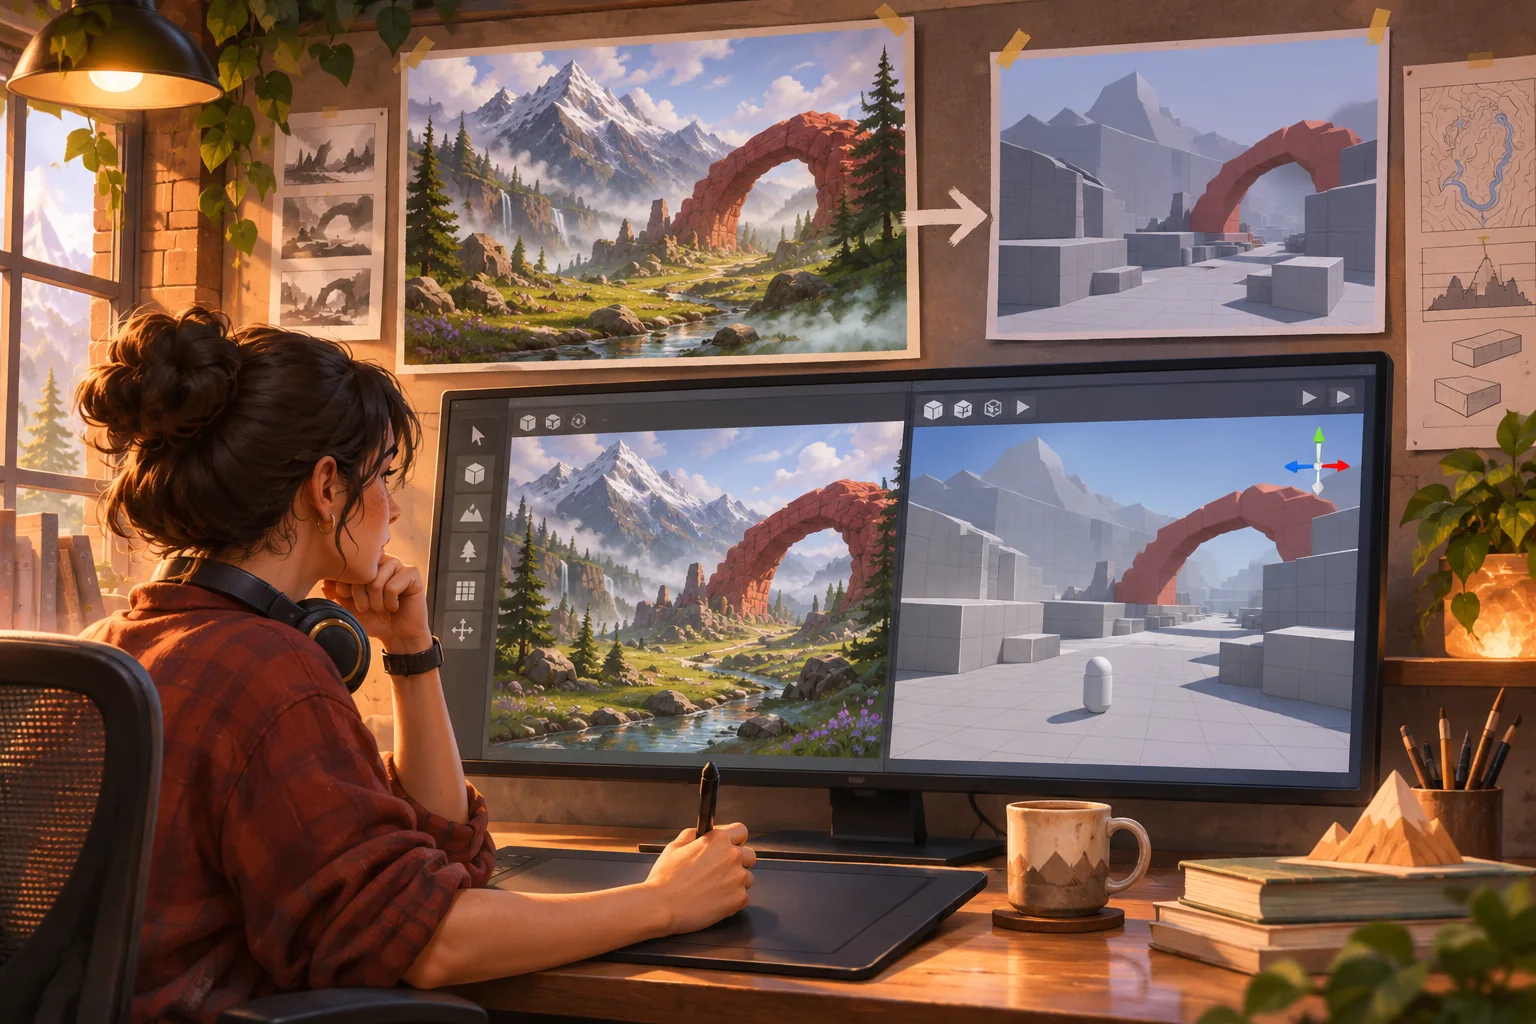
This guide follows Ember Vale, a fictional scene used only to demonstrate the process. It does not describe a shipped game, a real customer project, or a test result. The Unity documentation linked below explains specific authoring tools; it does not prove that any particular layout will be clear or fun.
Separate what the image shows from what you infer
Before opening an engine, inventory the reference. Mark the focal landmark, foreground and background layers, dominant light direction, large color groups, and apparent scale cues. Then create a second list for unknowns: whether the stream is deep, whether the arch can be entered, whether the far ridge is reachable, and what lies outside the frame. This separation prevents a confident-looking painting from becoming accidental design documentation.
Confirm usage rights and source files first. Record the image owner, license or permission, revision, dimensions, and any restrictions on derivative assets. AI-assisted interpretation does not grant rights to the input. If the reference is a mood board assembled from third-party art, use it to discuss broad composition only and build the level from assets you may use.
For Ember Vale, the imagined red arch is a candidate landmark, the stream is a possible boundary, and a pale trail is a route hypothesis. Those labels are provisional. They become design decisions only when the team chooses what the player should be able to see, reach, and understand.
Turn composition into an exploration goal
Pick one short player promise. For example: “Reach the arch and discover what lies beyond it.” That sentence gives the scene a testable destination. Next, draw the player start, the primary route, one optional detour, a barrier, and one point of interest. Keep the first slice small enough that you can inspect the entire journey without adding a full world map, quest system, or inventory.
Ask what makes the destination noticeable from the start. If the landmark is hidden behind a ridge, add a reveal point or a stronger silhouette. If the route follows the brightest color but ends at a cliff, either change the route cue or give the player a safe explanation for the blocked path. If an optional branch returns to the main trail, make the reward legible before players commit.
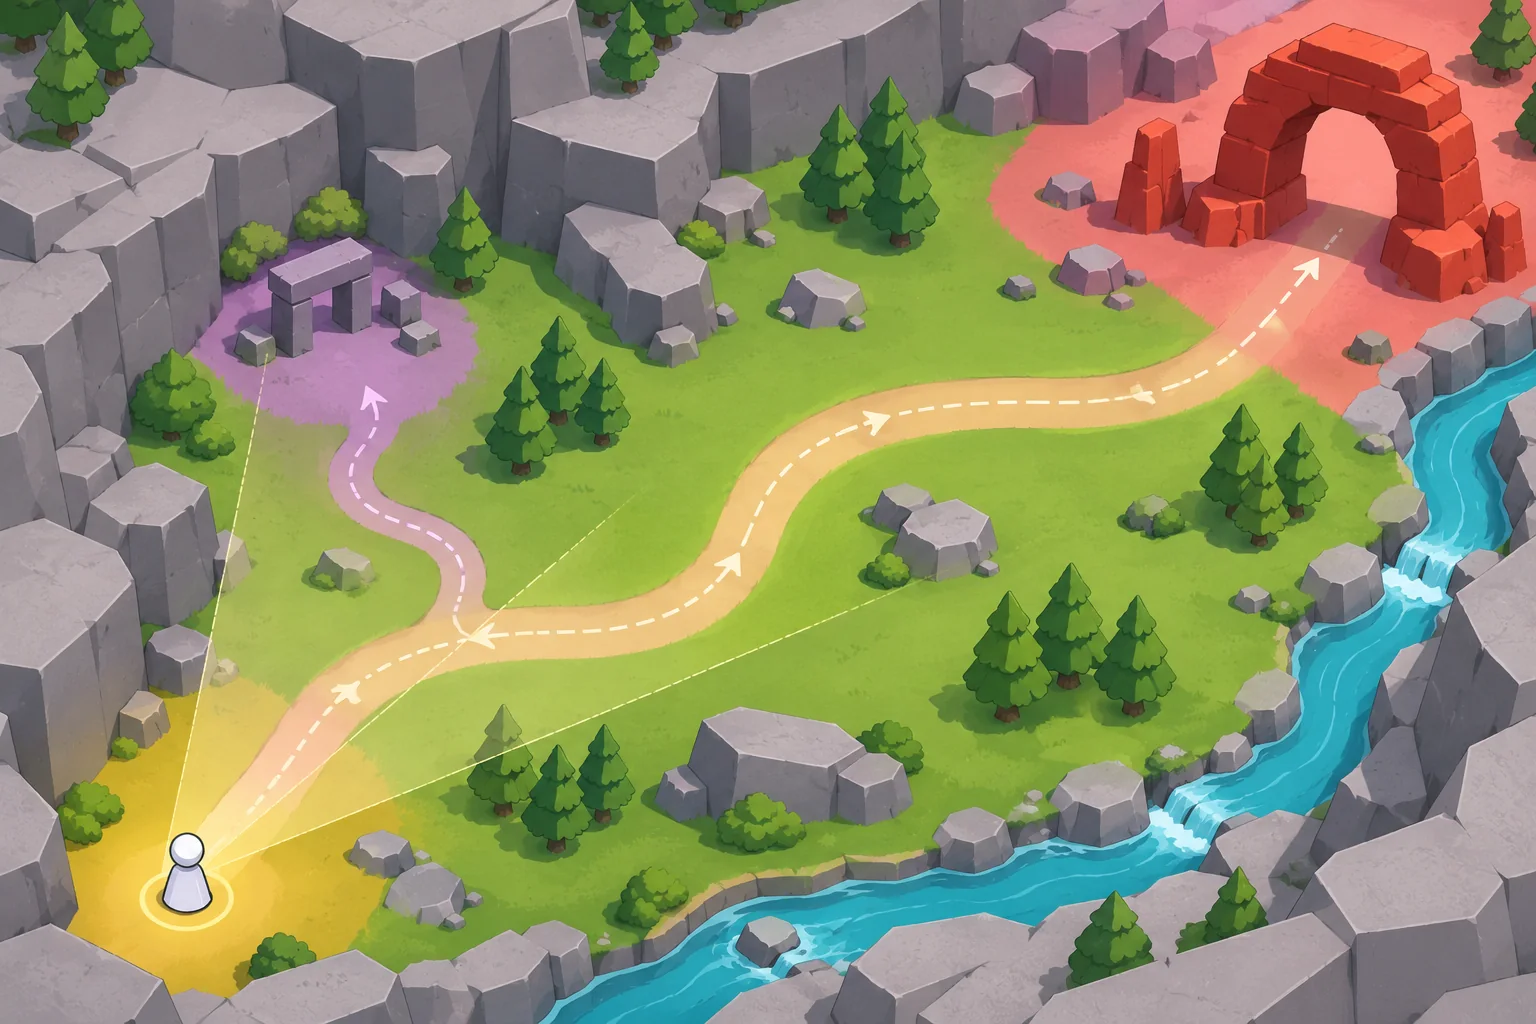
AI can assist with listing visible objects, proposing alternative routes, or turning your annotations into a task list. Keep a human-approved reference map next to every generated suggestion. Reject interpretations that invent unsupported lore, change the intended focal point, or copy protected details. Use the model to expand options, not to decide which interpretation is authoritative.
Build a graybox around movement
In the engine, start with walkable surfaces, simple barriers, and rough landmark volumes. Match the reference’s big shapes and camera framing before its materials. Place a temporary player controller and answer practical questions: Can the player reach the arch? Does the slope feel traversable? Can the camera show the route and destination at the same time? Does the stream read as a boundary or a path?
For an outdoor landscape, Unity’s built-in Terrain workflow includes sculpting and painting, trees, and terrain details; the Terrain Tools package adds optional authoring tools such as erosion and heightmap workflows. Unity’s AI Navigation package is another optional piece when the design needs NavMesh-based pathfinding, obstacles, or links for specific traversal actions. These are Unity-specific tools, not requirements for every level. A small or stylized scene may be easier to compose from modular meshes.
Collision deserves its own pass. Unity Terrain Collider uses heightmap data to represent the terrain shape, but the scene still needs project-level checks for slopes, ledges, water boundaries, and player movement. A visible path is not a collision surface, and a painted bridge is not a guarantee that the controller can cross it. Use temporary collision shapes during blockout and test the actual player controller against them.
Keep the first playable loop short: spawn, orient, follow a cue, make one small choice, reach the landmark, and receive a clear environmental payoff. That loop can be a single graybox lane. If it does not work without decorative art, adding more foliage and post-processing is unlikely to fix its route logic.
Use art to reinforce the route
Once the graybox supports movement, bring in approved art assets according to their role. Large shapes establish the horizon and frame the destination. Mid-sized forms create cover and guide turns. Small details add texture but should not compete with important cues. Check the scene from the player camera at the actual target resolution; a detail that looks obvious in a concept sheet may disappear at gameplay scale.
Translate lighting and color carefully. If the reference uses a bright opening to imply direction, preserve that relationship even if the exact palette changes. Avoid relying on color alone: silhouette, contrast, framing, and sound can also direct attention. Check accessibility needs and the visual range of the target display.
Do not treat concept art as a model sheet for every hidden surface. Where the image provides no information, choose a coherent extension and document that it is invented. This is especially important if an AI image model fills in architectural or environmental details: label those additions as generated drafts and verify they fit the original rights and style constraints.
Review the slice with observable questions
A useful review asks what a player can do, not whether the screenshot looks finished. Can a new player identify the destination? Do they choose the intended route without explanation? Can they distinguish a safe ledge from a drop? Does the optional branch signal why it is worth exploring? Can they complete the slice without clipping through the terrain or getting stuck?
Use an observation sheet with columns for intended cue, expected response, actual behavior, and next change. Record screen captures and build identifiers so a revision can be compared with its prior version. One person's successful run is a useful defect check, not proof that the level is universally readable. Test with people who did not help build the scene and include the relevant input devices and platform conditions.
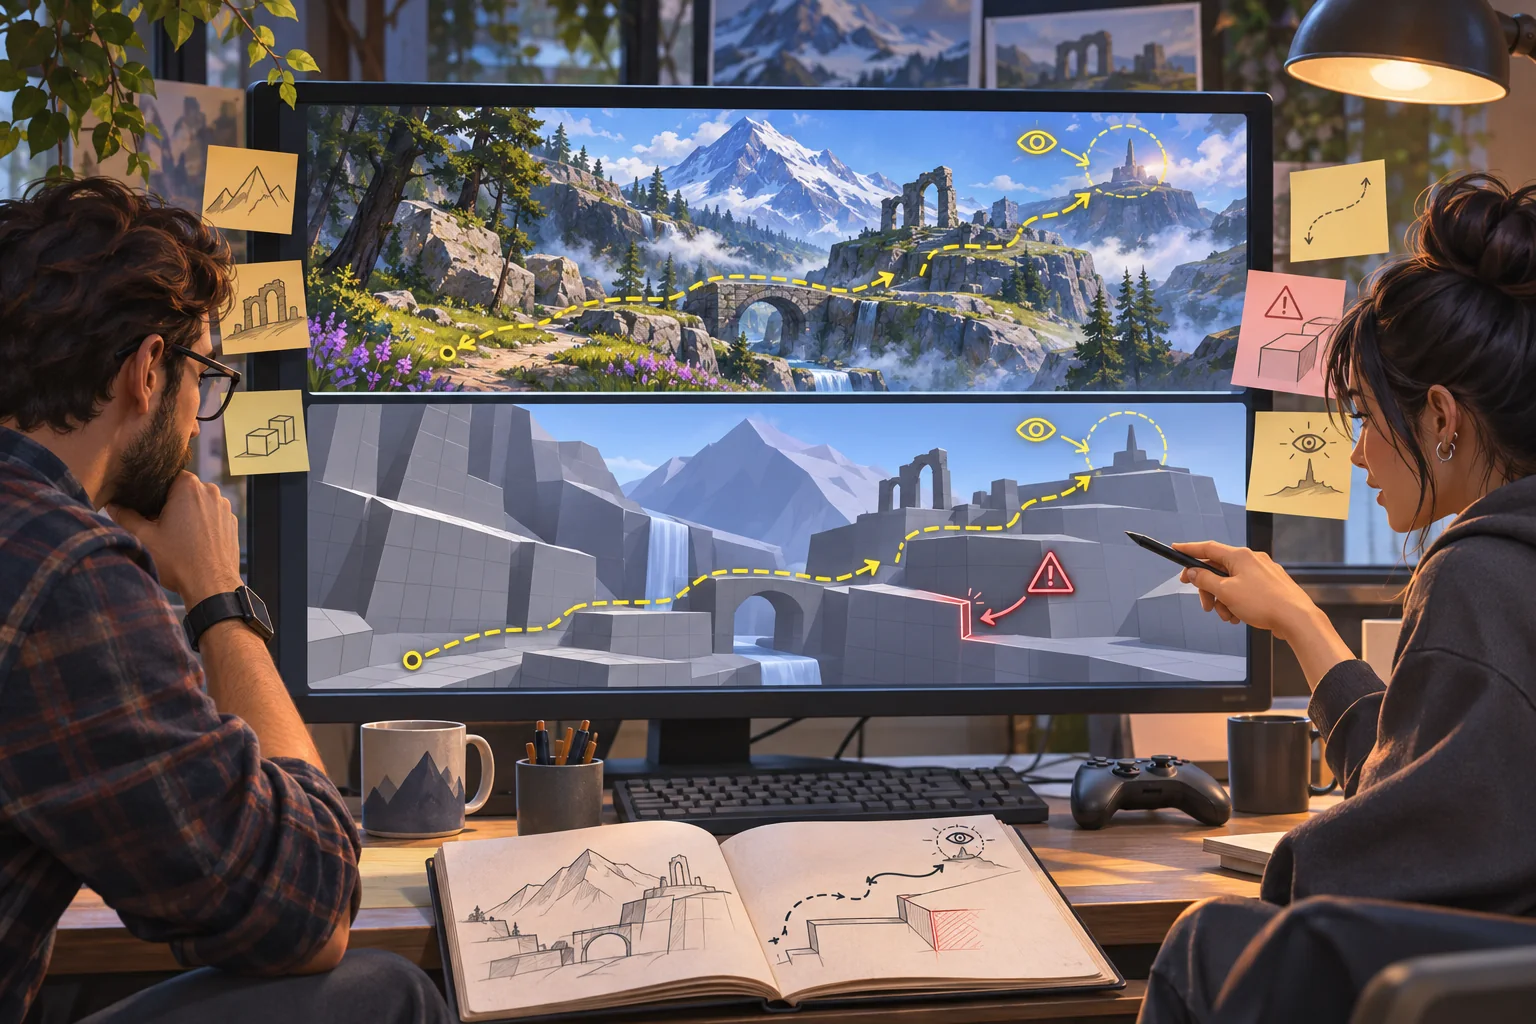
A compact conversion checklist
- Confirm rights, source revision, and intended camera before using the reference.
- Separate visible facts from route, scale, collision, and story assumptions.
- Choose one destination and one short exploration promise.
- Graybox a main path, a clear landmark, one obstacle, and at most one small branch.
- Check the real controller, camera, collision, and target hardware.
- Add approved art in layers that reinforce orientation and discovery.
- Observe unfamiliar players and revise cues before expanding the level.
The image-to-level process works best as a sequence of reviewable decisions: inventory, route hypothesis, graybox, art pass, and playtest. Keep the source image beside each revision, and state plainly which parts come from the art, which are design choices, and which still need evidence. For another production pattern, browse the resource library.
Frequently asked questions
How do I turn environment concept art into an exploration game?
Start by extracting a small set of spatial clues from the image: a landmark, a route, a barrier, a point of interest, and a mood shift. Translate those into a graybox level and one player action, then add art only where it supports navigation or discovery. Test whether players can find the landmark and understand the route before polishing the environment.
Can AI generate a playable level from concept art?
AI can help describe visible objects, propose route layouts, draft blockout tasks, or create placeholder assets. It cannot establish that the resulting level is readable, traversable, performant, or faithful to your intent without project-specific checks. Treat generated interpretations as proposals, compare them with the licensed source art, and validate movement, collision, sightlines, and player comprehension in the target build.
What should I preserve when adapting concept art into a game level?
Preserve the elements that communicate identity and navigation: silhouette, scale relationships, focal landmarks, lighting direction, color grouping, and intended mood. A still image does not specify camera movement, collision, hidden surfaces, or alternate routes. Record those assumptions separately, and avoid copying or reconstructing details that you do not own or have permission to use.
How can I make an exploration level readable?
Use a visible destination, a primary route with a few legible branches, and environmental cues that point toward the next discovery. Check contrast and landmark visibility from the player camera, then verify the route with someone unfamiliar with the blockout. If players miss a cue, adjust its placement, silhouette, lighting, or route geometry before adding more decorative detail.
Do I need Unity Terrain to create an environment from concept art?
No. Unity Terrain is useful for heightmap-based outdoor landscapes and supports sculpting, painting, trees, and detail workflows, but a small interior, modular scene, or stylized path may be better built from meshes and modular assets. Choose the representation that fits the art, camera, traversal, and performance needs, then test its collision and navigation in the project.