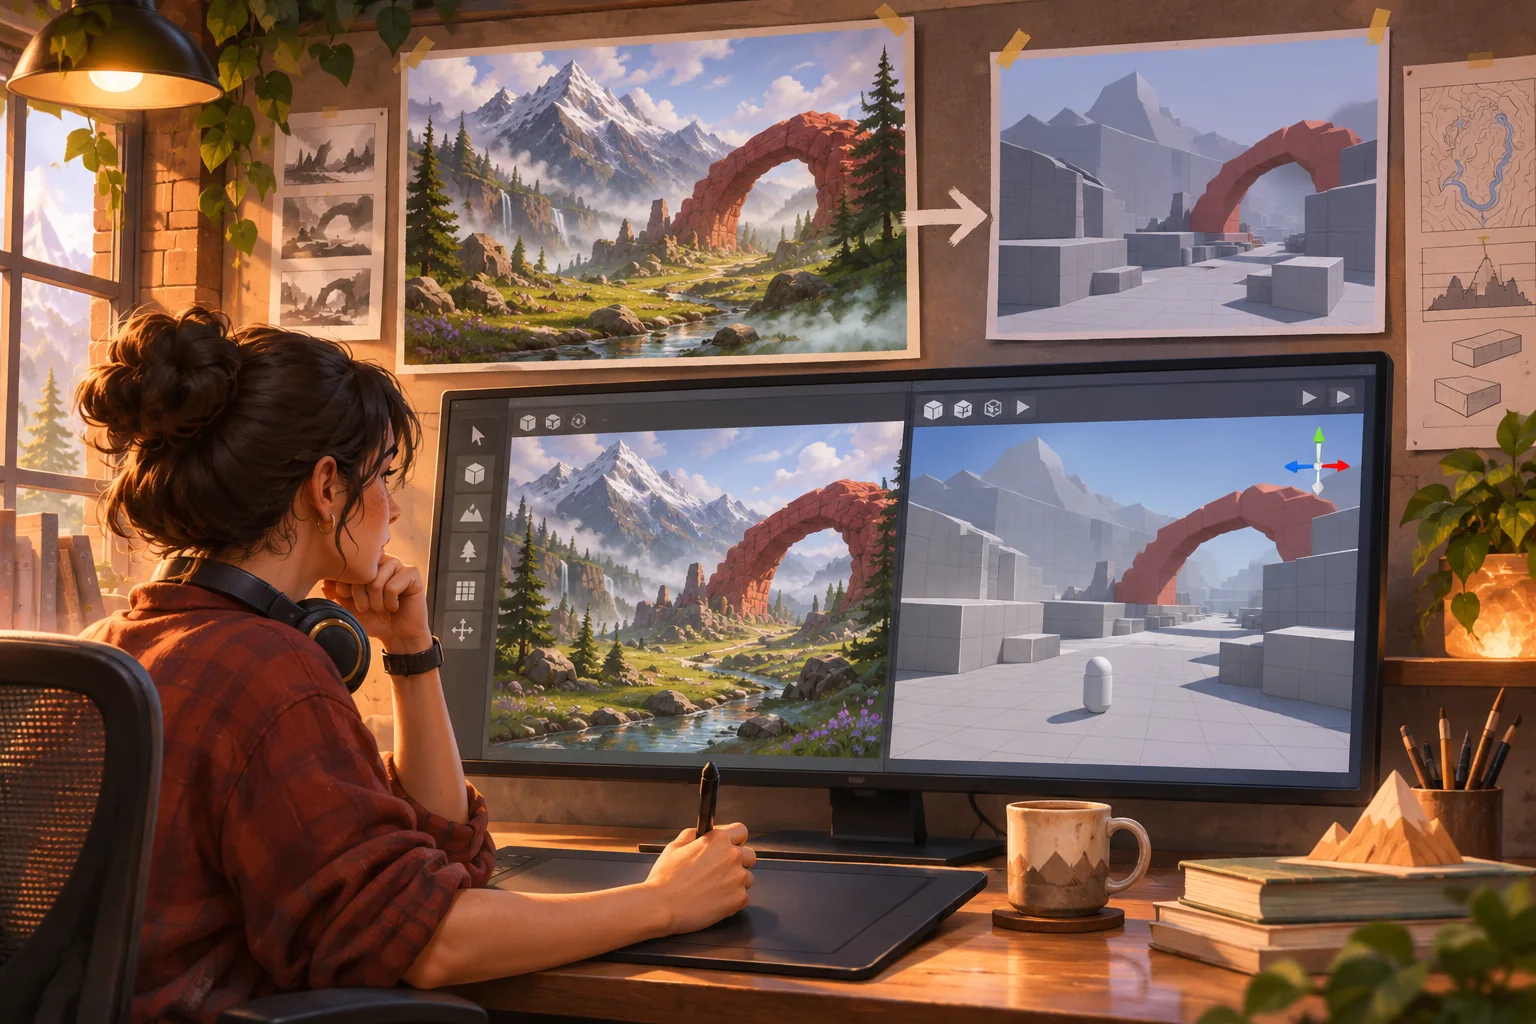
A hand-drawn level map often contains more certainty for its author than for the person who inherits it. A heavy line might mean a wall, a path, or a note to revisit. A doorway may be an entrance, a secret, or simply a break in the pen stroke. Before turning a sketch into a game, translate its marks into a small set of explicit gameplay decisions and identify what remains unknown.
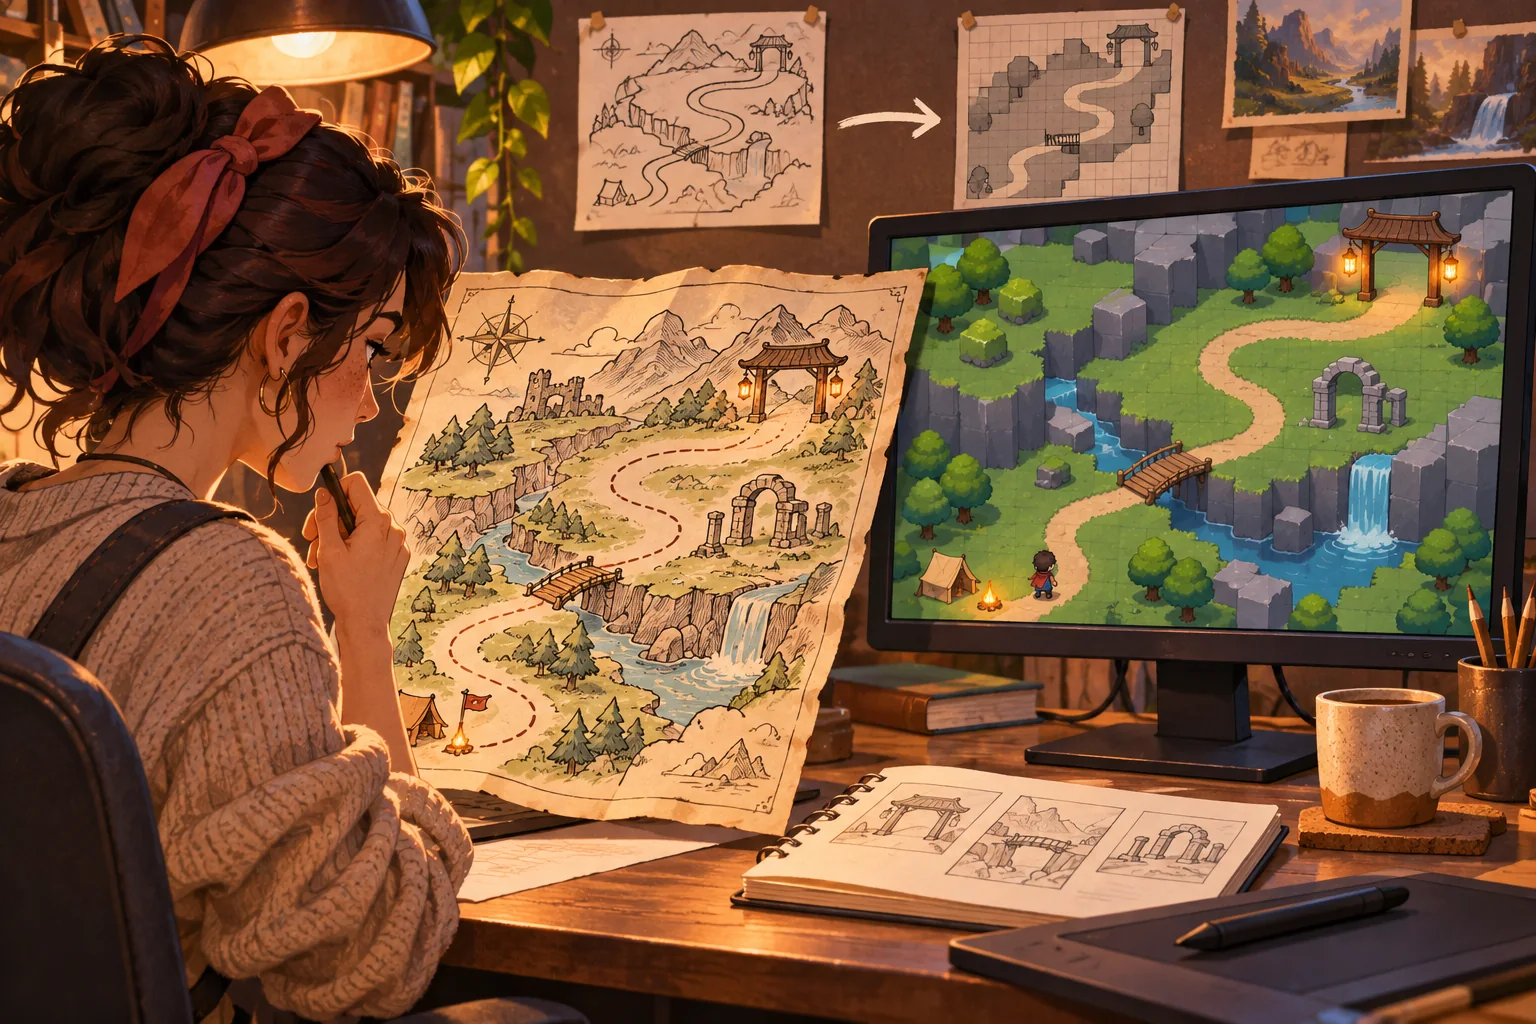
This workflow uses Lantern Vale, a fictional top-down adventure map invented for illustration. Its rooms, lantern gate, routes, and choices are not from a real project, and no source sketch or playable build was supplied. The official Godot references below describe engine features; they do not establish that this map or any prototype works well.
Preserve the source and make a legend
Start by saving the original image with its author, permission or license, revision, and dimensions. Work on a copy. Do not erase uncertain marks or let an AI transcription overwrite the source. Create a legend that distinguishes walkable floor, solid walls, doors, hazards, landmarks, interactable objects, and annotations. Use a confidence column for marks that could have more than one interpretation.
AI can help transcribe handwriting, spot repeated symbols, or propose questions for the designer. It can also misread a quick arrow as a wall or turn a smudge into a secret passage. Treat its output as an editable draft. Have the map owner confirm gameplay-critical meaning, especially around exits, locks, one-way drops, and hazards.
For Lantern Vale, imagine the paper uses a small lamp icon repeatedly, one shaded square at the north edge, and a dotted line through a chamber. We might interpret the lamp as a checkpoint, the shaded square as a gate, and the dotted line as the intended route—but those are design choices in this example, not facts about a real map.
Turn marks into a route players can read
Choose one first objective, such as reaching the northern gate. Mark the start, destination, the main route, one optional detour, and any point where the player must use an item or make a choice. Remove decorative marks from the gameplay diagram. Then ask whether a player can infer where to go from the level itself: a light source, a visible doorway, a changed floor pattern, a silhouette, or a deliberate sightline.
Scale is another missing piece. Paper centimeters rarely map directly to in-game units. Choose dimensions from the player character, camera, and desired movement pace. A narrow line on a sketch may need a wider corridor to fit the avatar and camera. A room that looks large on paper may feel empty when the player can cross it in a second.
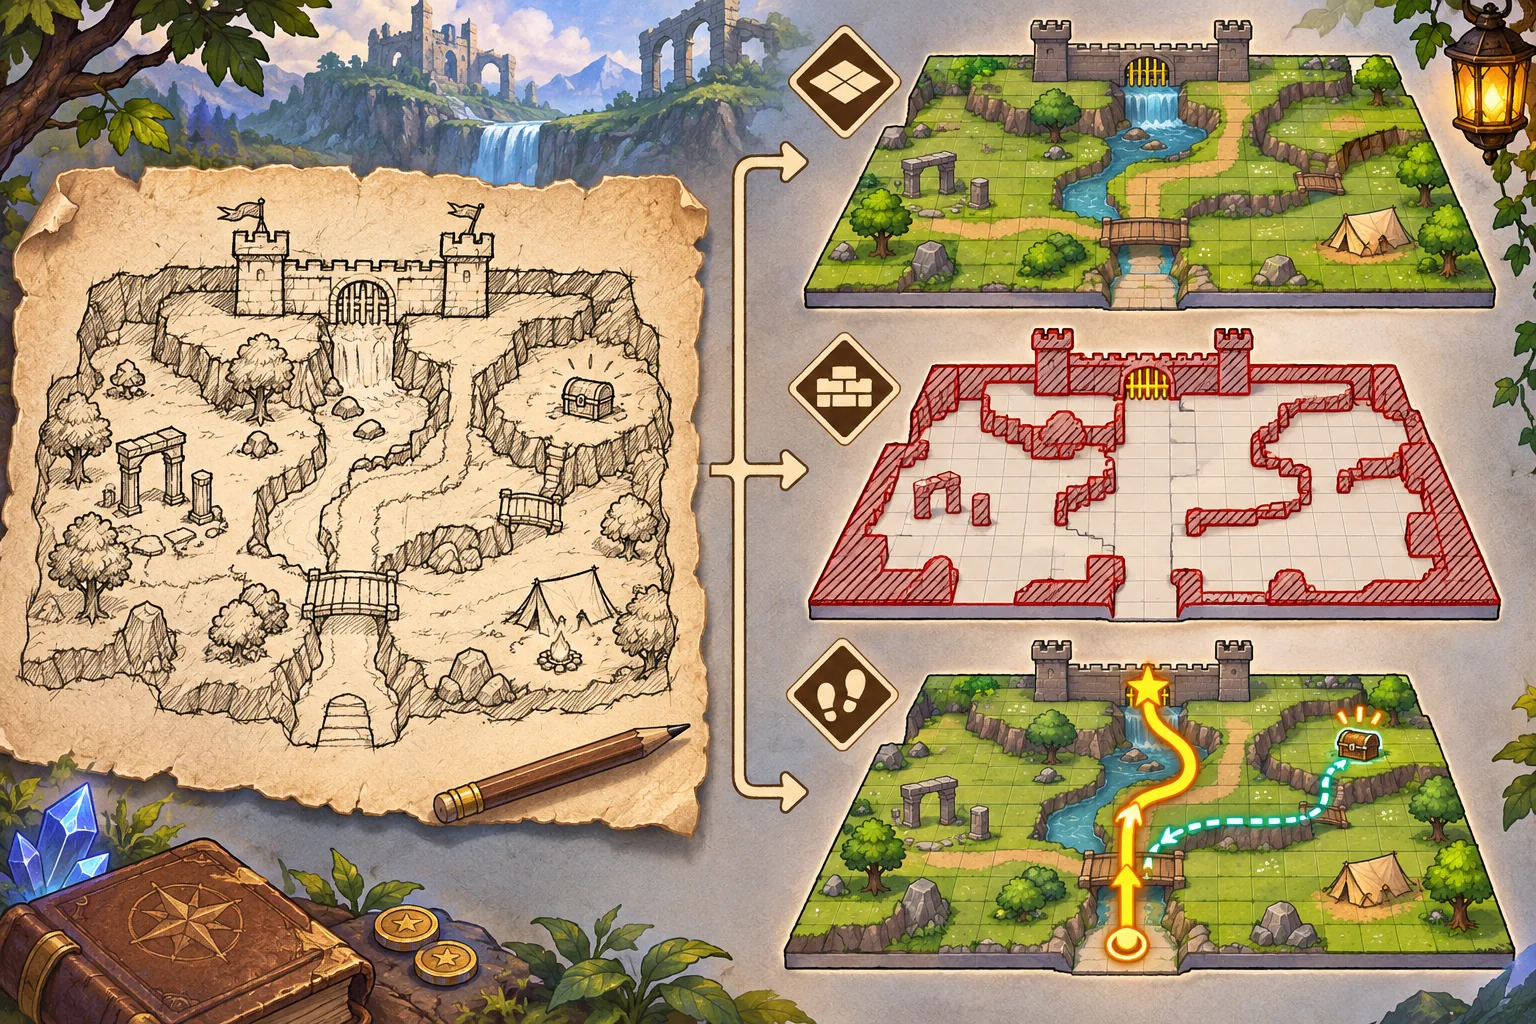
Write down what happens at every transition: Can a door be opened? Does a route loop back? Is a branch optional or required? Does the player need a key? Keep the first prototype small. A single room sequence with one readable gate and one optional reward can answer more useful questions than a complete dungeon assembled before the movement feels right.
Build the graybox before decorating
Block out rooms and corridors with simple shapes. Add the player controller, visible collision, and temporary interactable markers. Walk every intended route and verify that the avatar fits, the camera does not hide turns, and the entrance and exit are obvious. Test edge cases: can the character clip around the side of a wall, get trapped behind a door, or bypass a puzzle trigger?
When working in Godot 4.4, TileMapLayer represents one layer of tiles; separate nodes can keep ground, walls, and decoration distinct. The TileSet workflow supplies tile definitions for those layers. This structure is useful for edits and collision review, but it does not replace interactable scenes or game logic. Doors, switches, hazards, and moving objects often need independent behavior.
If the level needs NPC pathfinding, Godot’s 2D navigation tools use NavigationRegion2D and navigation polygon data to describe traversable space. The navigation polygon represents where an actor can move, so it should leave clearance around collision objects. Navigation is optional for a simple player-only map, and a pathfinding polygon is not a substitute for collision or manual testing.
Keep collision geometry simpler than the artwork. A detailed torch or rough rock edge usually should not snag a character. Align the collision grid to the player’s movement and decide whether the game uses tile-aligned motion, smooth movement, or both. Check the project’s physics settings and the actual controller rather than assuming a tile image determines behavior.
Add art without losing map readability
Once routes work, replace placeholders with approved tiles and props. Maintain contrast between floor and blocking edges, and reserve distinctive silhouettes for important doors or landmarks. Visual decoration can imply boundaries, but collision must agree with what the player sees. A low wall should not behave as an invisible full-height barrier unless the game communicates that rule clearly.
Keep layer responsibilities explicit. Ground defines the base surface; walls and fixed obstacles define spatial boundaries; props add context; foreground decoration may overlap the player but should not obscure navigation. In Godot, TileMapLayer’s single-layer model encourages separation, but teams can choose different scene structures if they document which layer owns rendering, collision, and gameplay.
Use generated tiles only where you can confirm they are original, licensed, and consistent with the source. An AI-created variation can help explore mood or fill a placeholder, but it should not silently rewrite the map’s route or copy another artist’s recognizable work. Compare the final asset set with the approved reference and record important departures.
Review the route with a real observer
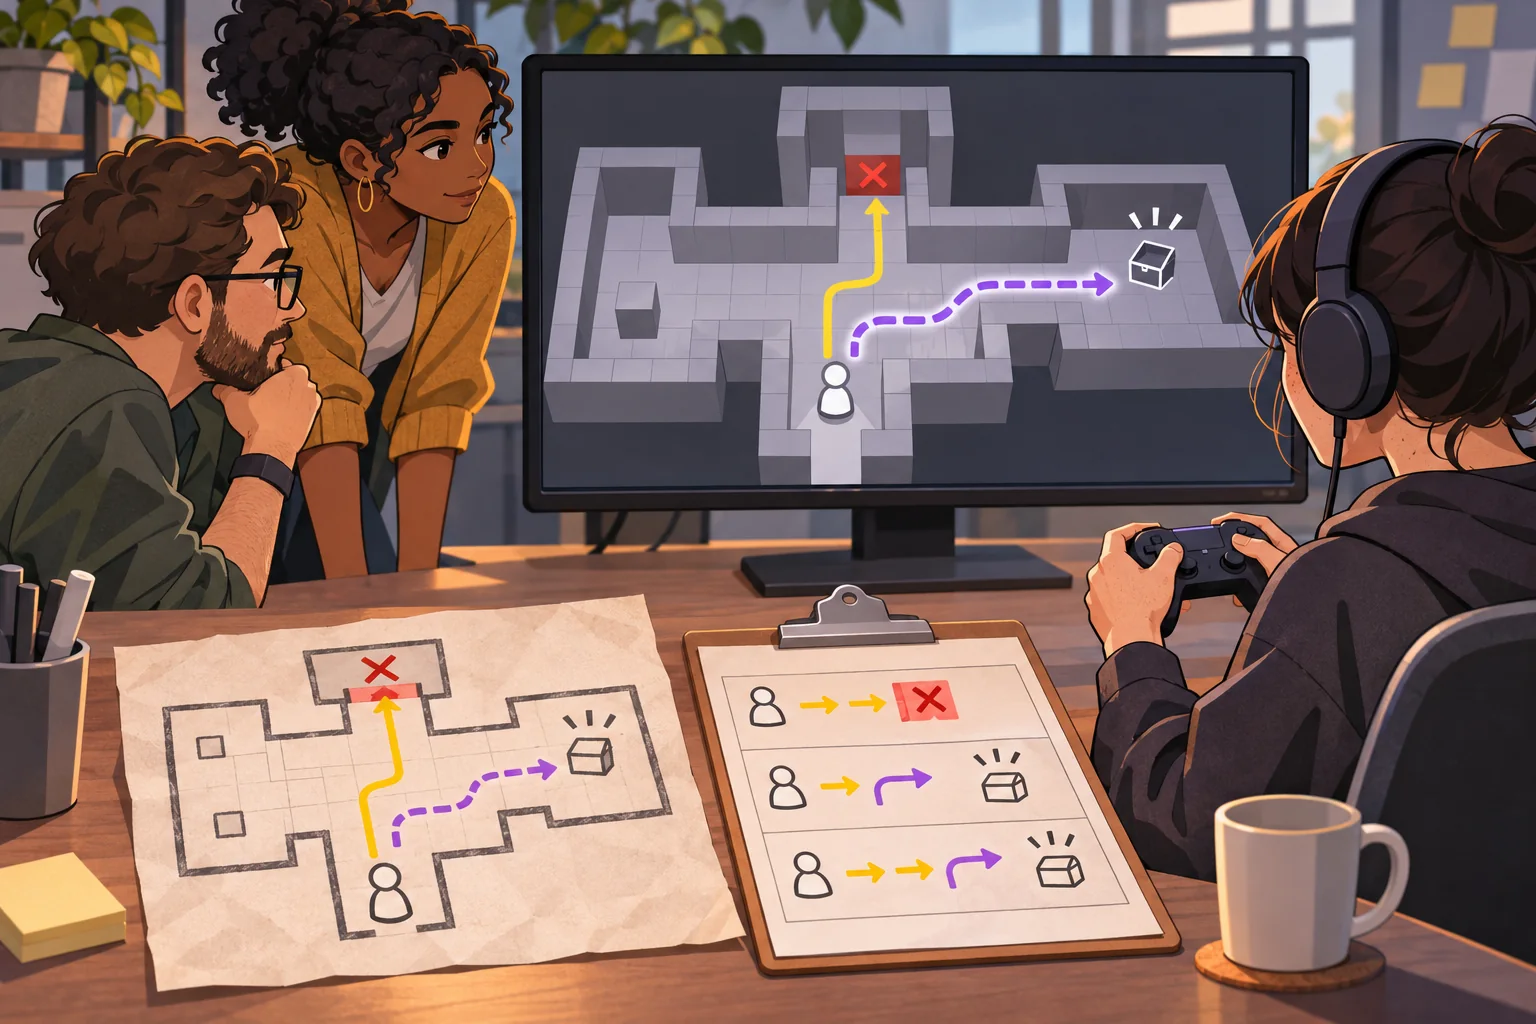
Give the graybox to someone who did not draw it. Ask them to reach the objective without explaining the intended route. Observe rather than coaching: where do they pause, which doorway do they test, and what do they think a symbol means? Record the build version, input device, start point, and changes made after the session.
A prototype review can establish that one person completed a particular build under stated conditions. It cannot establish that every player will understand the map or that the level is balanced. Repeat with people who represent the intended audience and check accessibility, camera behavior, and alternate input methods where relevant.
Checklist for a reliable conversion
- Retain the source sketch, permissions, and revision history.
- Define a legend and label uncertain marks instead of guessing silently.
- Choose one objective, start point, route, and meaningful optional branch.
- Set the grid from player scale, camera, and movement pace.
- Validate collision and interactions with the actual controller.
- Keep visual layers, collision, and game logic distinct.
- Observe an unfamiliar player and record what changed between builds.
A hand-drawn map becomes a playable prototype through explicit interpretation: first label the source, then block the route, confirm movement, add approved art, and observe a player. Keep unknowns visible until the designer resolves them. For more production guidance, browse the resource library.
Frequently asked questions
How do I turn a hand-drawn map into a playable adventure level?
Inventory the map symbols, choose one clear objective, and separate route lines from walls, hazards, and decorative marks. Convert the intended path into a graybox with a player start, destination, and a small number of meaningful choices. Test scale, collision, and visibility in the engine before painting final tiles or treating ambiguous marks as confirmed level features.
Can AI interpret a hand-drawn level map?
AI can help transcribe labels, propose a tile legend, or list ambiguities for a designer to resolve. Handwriting, perspective, overlapping marks, and missing scale can produce confident but incorrect interpretations. Keep the original image beside the parsed version, label uncertain features, and approve every gameplay-critical wall, gate, hazard, and route before implementation.
How do I choose a grid size for a 2D adventure map?
Start from the character footprint, camera scale, and movement feel rather than the drawing’s paper dimensions. Choose a tile unit that makes corridors, doors, and obstacles easy to compose, then test the avatar against that grid. You may use larger visual tiles or layered artwork while keeping collision and navigation rules on a simpler, consistent grid.
Should I use a TileMapLayer for every part of the level?
Not necessarily. TileMapLayer is useful for organizing one tile layer at a time, such as ground, walls, or decoration, but interactive props, doors, enemies, and scripted transitions often belong in separate scene nodes. Separate layers by purpose so visual editing does not quietly change collision or gameplay behavior.
How do I test if an adventure map is readable?
Give a playable graybox to someone who has not seen the source drawing. Observe whether they find the goal, recognize blocked routes, and understand optional branches without verbal hints. Log the build, controller, starting position, and observed confusion. A successful run by the author is a useful smoke check, but it is not evidence that all players will read the map the same way.