A creature sketch is a design starting point, not yet a game character. A drawing can show anatomy, mood, and texture, but it does not say what the creature does, how large it is beside the player, or what its movement communicates. A good conversion process keeps the artist’s intent visible while deciding which shapes and behaviors matter during play.
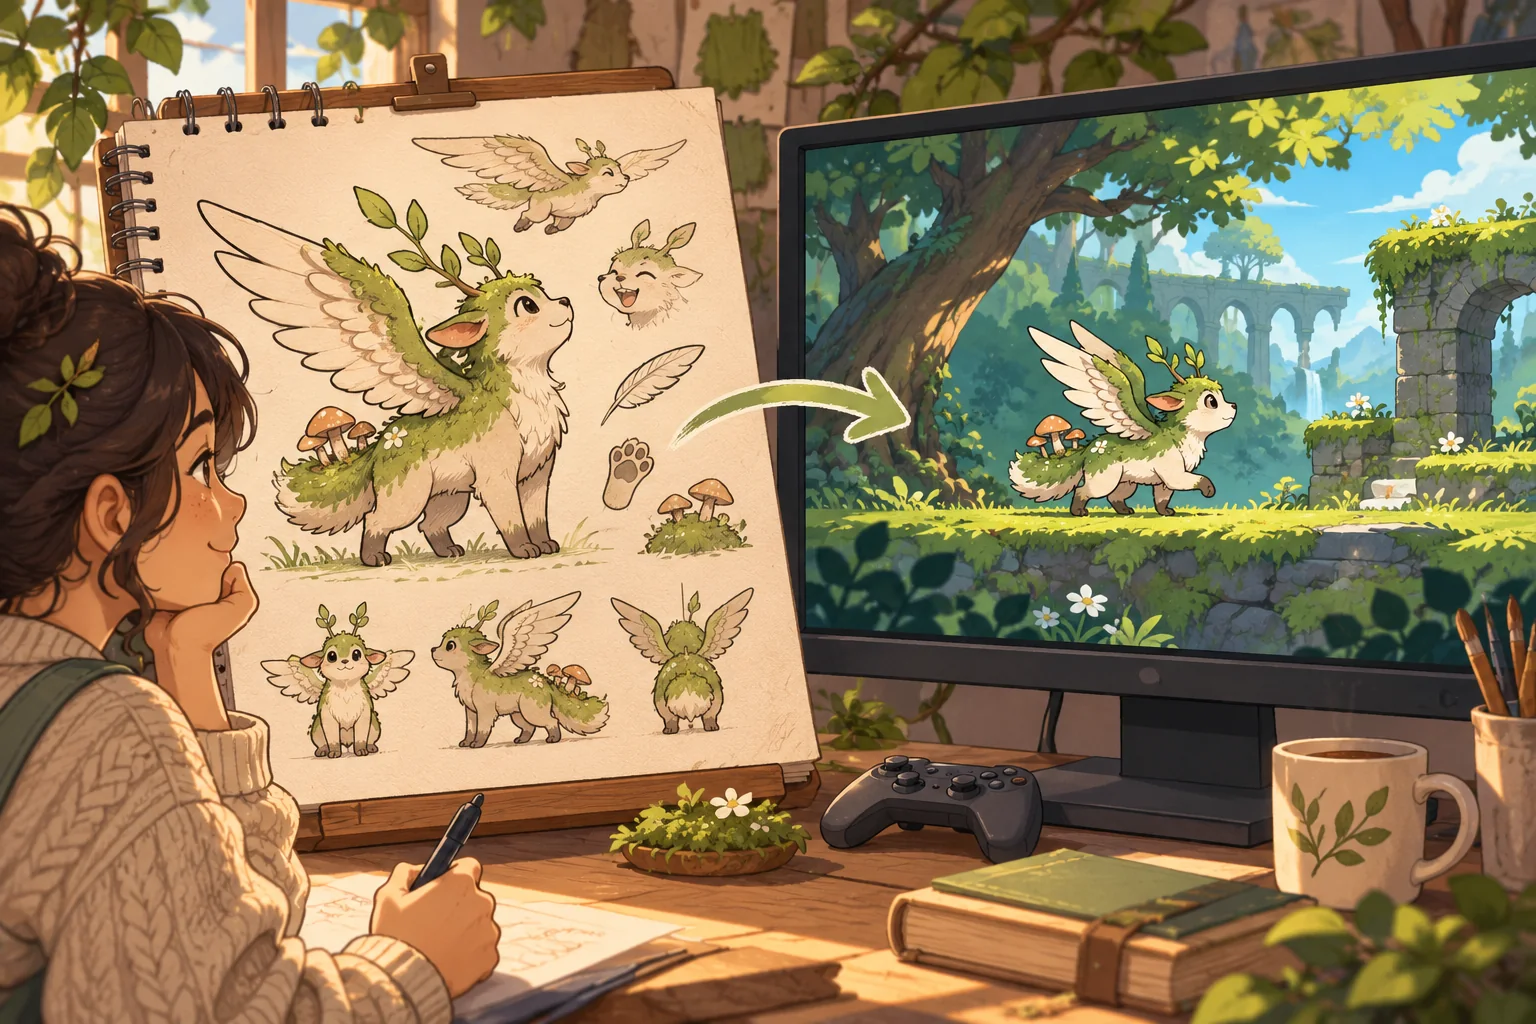
This article uses Mosswing, an invented forest creature, only as an example. Its sketch, anatomy, animation, encounter, and outcomes are fictional; no source art or playable build was provided. Godot links describe engine features, not proof that a particular creature design is readable or fun.
Start with permission and purpose
Record who created the sketch and what permissions apply to adaptation, derivative art, AI processing, and commercial use. Keep the source file and revision alongside the working brief. If the sketch combines references, identify which elements are cleared for use. Generated variations do not create rights to source material or make an uncertain license acceptable.
Write one sentence for the creature’s role. Is it an enemy to avoid, a guide to follow, a neutral animal that reacts to the player, or a companion with a specific interaction? A creature that communicates a route needs a different shape, animation rhythm, and feedback from one that attacks. Avoid designing an entire bestiary before you know whether the core encounter works.
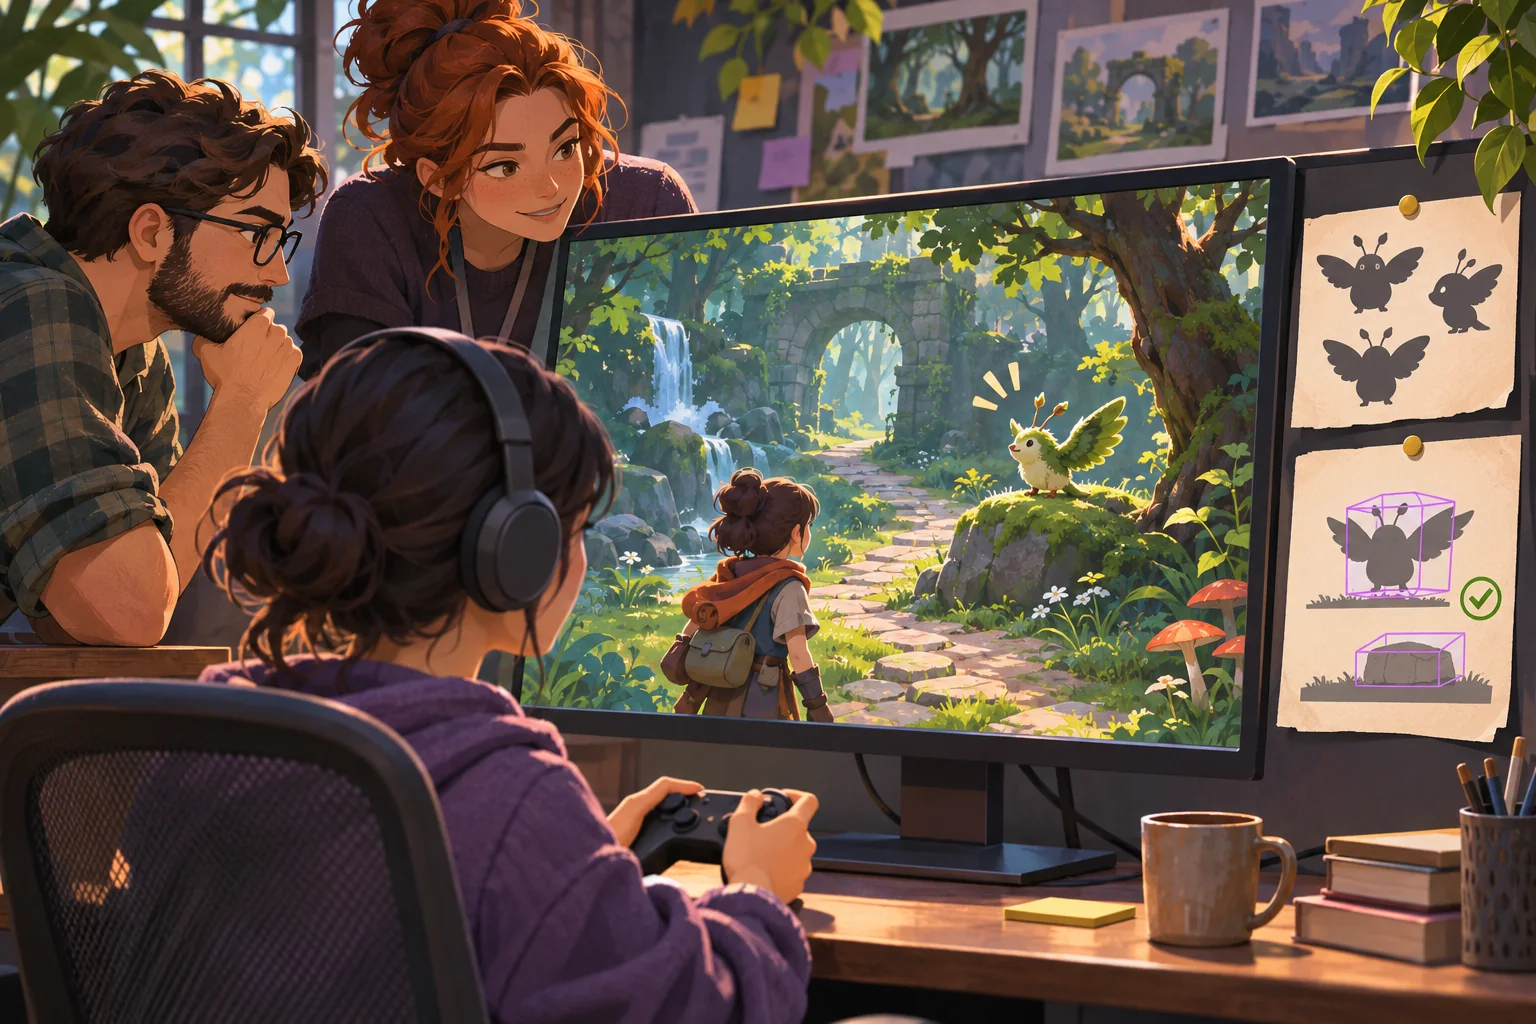
For Mosswing, imagine the role is a cautious guide: it briefly flutters toward safe paths and settles near points of interest. The round silhouette, bright wing marking, and motion toward a landmark are invented design decisions. They give the prototype a question to answer: can the player read the cue without dialogue or a tutorial popup?
Translate the drawing into a design sheet
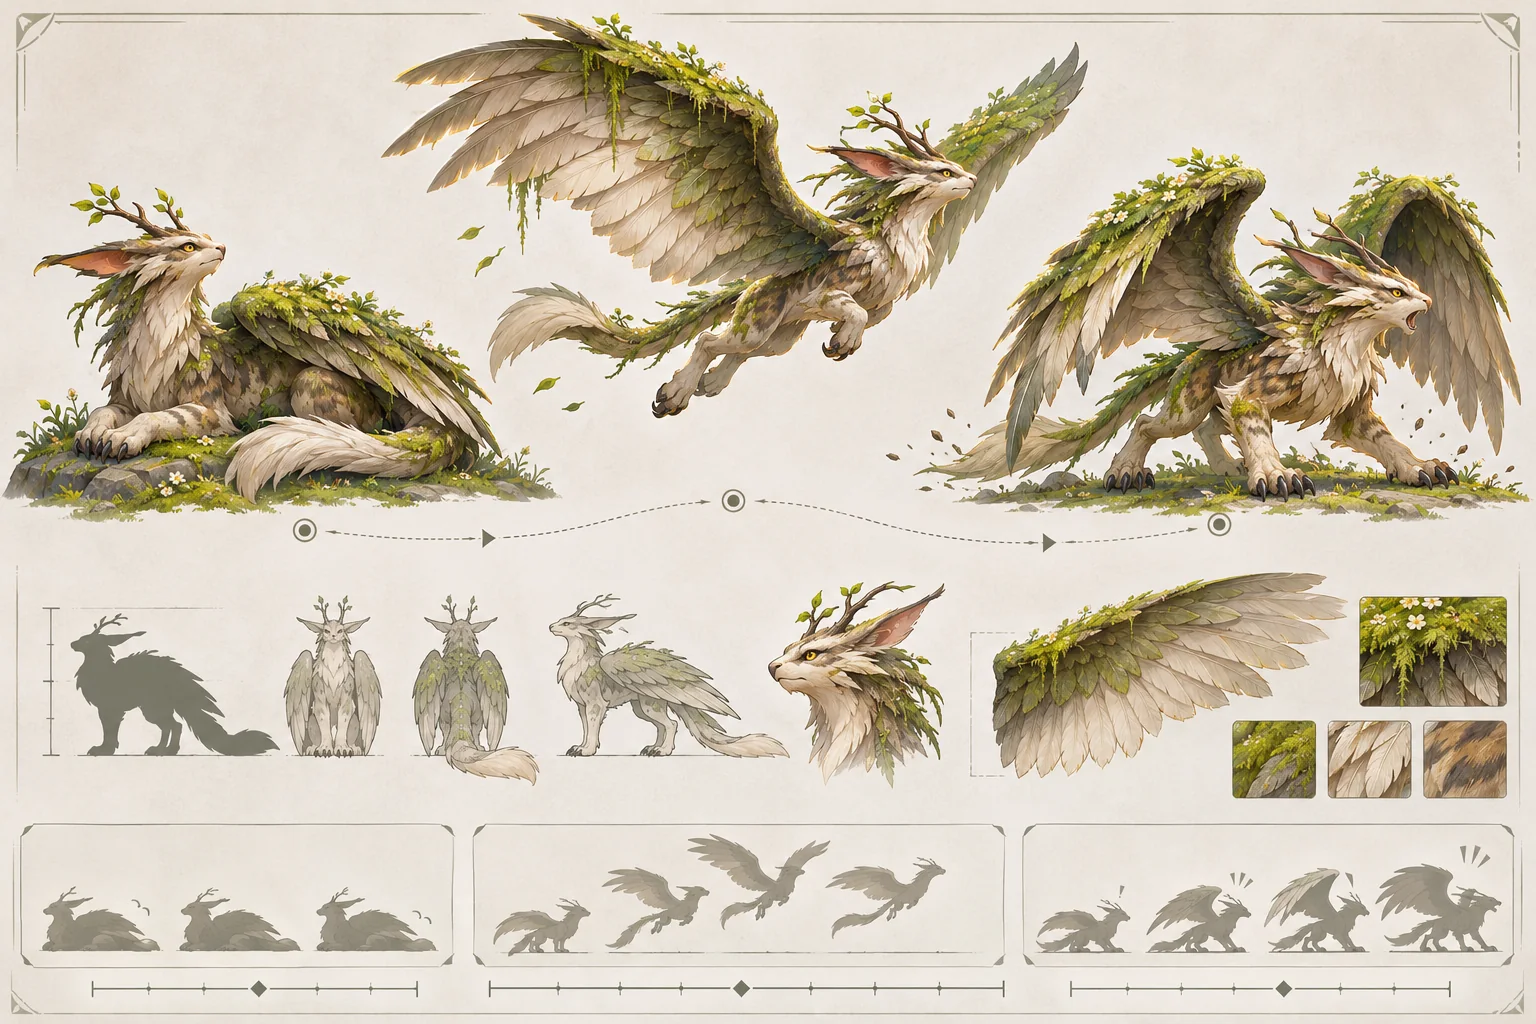
Extract a few stable identity cues from the original: overall silhouette, head-to-body ratio, wing or limb shape, dominant color grouping, and one distinctive mark. Create a front, side, or gameplay-facing view if the game needs it. Mark which details must remain consistent and which can be simplified at small screen sizes. Details that merge into noise can be removed in the game version without changing the character’s identity.
Then define the creature’s scale relative to the player and environment. A creature may look large in a close-up sketch but disappear beside a player sprite. Test the design in the actual camera at target resolution. Check whether the important feature remains visible on bright and dark backgrounds, and avoid relying on a subtle color difference as the only signal.
AI can help brainstorm alternate poses, draft a turnaround checklist, or list possible behavior states. Keep the original sketch as the reference of record. Review AI-created variations for anatomy drift, inconsistent accessories, style mismatch, and rights concerns. Choose and approve specific changes before they enter the game asset set.
Build only the animation states the role needs
For a first playable test, create the smallest set of states that communicates the encounter. A typical starting set might include idle, movement, alert, and one interaction response. A creature that guides the player may need a clear takeoff, flight, and landing; a stationary puzzle creature may need only idle and a reaction. The purpose is to represent the action clearly, not to fill an animation menu.
Godot’s AnimatedSprite2D displays multiple textures as frames and uses a SpriteFrames resource to organize animations. That is one possible frame-based setup. A skeletal or cutout approach may fit a different style or production pipeline. Whichever method you choose, verify pivots, frame timing, sprite bounds, import settings, and transitions in motion rather than judging separate stills alone.
Use a short action chart: trigger, animation, gameplay effect, and return condition. For example, “player approaches” could trigger a glance, a wing flick, and movement toward a nearby marker. Specify whether the animation only signals intent or actually changes movement. If the creature can be interrupted, state what cancels the action and how the animation returns to idle.
Separate visual detail from collision
Collision should serve the encounter. A broad body shape can handle ordinary contact while a small, separately defined hit area handles a vulnerable point or interaction. Avoid tracing every feather, horn, or tuft. Complex collision may be difficult to tune, and a decorative edge can make the character feel unfair if it catches the player without a clear visual reason.
Godot’s 2D collision documentation explains that available shapes involve accuracy and performance tradeoffs and that dynamic bodies often work reliably with primitive shapes. Treat that as implementation guidance, not a universal rule. Match the shape to the movement model, attack reach, and expected contact, then test it using the real player controller.
Make feedback agree with the rules. If Mosswing is safe to approach, its animation and sound should not resemble an attack. If it can be startled, the response should explain why it moved. If the player can interact, show a consistent proximity or input cue. The creature’s artwork should help players predict what happens next.
Test the creature in its environment
Put the prototype in one representative scene. Background contrast, camera zoom, movement speed, and nearby props can all change how a creature reads. Walk around it, approach from more than one angle, and verify that animations do not cover important landmarks or obscure the player. Confirm that pathfinding or scripted movement does not pull the creature through walls.
Observe someone unfamiliar with the design. Ask what they think the creature will do and where they would go next. Record the build version, device, controller, scene, and their actual behavior; avoid telling them the intended answer during the first run. If they miss the cue, try changing the silhouette, animation timing, contrast, sound, or placement one at a time.
A single successful internal run can reveal a defect, but it does not establish broad readability or enjoyable behavior. Repeat with several representative players when the design decision matters, and include accessibility and platform conditions relevant to the release.
Creature prototype checklist
- Confirm source ownership, permissions, and the approved design reference.
- State the creature’s single primary gameplay role.
- Preserve a few identity cues and test them at actual camera scale.
- Build only the animation states needed to test the encounter.
- Choose simple collision and interaction shapes that match visible feedback.
- Review the creature against the real player, scene, lighting, and camera.
- Observe unfamiliar players and record build-specific findings.
The most useful prototype is small enough to revise. Preserve the source drawing, state which changes are approved, and validate the creature inside the target game rather than trusting a polished portrait. For related workflows, browse the resource library.
Frequently asked questions
How do I turn a creature sketch into a playable game character?
First decide what the creature does in play: move, signal, block a route, offer a choice, or create a threat. Preserve the sketch as a reference, define a small set of silhouette and behavior rules, then build one functional placeholder. Add animation and detail only after scale, readability, interaction, and collision work in the target camera.
Can AI animate a creature from a drawing?
AI tools can suggest poses, turnarounds, or animation concepts, but the output may change anatomy between frames and may not preserve the artist’s intent. Treat generated frames as drafts, check rights and consistency, and review the creature in motion against a stable design sheet. A sprite that looks polished in isolation can still have timing, pivot, or collision problems.
How many creature animations should a prototype include?
Start with the states needed to test the core interaction: usually an idle pose, movement, one readable response, and a transition or defeat state when relevant. The exact set depends on the game. Avoid producing a large animation library before confirming how the creature behaves, how often it appears, and what the player must understand from its motion.
Should creature collision match its full illustrated shape?
Usually not. Collision should support predictable gameplay, not trace every tuft, horn, or decorative appendage. Use a simple body shape for movement and separate hit areas only where the design requires them. Check the silhouette and hit feedback at gameplay scale so the visual response does not imply a hit when collision says otherwise.
How do I test whether a creature design works in an adventure game?
Test it in the real camera with the player controller and one representative environment. Check whether players can identify its facing, notice its important behavior, approach or avoid it as intended, and understand contact outcomes. Record the build and observations, then revise silhouette, timing, contrast, or collision. One internal test does not establish broad readability.