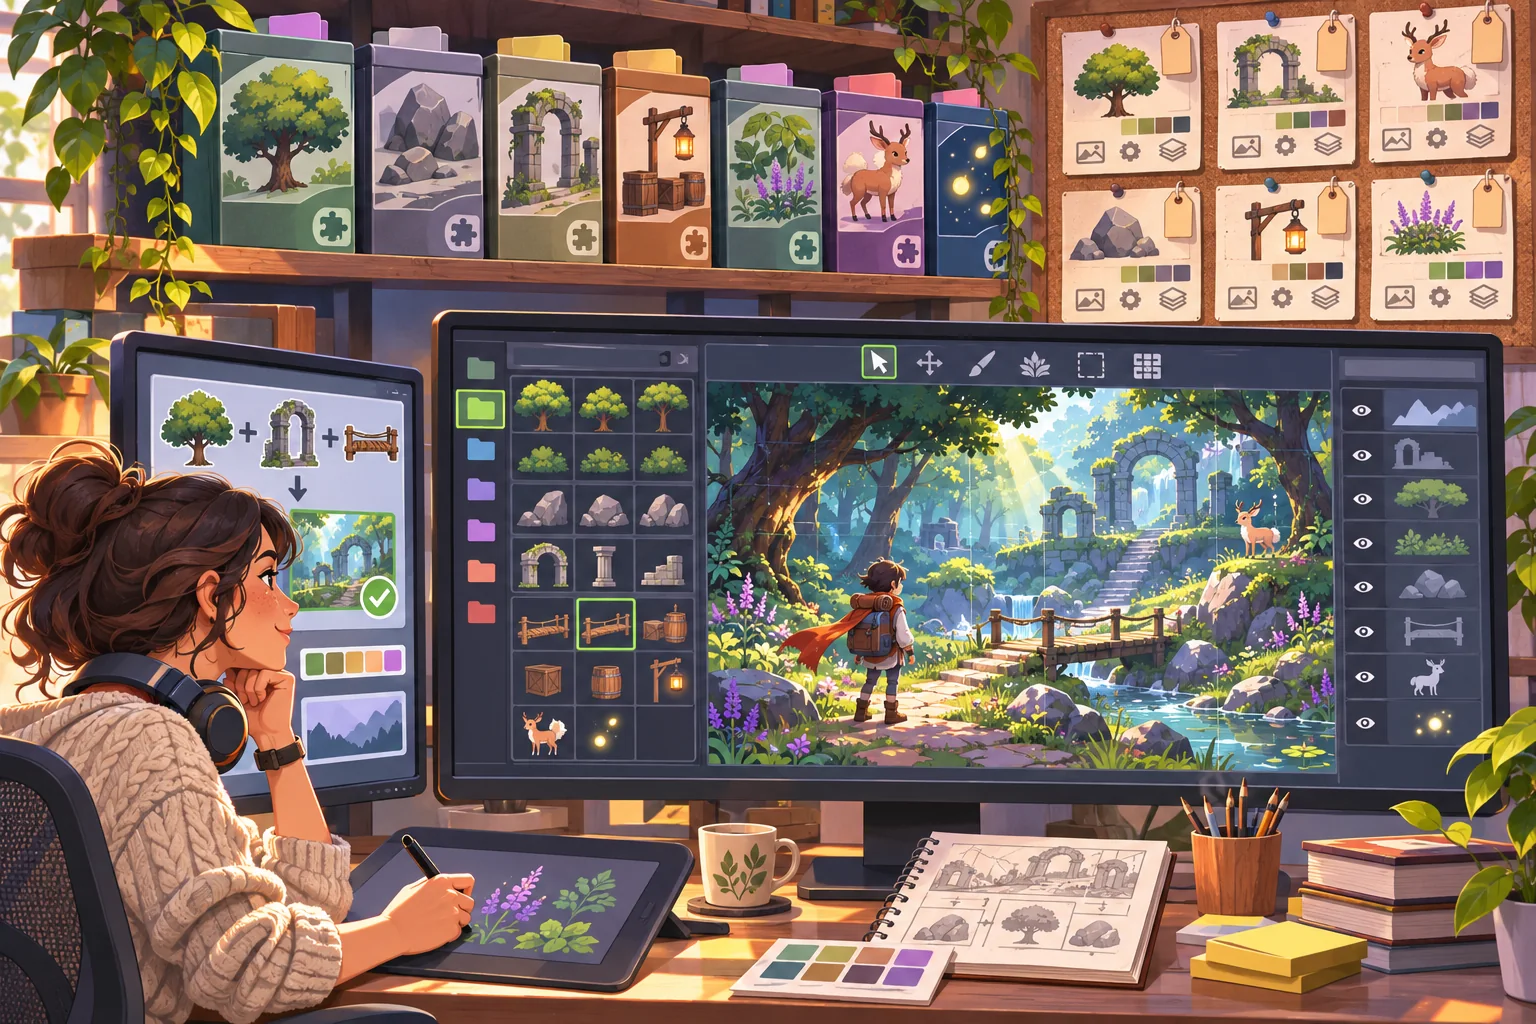
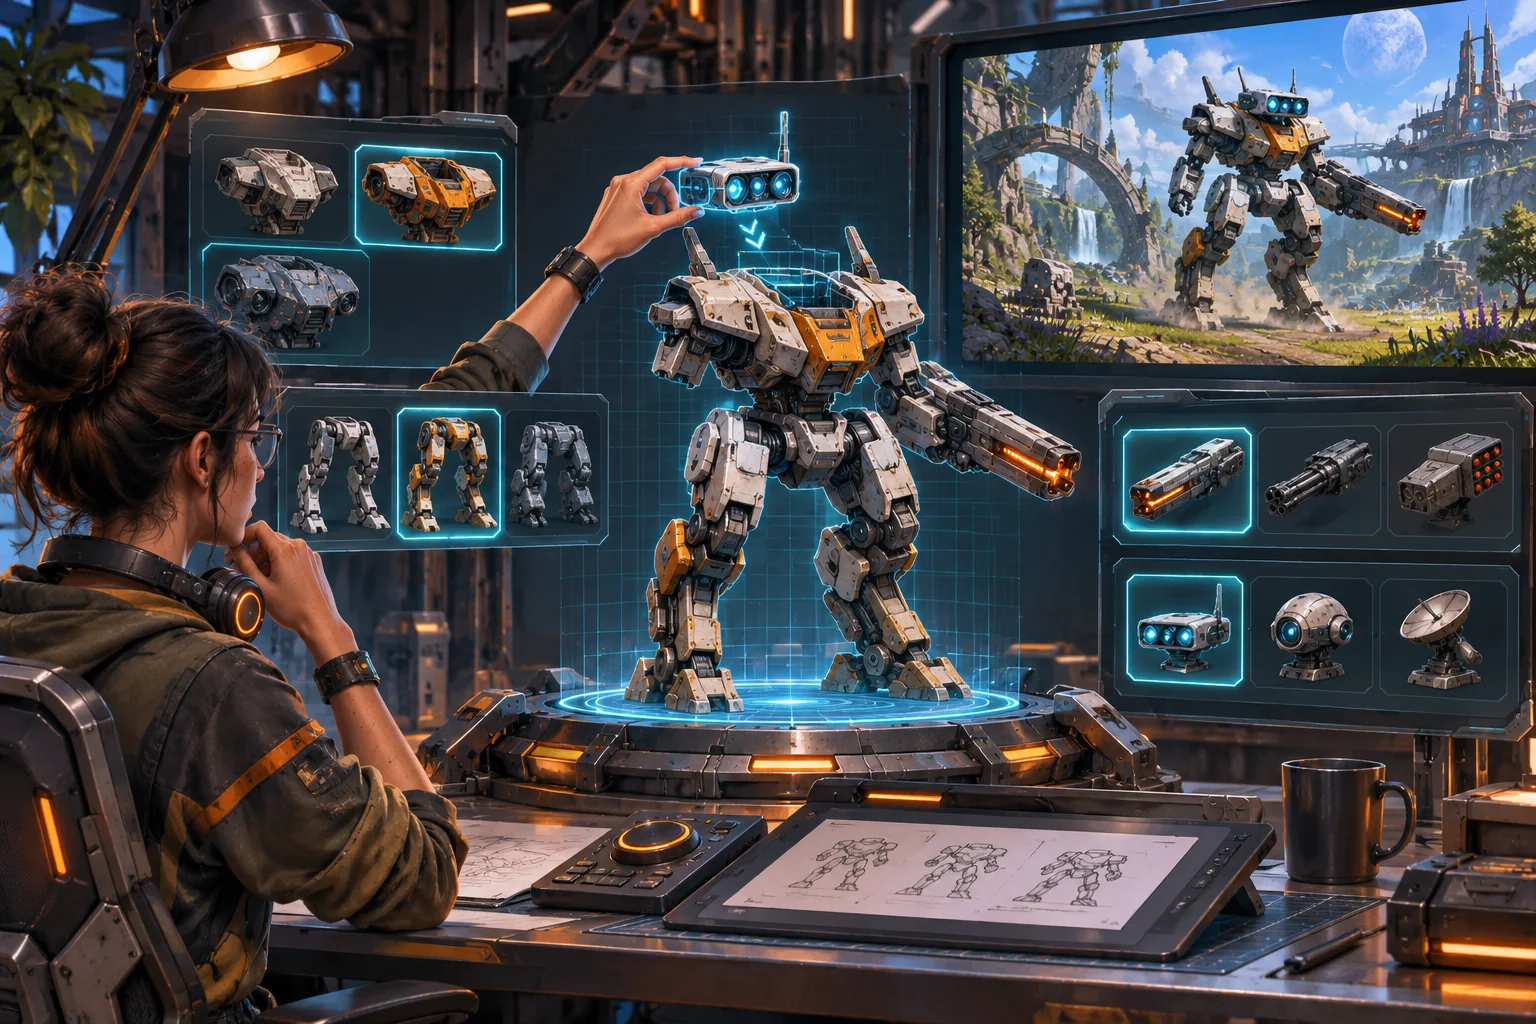
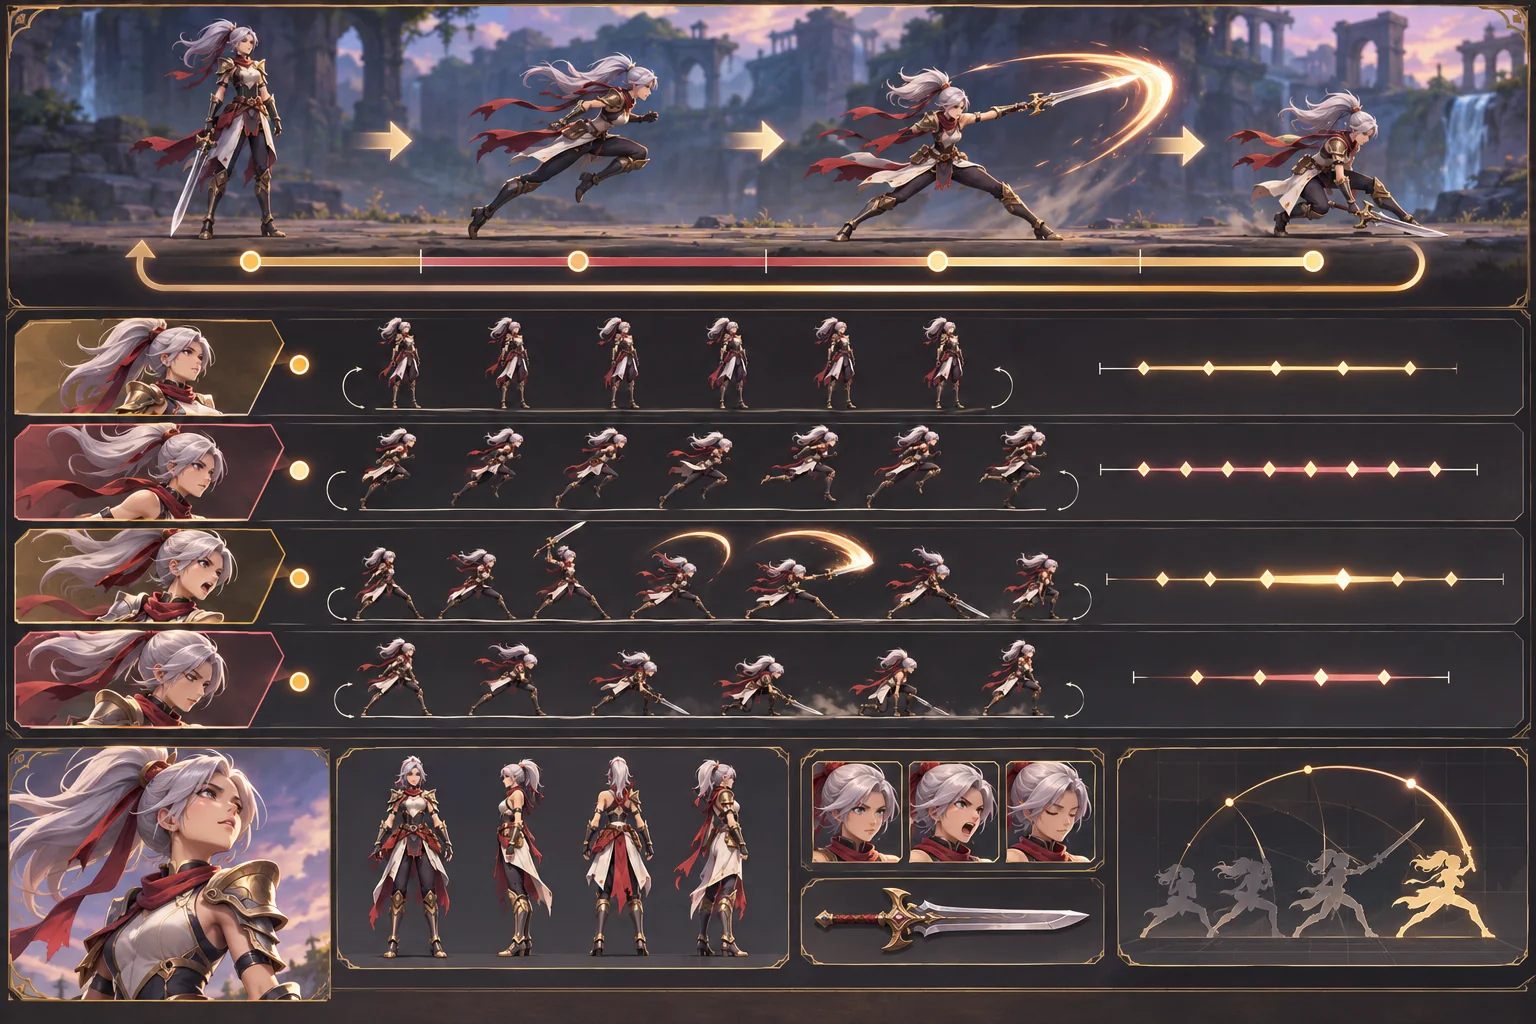
Low-poly models can share a simple geometry style and still look like they came from different games. Pack creators make different assumptions about scale, silhouette, color, material response, lighting, and camera distance. Turning several packs into a stylized game is a process of selection and validation: define what “coherent” means for this project, then see whether a playable scene supports it.
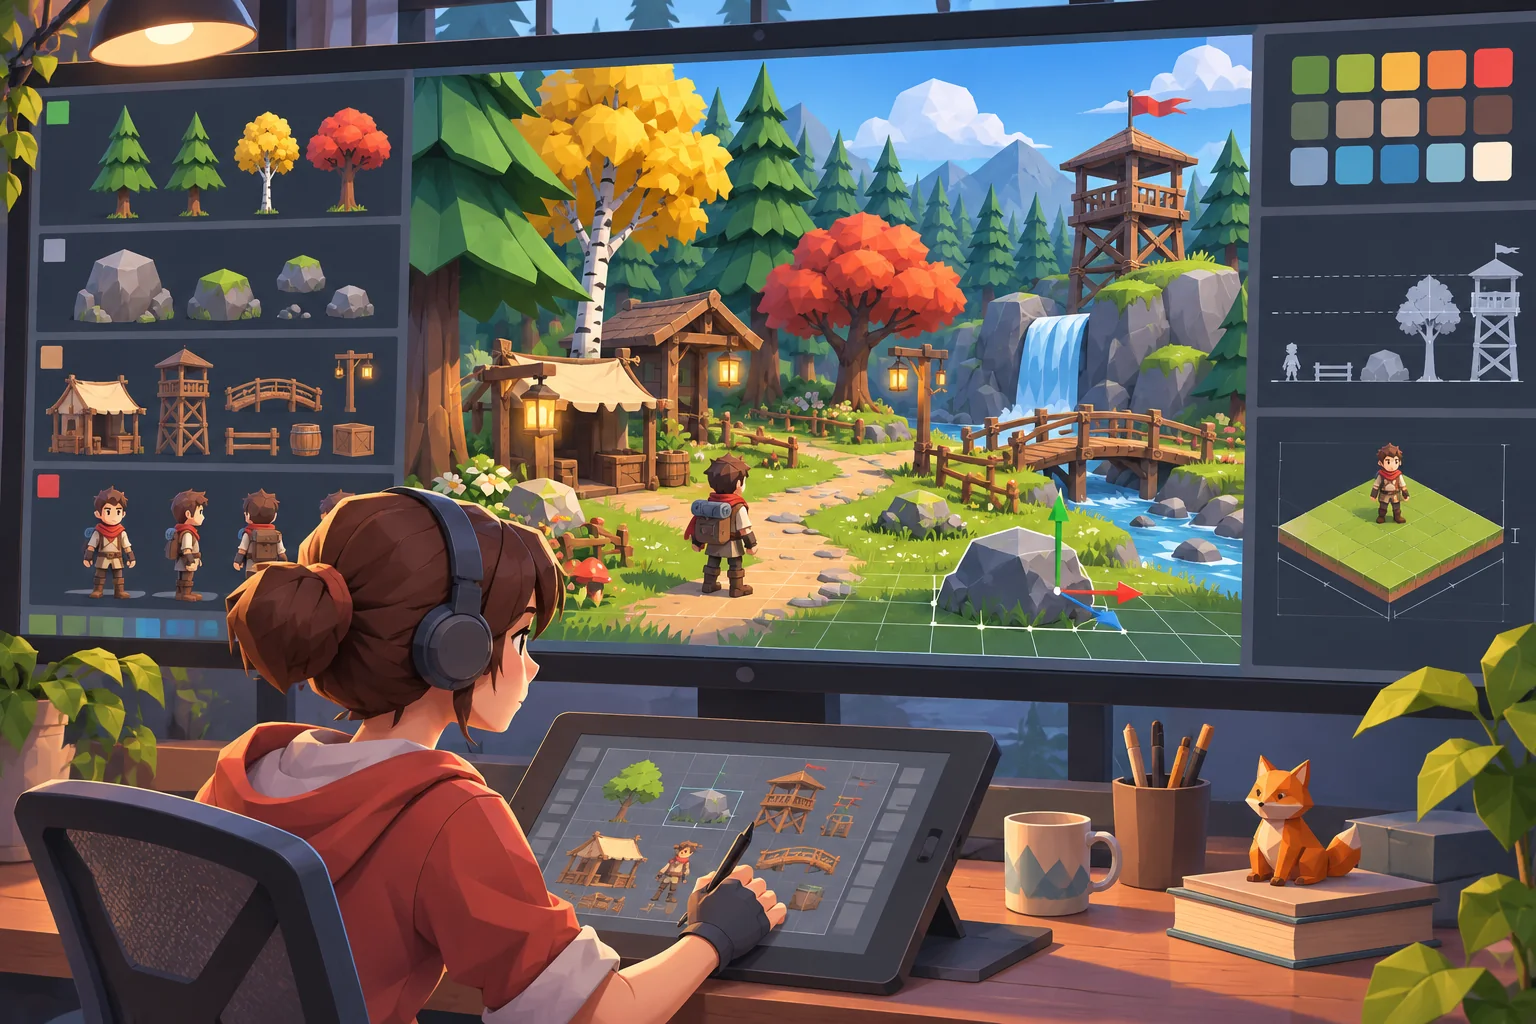
This workflow uses Copperfern, a fictional forest adventure, as an example. Its assets, team, game, and results are invented. No real asset pack, project, or performance measurement was supplied. Unity documentation linked here explains engine-specific rendering concepts only; it does not establish that a particular art kit or build is ready.
Choose the game camera before shopping for style
Start with the player view. A top-down camera, isometric angle, and over-the-shoulder camera expose different sides of a model and change which details matter. Decide how far the camera sits from the player, how large characters appear, and whether the scene uses bright daylight, interior lighting, or a deliberate flat look. Without these decisions, a pack may appear cohesive in a preview render and clash in the actual game.
Make a small asset inventory. Record the pack source, included models and materials, pivots, scale, texture needs, dependencies, license terms, and any AI-processing restrictions. Look at representative assets in the target engine, not just the advertised screenshots. Check that character, props, terrain pieces, and interactables can be combined without hidden requirements or incompatible shaders.
For Copperfern, suppose the game uses a low third-person camera, rounded silhouettes, broad color blocks, and soft shadows. Those are design choices for this fictional example, not properties of a real pack. The art guide should state such choices in concrete terms so the team can assess models consistently.
Write a compact style guide
Define a few rules that can be checked on each asset: height ranges for common objects, proportion and exaggeration, facet size, edge sharpness, color saturation, material roughness, texture resolution, and dominant light direction. Include a hero character, a walkable path, a landmark, a background object, and a small prop in the reference sheet. A style guide that covers only trees may miss the assets players watch most closely.
Use a simple gray scene to compare pieces at their intended scale. If one pack has thin realistic branches and another has chunky geometric leaves, decide whether to adjust, replace, or isolate them. Avoid adding a global post-process filter to hide every mismatch; it can flatten important contrast and may not fix differences in shape or detail density.
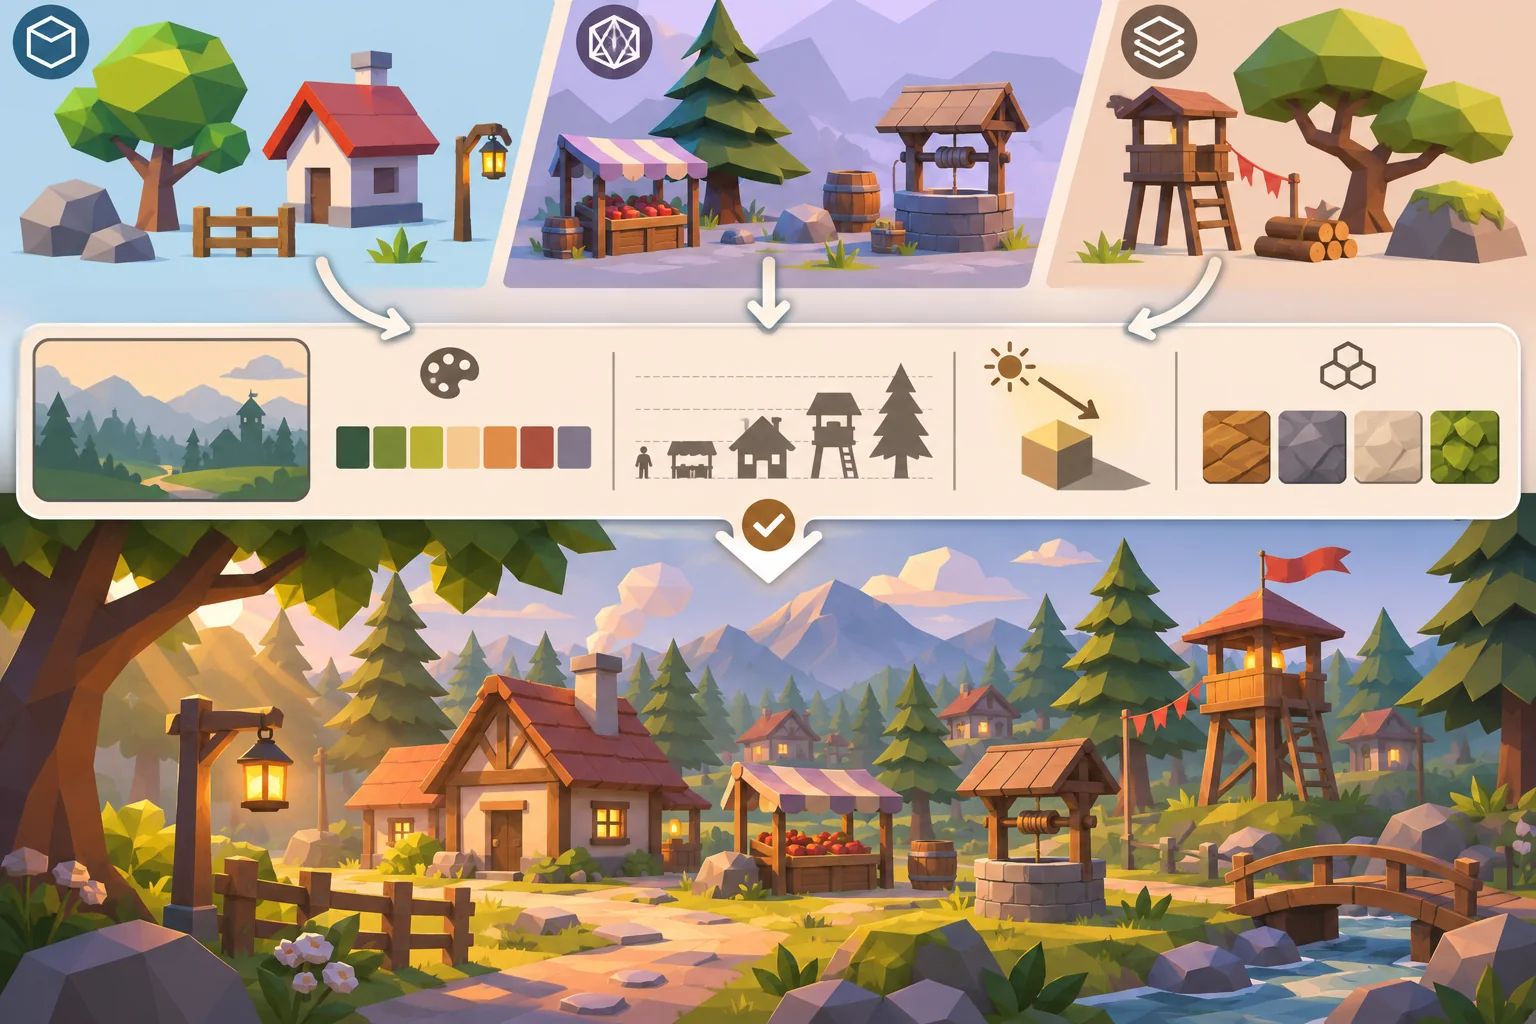
AI can help sort asset thumbnails by visible color or shape, draft alternate palettes, or create original placeholder concepts. Treat automated labels as suggestions, since a model may mistake a preview background for part of an asset or miss scale. Check the license before sending purchased content to an AI tool, and keep generated outputs separate from unmodified source files.
Integrate a small playable environment
Pick one short route with a start, destination, clear ground, one interactive prop, and enough repeated assets to expose style mismatches. Import the models and inspect their scale, pivot points, material slots, normals, collision, and dependency files. A Mesh Renderer uses geometry supplied by a Mesh Filter in Unity and can assign materials to submeshes, but pack structures differ; verify the imported project rather than relying on a general assumption.
Make one controlled pass at a time. Adjust palette, material settings, or scale within each asset’s terms. Keep original files intact and record which variant enters the build. If a model needs extensive changes to fit the style, compare the effort with replacing it or making an original project-specific piece.
Lighting should reinforce the art guide. A coherent palette can still look inconsistent if one group of objects is lit with strong directional shadows and another uses flat emissive colors. Unity lighting setup differs by render pipeline, so use the documentation for the chosen pipeline and inspect the scene under its actual camera and target quality settings.
Check performance with evidence
Low polygon count does not automatically mean a fast game. Draw calls, material count, texture memory, shadows, transparency, overdraw, scripts, and scene complexity can all affect frame time. Profile a playable build on the target device. Keep a repeatable test route and record the scene, hardware, quality settings, and build so the result has context.
Unity LOD Group can manage which renderer is shown for an object at screen-relative thresholds. It may help for suitable distant objects, but it adds mesh and transition work. Profile first and check transitions from the real camera: a sudden silhouette jump can be more distracting than the saved detail is worth. Do not add LOD levels to every asset just because the scene uses 3D.
Review visual coherence in motion
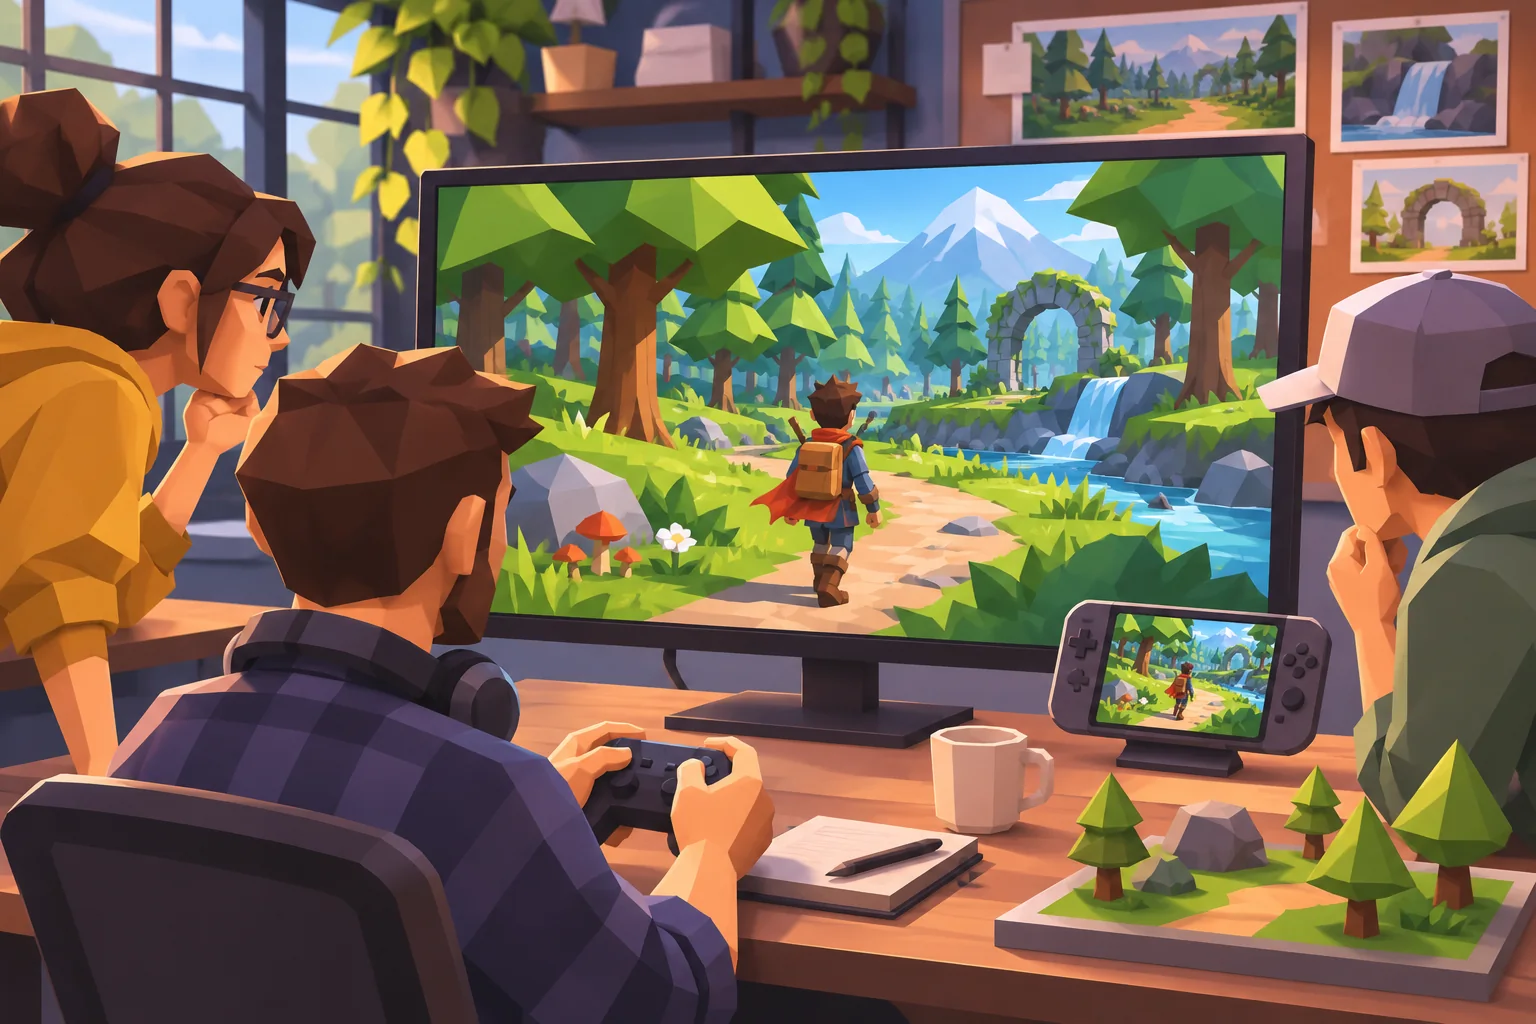
Walk or move through the scene. Watch whether the path remains legible, landmarks stand out, characters separate from the background, and effects preserve the intended mood. Capture matched camera views after each art pass. Ask another team member which objects feel out of place before showing them the style guide; this reveals visual conflicts that the author may have normalized.
Then test a short playable interaction. Can the player identify where movement is allowed? Does a prop read as interactive? Are key objects visible at common camera distances? Check the same scene on the relevant target device and display size. An attractive still image cannot show loading, frame pacing, movement, or camera clipping.
Production checklist
- Set the camera, target platform, and art direction before selecting packs.
- Record pack source, license terms, dependencies, and AI-use conditions.
- Compare representative assets for scale, silhouette, palette, material, and lighting.
- Test one small scene with the real camera, movement, and interaction.
- Keep source files and project variants traceable.
- Profile on target hardware before adding LOD or optimization work.
- Review the level in motion and record build-specific observations.
A coherent stylized game comes from choices that repeat across a playable scene. Define the rules, test a small kit, and keep rights and source records with the actual files. For more production guidance, browse the resource library.
Frequently asked questions
How do I combine low-poly asset packs into one game style?
Choose a small visual guide before mixing packs: target proportions, edge treatment, palette range, lighting direction, material response, and detail density. Build a representative scene from the assets you may use, then compare them from the gameplay camera. Adjust only where terms allow, and replace pieces that still break the style after proportionate edits.
Can AI make low-poly assets consistent?
AI can propose palette variations, material references, or original placeholders, but it may introduce inconsistent topology, scale, or details. Keep source files and permissions clear, review each output in the game engine, and do not assume an asset license allows uploading files to an AI service. Use a human-approved guide to accept or reject suggested changes.
What should I check when buying a low-poly asset pack?
Inspect representative meshes in the target camera and engine, including scale, pivots, materials, texture style, collision, and included dependencies. Read the actual license and any provider terms for your use and distribution. Confirm the pack contains the kinds of objects your prototype needs instead of relying on thumbnails or a broad “low-poly” label.
Do low-poly games need level-of-detail models?
Not automatically. A small scene with few objects may not benefit, while a larger scene or target device may need performance profiling and lower-detail representations. In Unity, LOD Group can switch among renderers using screen-relative thresholds. Measure the real build before adding LODs because each level adds authoring and transition work.
How do I test a stylized 3D game scene?
Build one short playable area with the real camera, player controller, representative assets, lighting, and interaction. Check navigation, silhouette readability, material consistency, frame pacing, and target-device performance. Capture the same views for each revision and record what changed. A polished editor screenshot is not a substitute for a playable build.