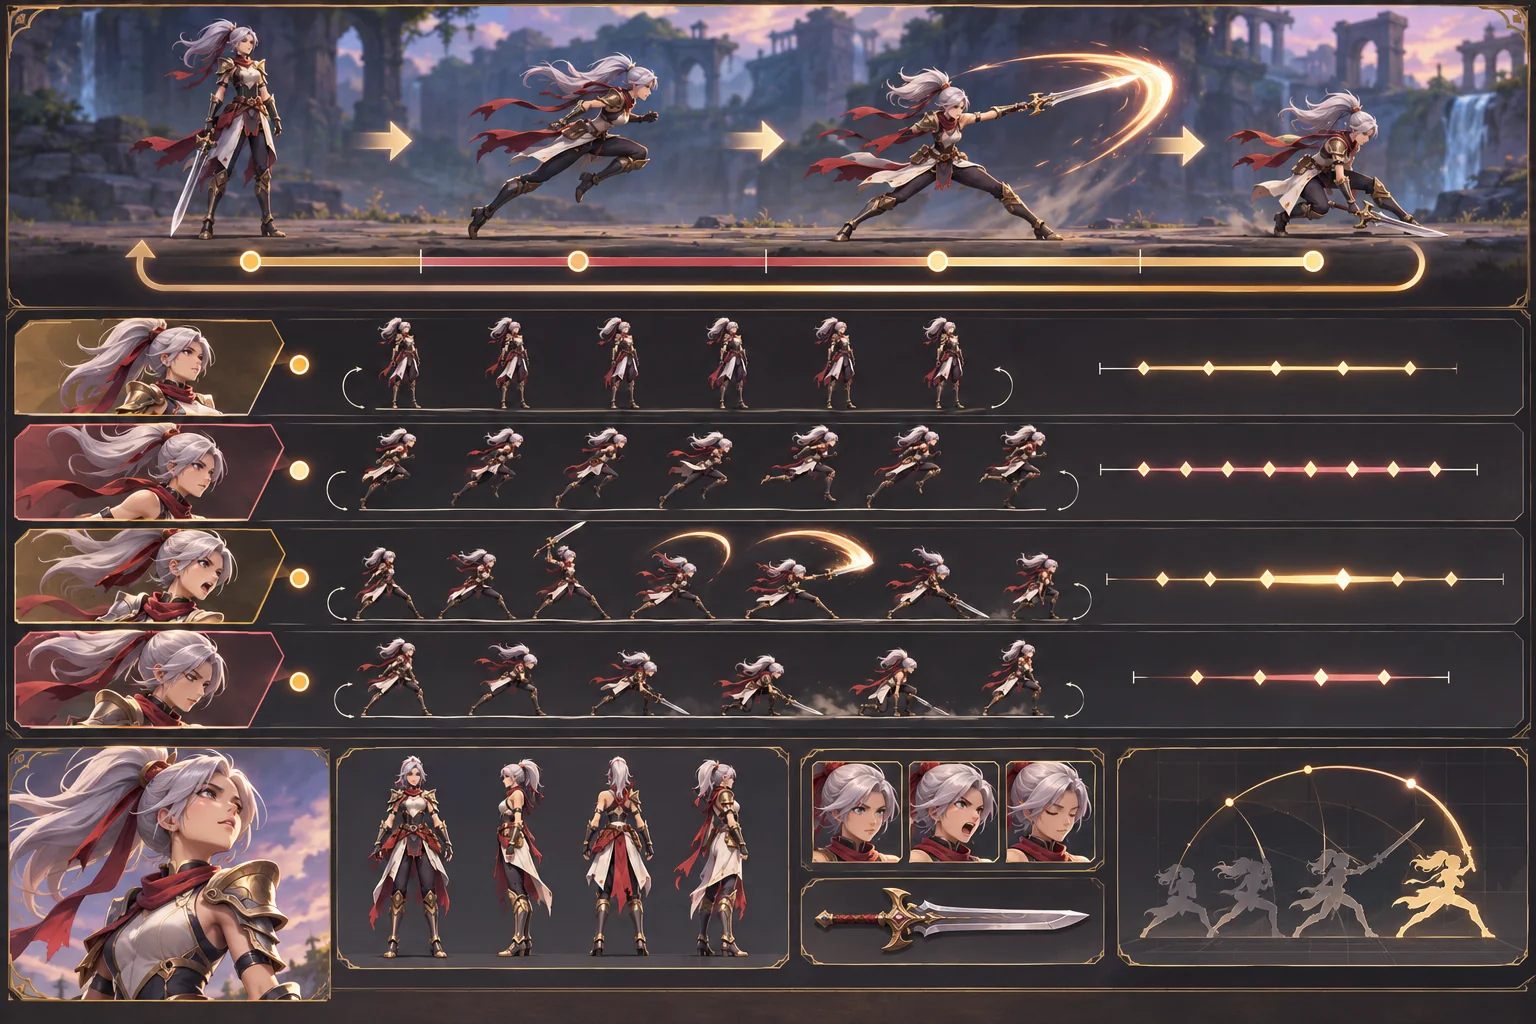
A sprite sheet provides frames, not a playable character. The sheet may show idle, movement, attack, and jump poses, but it does not define when the game should use them, how the character moves, or which parts of the scene block movement. Turning the image into a 2D adventure means connecting frames to input, collision, camera, and a clear objective.
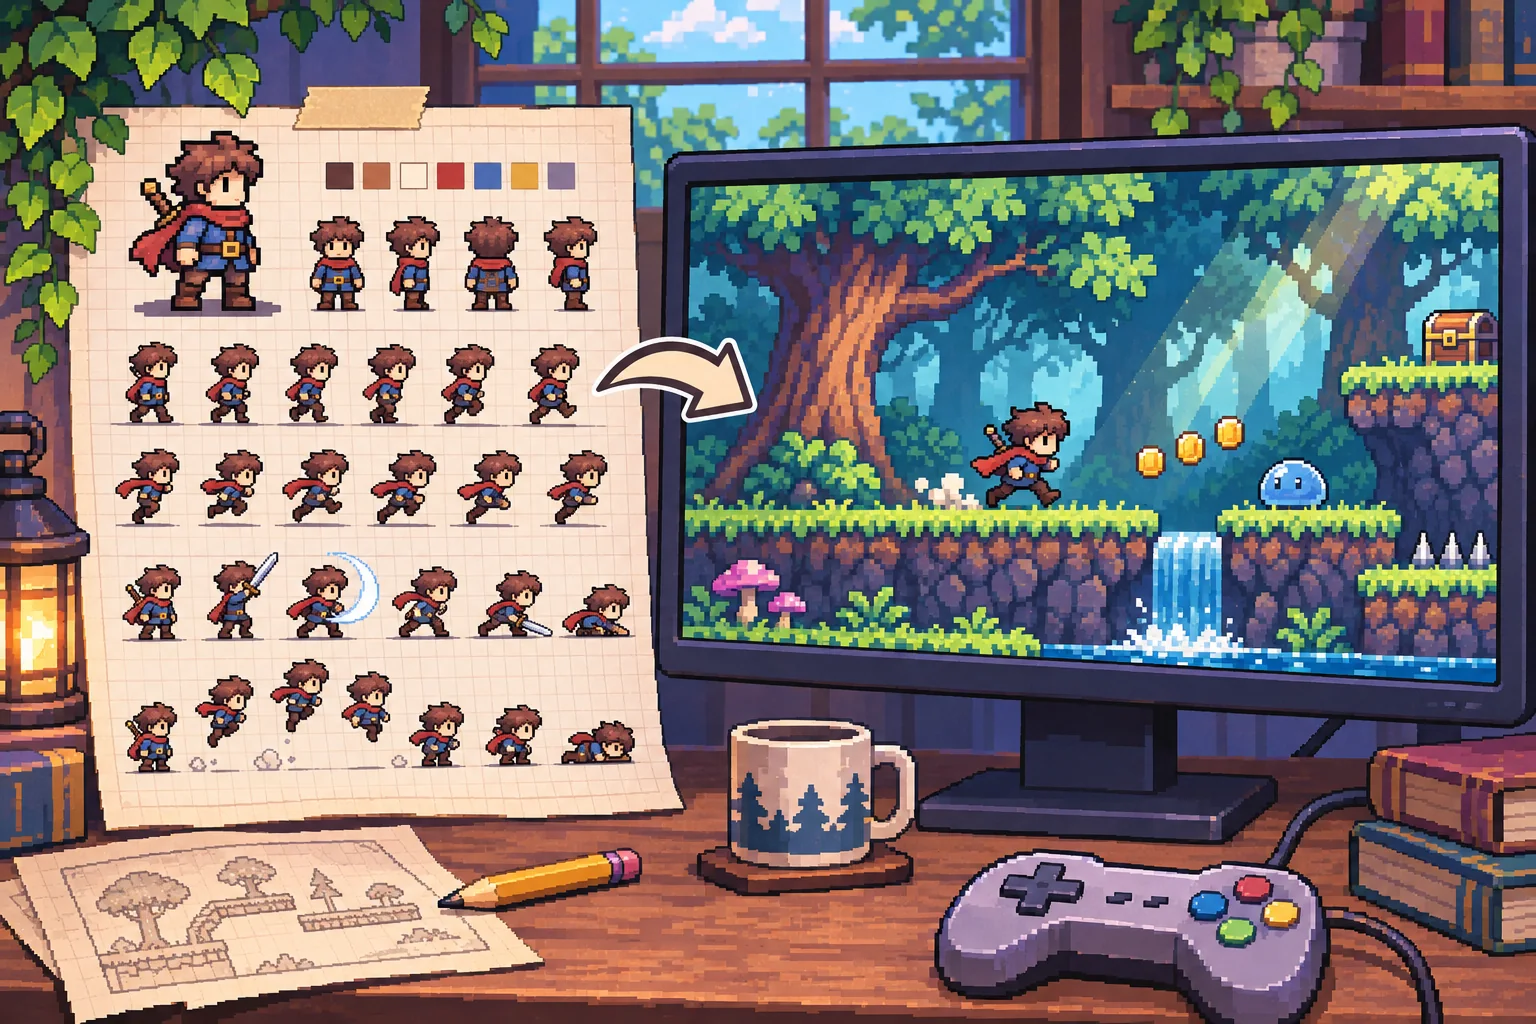
This guide uses Ashen Kite, a fictional adventurer, as an example. Its sprite sheet, level, animations, and results are invented; no real asset or game build was supplied. The Godot documentation links below describe engine features, not proof that the hypothetical character works.
Inventory the sheet before slicing
Record the artist, source file, permission, revision, image dimensions, frame size, row and column count, spacing, margins, transparency, and intended animation names. Keep an untouched copy. Ask whether each cell is a complete frame, blank padding, an effect, or a pose that should never play during the normal sequence.
Check that frames align to consistent pivots. If the character jumps in place from one frame to another, an inconsistent bottom anchor can make the sprite jitter. Compare the feet, center point, weapon hand, and shadow position. Note whether the sheet includes mirrored poses or whether the engine should flip the sprite instead.
AI can help identify repeated cells, propose animation labels, or flag possible missing states. It may misread spacing or reorder a deliberate sequence. Keep the approved art as the source of truth, check every crop, and confirm the rights and tool conditions before uploading the sheet to an external service.
Map frames to playable actions
Start with the actions needed for one short adventure loop: idle, move, jump or climb, interact, and perhaps one attack. Make an animation table with input or game condition, animation name, loop behavior, transition, and gameplay consequence. An attack animation may have a specific active window; ordinary movement should not accidentally trigger the same hit area.
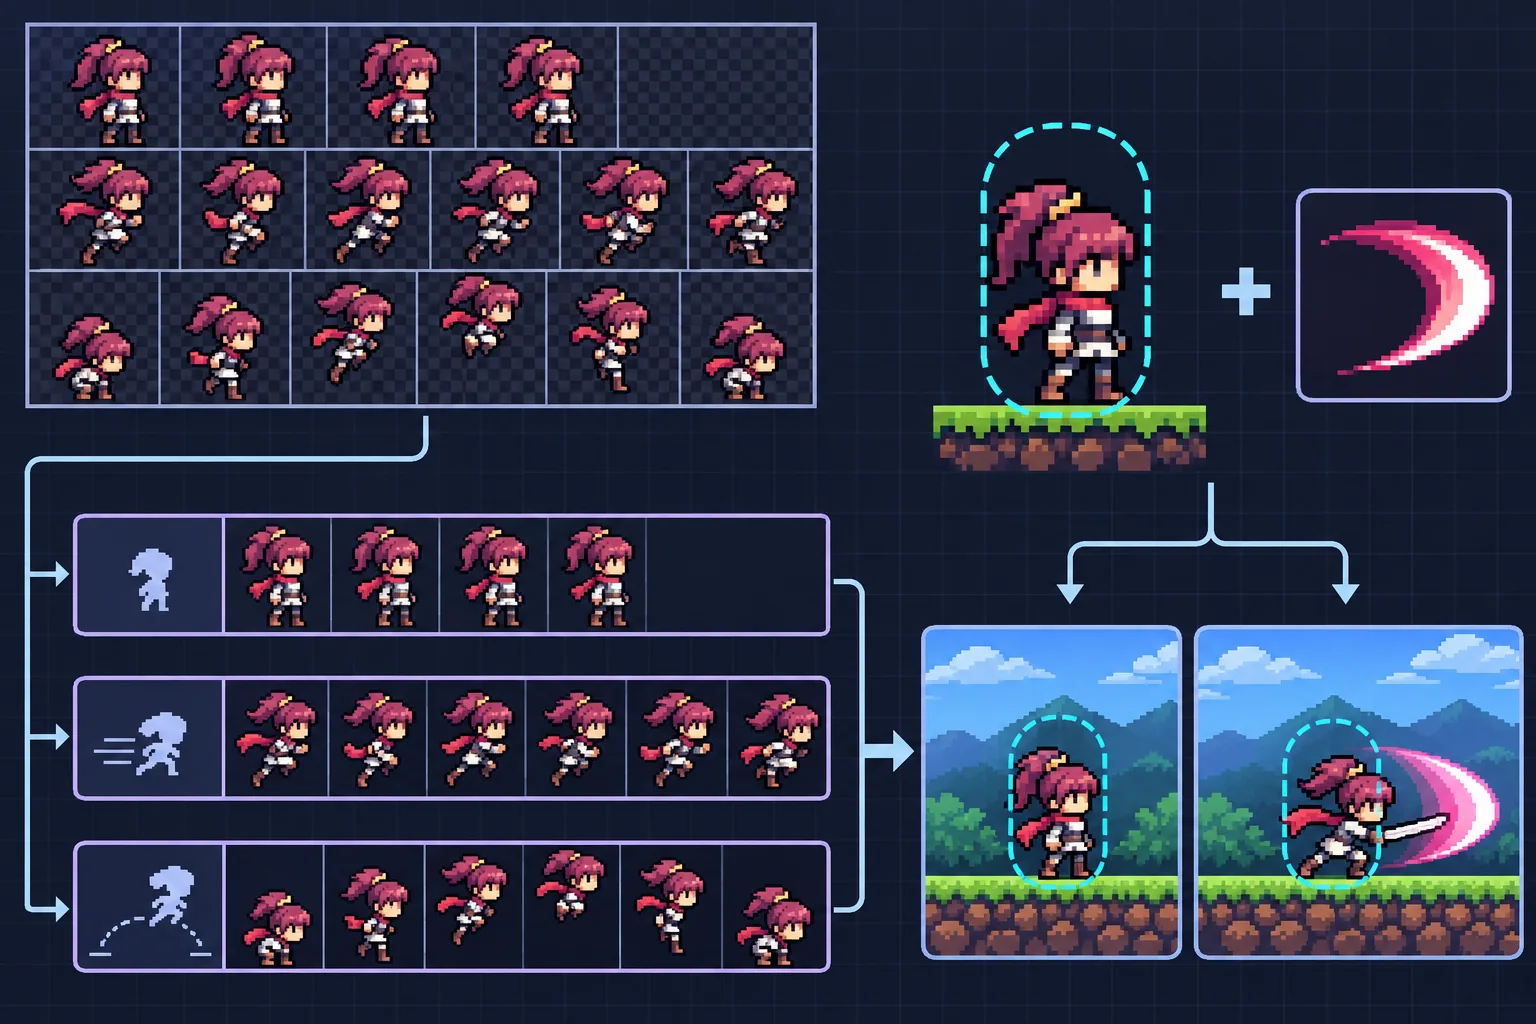
Godot’s AnimatedSprite2D uses a SpriteFrames resource to organize frames and can animate a sprite sheet. The Sprite2D class also exposes horizontal and vertical frame counts for selecting frames. If the sheet has unusual spacing or multiple sequences, inspect the exact import workflow and verify every frame in the editor rather than assuming a simple grid.
Set animation speed from the artwork and the intended movement, then preview each loop. Look for pauses, abrupt changes in foot position, inconsistent weapon alignment, or frames that make the character flash. Check transitions when input changes mid-animation. Do not choose timing by copying an unrelated game’s frame rate; test the intended feel with the actual controller.
Connect the character to movement and collision
Add a controller and a simple test room. Tune movement speed, acceleration, jump height, and stopping distance with a placeholder shape before polishing the level. Then connect the sprite and verify that animation responds to the controller state without introducing visual lag or flicker. Test edges, slopes, doors, platforms, and narrow passages used in the first slice.
Keep the movement collision shape stable unless the game rules require it to change. A drawn sword or flowing cape should not automatically expand the body collider. If an attack needs a hitbox, define that gameplay shape separately and activate it only during the appropriate frames. Godot’s collision guidance describes performance and accuracy tradeoffs among shape types; choose based on actual interactions and test against the player controller.
Set the pivot, camera follow, and pixel-snap or filtering settings for the art style. A character can look sharp in the editor and shimmer during camera movement if the project’s rendering settings do not match the source resolution. Check the sprite at the target viewport and on different display scales.
Build one complete adventure slice
Create a short room with a start, a visible destination, a gap or obstacle, and one interaction. The room should require at least one action represented in the sheet. If the sheet has a climb animation, add a safe wall segment that exercises it. If the only available frames show walking, design around walking rather than inventing an unsupported move.
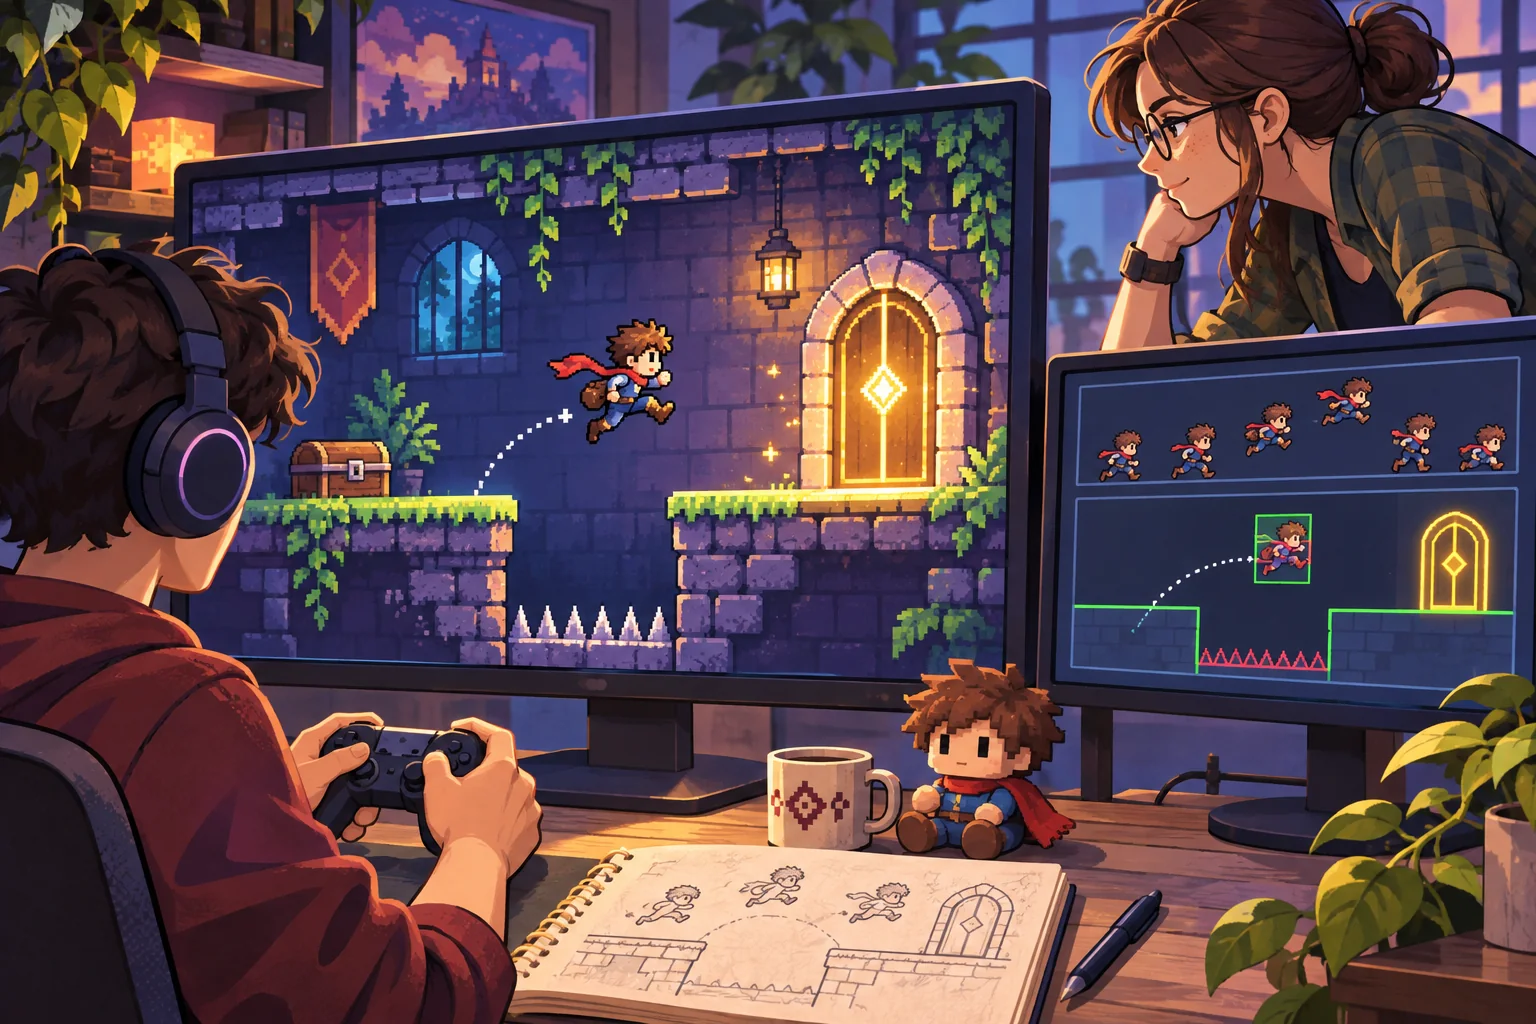
Use temporary geometry for enemies and hazards. Confirm that the player can finish the route, that collisions match what the sprite communicates, and that important objects remain visible through the camera. A screenshot cannot tell you whether jump timing feels fair, the door activates reliably, or the animation loop stutters under movement.
Review timing and readability
Let someone unfamiliar with the sheet play the room. Ask which controls they expect, where the character can move, and whether the animation communicates that a jump or interaction succeeded. Observe before explaining. Record the build, viewport, input device, animation revision, and any places where the character appears to float, slide, or collide unexpectedly.
Test on target devices and display sizes. A frame that is readable at 4x zoom may lose detail in a small viewport. Check contrast against both light and dark backgrounds and keep essential gameplay cues visible without relying on a tiny sprite detail.
Sprite-to-adventure checklist
- Record source permissions, sheet revision, dimensions, and frame layout.
- Verify slicing, order, pivots, and blank cells.
- Map only available frames to the actions the prototype needs.
- Connect animation to controller state and test transitions in motion.
- Separate stable movement collision from attack or interaction hitboxes.
- Build a short room that exercises at least one supplied action.
- Observe an unfamiliar player and record build-specific findings.
A sprite sheet becomes an adventure game when the frames respond to player input inside a world with readable goals and dependable collision. Keep the source traceable, build the smallest complete loop, and revise movement and animation together. For the asset creation workflow, see how sprite sheets are created.
Frequently asked questions
How do I turn a sprite sheet into a 2D adventure game?
Inventory the sheet’s frame layout, animation names, frame size, transparency, and source permissions. Map frames to the actions the player needs, then add a controller, collision, camera, one room, and one objective. Test animation timing and movement together before producing a full level or expanding the character’s animation set.
Can AI make a playable game from a sprite sheet?
AI can help inspect frame groups, draft animation labels, or suggest a small level that uses the character’s actions. It cannot guarantee correct frame slicing, loop timing, pivot alignment, collision, or gameplay feel. Keep the original sheet intact, review every generated interpretation, and validate the sprite with the real controller and target camera.
How do I slice a sprite sheet correctly?
Confirm the number of rows and columns, frame dimensions, padding, margins, transparency, and whether frames share a common pivot. Check the animation order and exclude blank or transitional cells that should not play. Preview the sequence in the engine and compare the slices with the source image before wiring it into gameplay.
Should sprite collision change with each animation frame?
Usually a stable movement collision shape is easier to control than one that follows every drawn pixel. Separate gameplay hitboxes may change during an attack when the rules require it. Test any changing shapes against the actual animation and player expectations so the character does not collide with empty space or appear to strike without a hit.
What animations should a 2D adventure prototype include?
Start with the actions used in one short loop, often idle, movement, an interaction, and one attack or obstacle response. Add jump, damage, climb, or other states only if the slice needs them. Check frame timing and transitions in motion, and make sure the character’s animation does not obscure important level cues.