A rigged 3D model is ready to deform; that does not make it a playable character. The game still needs a controller, camera, collision, animation transitions, and rules for when movement comes from code or the animation itself. Integrating the rig means testing those parts together in a small scene before building a full level around the character.
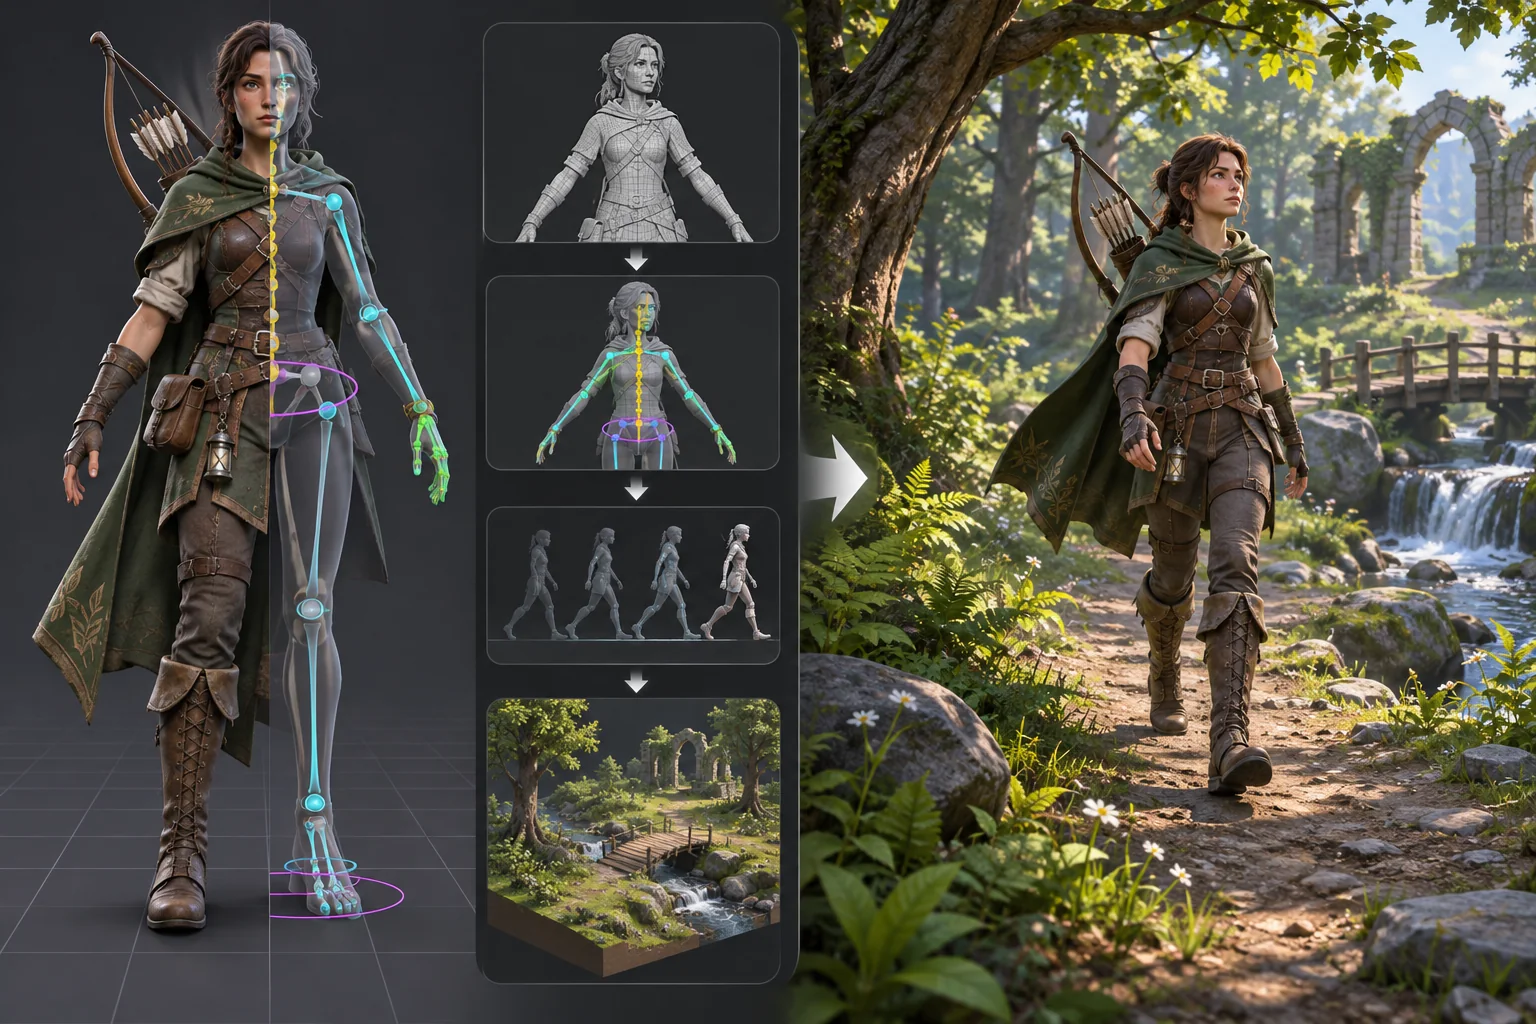
This workflow uses Vale Ranger, a fictional character, as an example. Its model, rig, clips, woodland scene, and outcomes are invented; no source asset or playable build was supplied. Unity documentation links below describe specific importer and controller features only.
Inventory the model and its source
Record the creator, source files, license or permission, model revision, texture references, intended scale, and included animation clips. Confirm that the file is approved for modification, game integration, and AI processing where applicable. Keep a copy of the original export and note the modeling application and format so changes can be traced.
Inspect the skeleton hierarchy, bind pose, joint names, root bone, skin weights, and clip range. Check whether the character is humanoid, quadruped, or otherwise non-humanoid, and confirm that each clip matches the same rig. A model that imports without an error can still have twisting joints, drifting feet, or an unexpected root transform.
Choose and verify the rig import path
Unity’s Rig importer distinguishes Humanoid and Generic animation types. A Humanoid workflow assigns or creates an Avatar mapping; Generic identifies a root bone for a non-humanoid skeleton. Choose based on the model rather than selecting an option just to clear a warning. Review the Avatar or root settings after import and play every clip in the project.
Check scale and orientation at import. Confirm the character faces the expected forward direction, uses a consistent unit scale, and stands on the ground plane. If the model is a creature or has unusual proportions, a Generic rig may fit better than a humanoid mapping. The correct setup depends on source structure, clip compatibility, and the intended animation workflow.
Connect clips to gameplay states
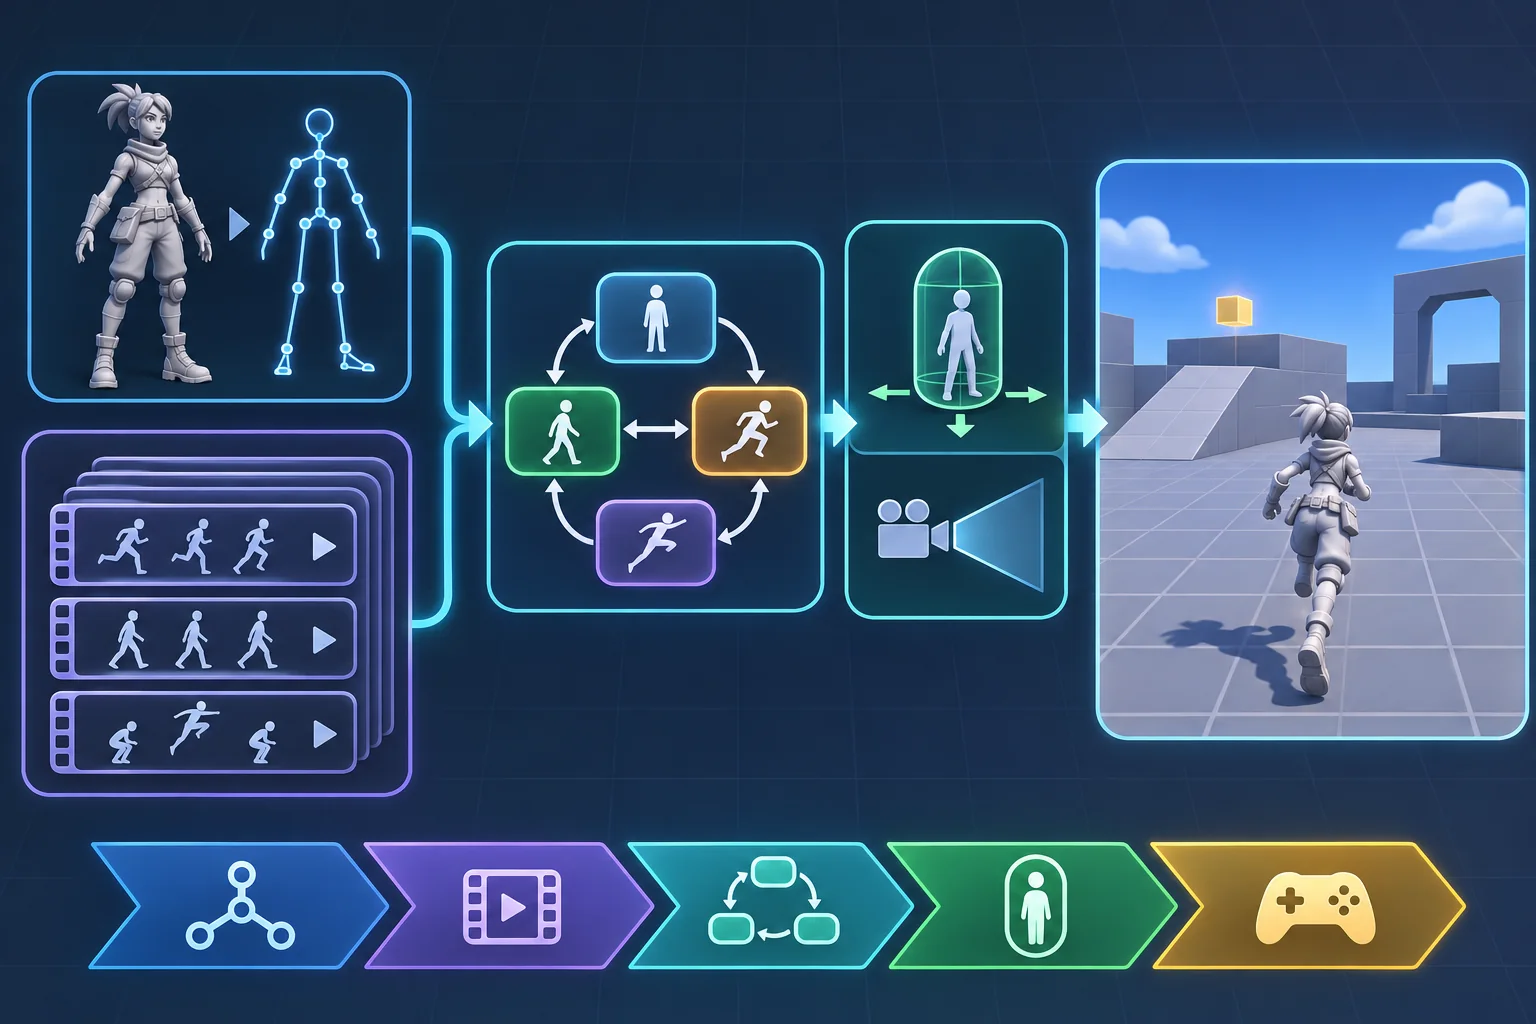
Start with the states needed for a short playable loop: idle, locomotion, turn or stop, one interaction, and one action clip. In Unity, AnimatorController controls animation through layers and state machines driven by parameters. Define transitions in terms of gameplay conditions—movement input, grounded state, interaction, or attack completion—rather than clip names alone.
Decide whether motion is driven by the controller, root motion, or a combination. Root motion can carry movement from the authored clip; code-driven movement can make directional input and collision more explicit. Neither approach is always right. Test acceleration, turning, stopping, slopes, and attack interruptions with the project’s actual controller.
Build movement, collision, and camera together
Use a simple flat route first. Connect a controller to the model and verify that the character can walk, stop, turn, and interact without sliding through geometry. Unity’s CharacterController is constrained by collisions, is not moved by forces like a Rigidbody, and moves when Move is called. That component is one possible setup; choose based on the game’s movement needs.
Keep the gameplay collision shape separate from the rendered mesh where that makes behavior clearer. A shoulder pad or cape should not create invisible walls. Add separate attack or interaction volumes only when the rules need them. Check the camera’s clipping plane, follow distance, and obstacle framing; a correctly rigged character can still be hard to control if the camera hides the next route.
Retargeted animation may shift foot placement, weapon alignment, or root height. Inspect transitions from idle to run, run to stop, and action back to movement. Look for foot sliding, sudden pops, and cases where a long recovery animation ignores new input. Tune blends only after the controller and clip timing are understandable.
Create one complete playable slice
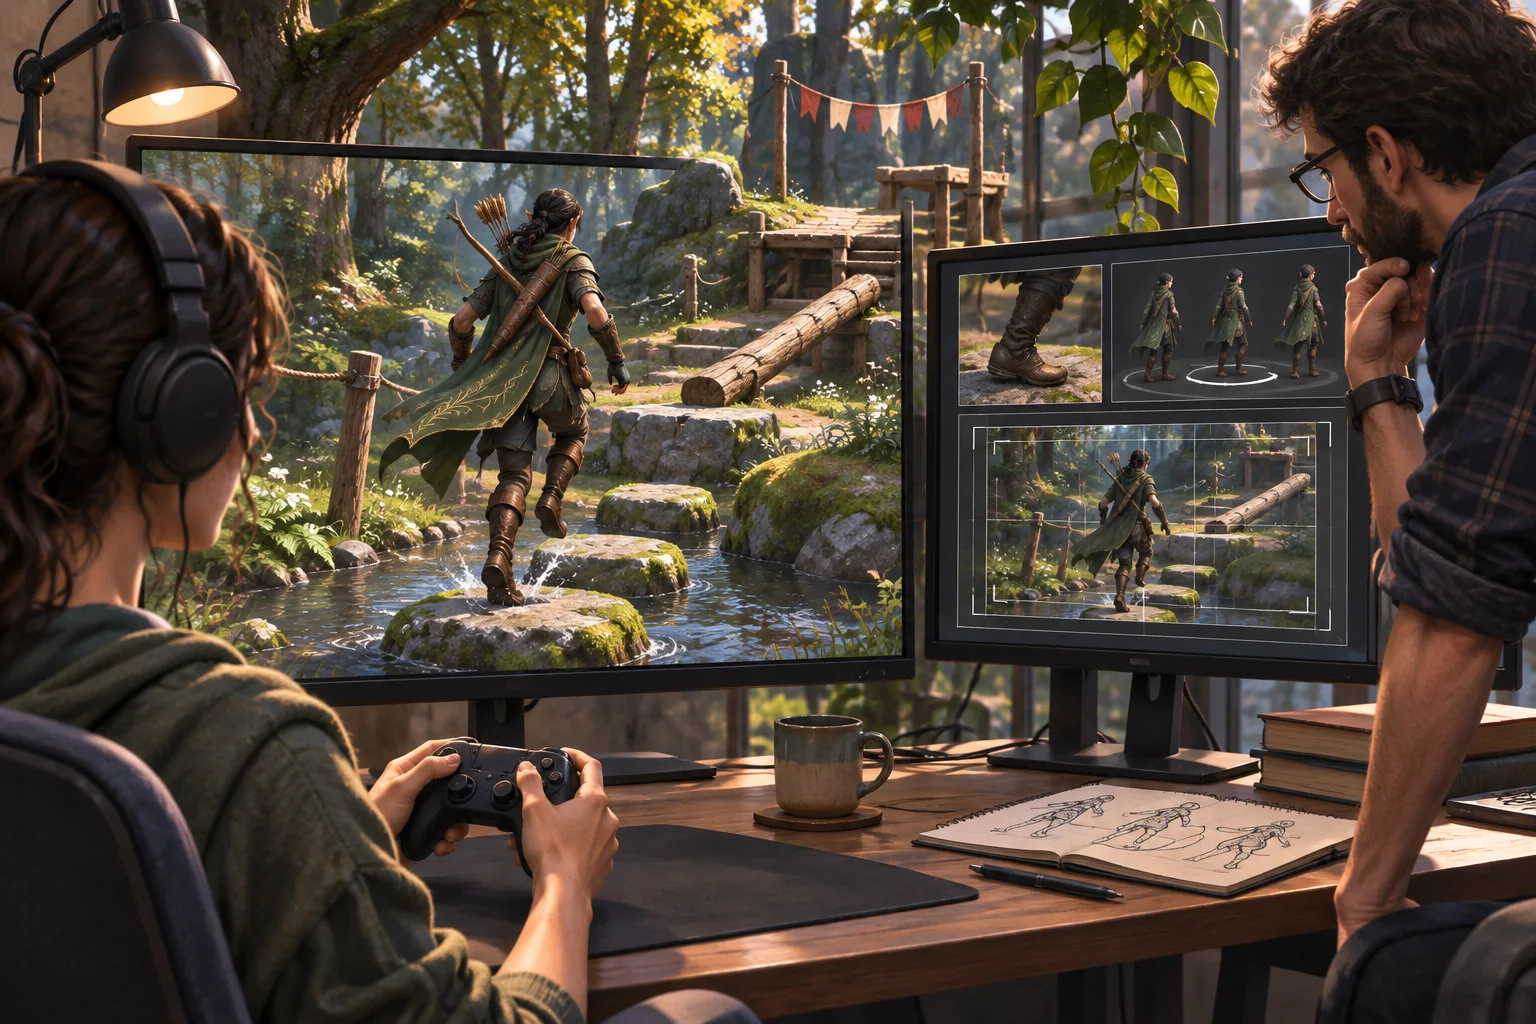
Build a short woodland route with a start, one obstacle, one object to interact with, and an exit. Include a slope or step if the game needs it. Test the same route with each essential movement state. Confirm that collision, root movement, camera, and animation communicate a consistent response to input.
Ask someone unfamiliar with the character to complete the route. Observe whether they understand movement, camera, and interaction without coaching. Record the model revision, rig settings, build, device, and issues. One clean editor preview does not establish that a character is responsive in a playable build.
Rig-to-game checklist
- Record model source, permissions, revision, scale, and included clips.
- Verify skeleton, bind pose, root, skinning, and animation compatibility.
- Choose Humanoid or Generic import based on the actual model.
- Connect a small state set to gameplay conditions.
- Decide how root motion and code-driven movement interact.
- Test collision, camera, slopes, and interaction in one scene.
- Observe a player and tie findings to the exact build and rig settings.
A rigged model becomes a playable character when imported skeleton, animation, controller, collision, and camera agree under input. Build a small scene, resolve the motion source, and test transitions before expanding the game. For the concept-art workflow, see how character art becomes playable.
Frequently asked questions
How do I turn a rigged model into a playable 3D character?
Check the rig and animation imports, then connect the model to a controller, movement state, camera, and collision. Build a small test scene with one route and one interaction. Verify that root motion, animation transitions, and collision agree with player input before adding a full level or claiming the character is ready.
Can AI make a game from a rigged character model?
AI can help catalog clips, draft state charts, suggest a short prototype, or create placeholder environments. It cannot verify skin weights, rig compatibility, root motion, controller response, or animation blending without inspecting the project and testing the build. Keep the approved source model intact and validate any generated suggestions against the actual rig.
What is the difference between Humanoid and Generic rigs in Unity?
Unity’s Rig import workflow uses Humanoid for a human-shaped character with an Avatar mapping and Generic for non-humanoid rigs where a root bone is identified. Choose according to the model and animation workflow. Import settings, skeleton structure, and clip setup still need review on the exact asset.
Should a 3D character use root motion or code-driven movement?
It depends on the game’s movement and animation needs. Root motion lets an animation contribute world movement; code-driven control can make input response and collision easier to manage. Some projects combine them. Test turning, stopping, slopes, and attack transitions with the real controller so animation does not pull the character through obstacles.
How do I test a rigged character before building a full game?
Use a small scene with a flat route, a step or slope, one obstacle, and one interaction. Test idle, locomotion, turning, stopping, and a single action while watching foot contact, root movement, collision, and camera framing. Record model and build versions, then ask an unfamiliar player whether input and animation feel connected.