A tile set can make a world look complete before it is playable. Grass, walls, water, bridges, props, and transitions still need consistent scale, adjacency, collision, and traversal rules. A useful first milestone is a small route where a player can move from a clear start to a destination and understand which surfaces can be crossed.
This workflow uses Mosslight, a fictional top-down forest map. The tiles, layout, collision settings, and results are invented. No tile set or game project was supplied or tested.
Start with a route, not a full map
Choose a short experience: enter a clearing, cross a bridge, avoid a blocked path, and reach a landmark. Decide what the player should learn about movement and the environment in this slice. A route gives every tile a purpose and gives you a practical way to test scale, camera framing, corners, and expected paths.
Sketch the route with simple colored cells before painting detailed art. Mark the start, goal, obstacles, optional space, and likely interaction points. If the intended path is hard to follow in a simple diagram, decorative tiles will not necessarily make it clearer.
Inventory and understand the tile set
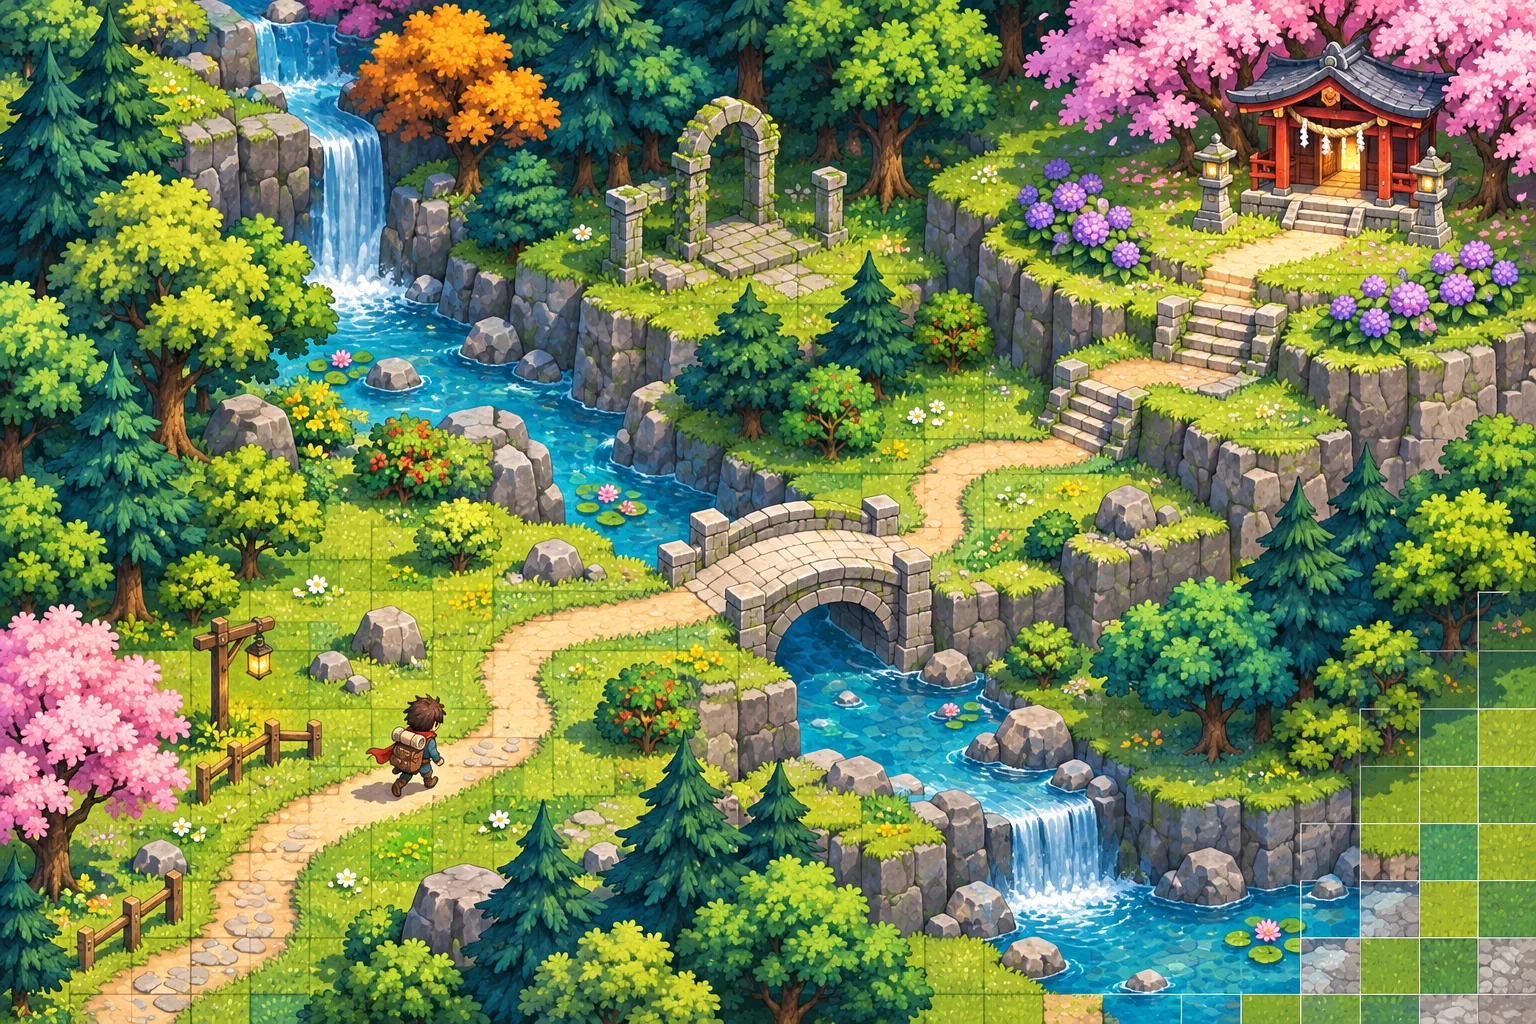
Record source files, dimensions, intended cell size, transparent padding, animation frames, and any author notes. Group candidate tiles by role: ground, edge, wall, water, bridge, prop, transition, hazard, or interactive marker. Appearance is not a reliable specification for walkability. Ask the asset owner to clarify ambiguous surfaces and confirm that the project has rights to use the files.
Check whether tiles share a consistent pixel scale and origin. A small mismatch can create seams, uneven perspective, or collision that does not line up with the art. Note variants and adjacency rules: a water edge may need corner and straight variants; a cliff may need a cap, side, and transition. Keep the original source and any edited sprite sheet separate so asset changes remain traceable.
AI can suggest visual groups or propose a mock layout, but image similarity does not reveal intended collision or gameplay meaning. Review the classification manually. Mark proposed classifications as unverified until the person responsible for level art or game rules approves them.
Map art to grid and gameplay layers
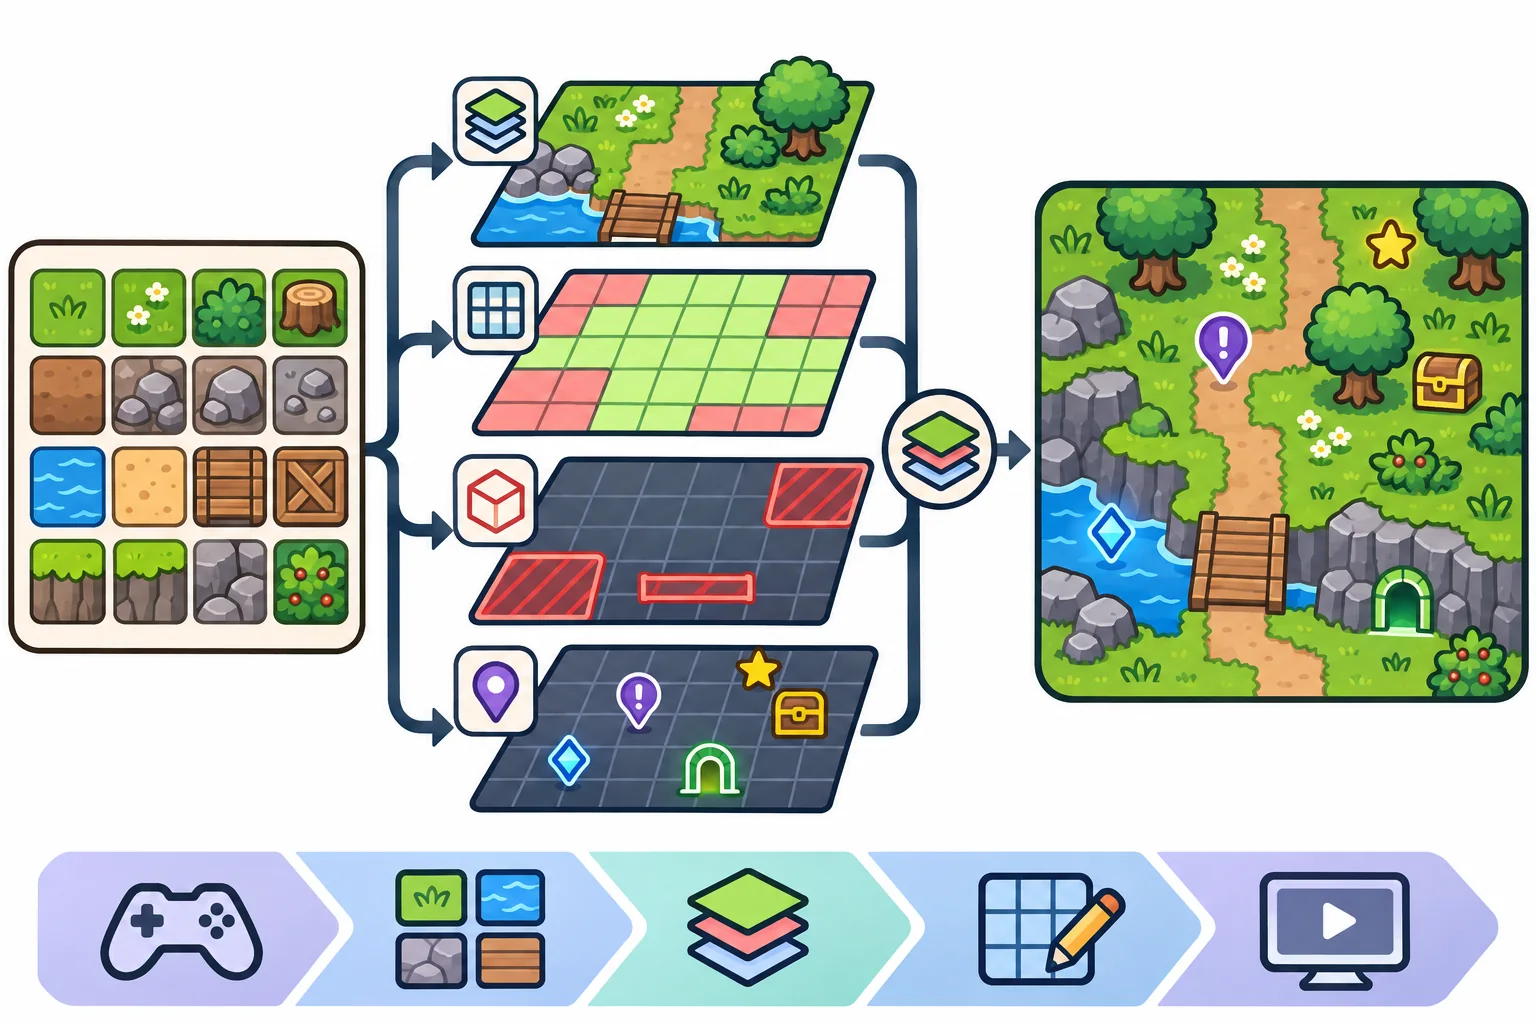
Separate visual composition from behavior. A ground layer might show grass; a collision layer can define what blocks movement; an object layer can contain doors, signs, triggers, or pickups. Depending on the engine, these may be separate tilemaps, layers, metadata, or placed objects. The important part is to make the relationship easy to inspect and consistent when the map changes.
Unity’s Tilemap component stores Tile Assets for 2D levels, works with a Grid, and passes relevant information to components such as its renderer and collider. A Tilemap Collider 2D can generate shapes from tiles. Those capabilities do not decide which tile should block a character or where a path belongs. The project team must define each tile’s role.
Create a small tile catalog with stable names, visual category, intended use, walkability, collider behavior, transition notes, and source file. If two tiles look alike but one is a hazard and the other is safe ground, encode that difference in a deliberate property or layer instead of relying on a designer’s memory.
Choose collision behavior deliberately
Different tiles may need no collider, a grid-shaped blocker, a sprite-based shape, or a trigger. For example, a decorative bush might be traversable, a stone wall might block movement, and a glowing marker might trigger an interaction. These are example rules; determine actual behavior from the game design and asset. Do not infer a collider from a silhouette alone.
Unity’s Tilemap Collider 2D uses collider settings from the tile assets to generate shapes; neighboring shapes can be combined with a Composite Collider 2D when set up together. Test the actual configuration at corners, narrow passages, small gaps, and diagonal movement. A visually continuous wall may still have collision seams, while a hand-shaped outline may snag movement where a grid boundary would feel smoother.
Assemble the smallest useful map
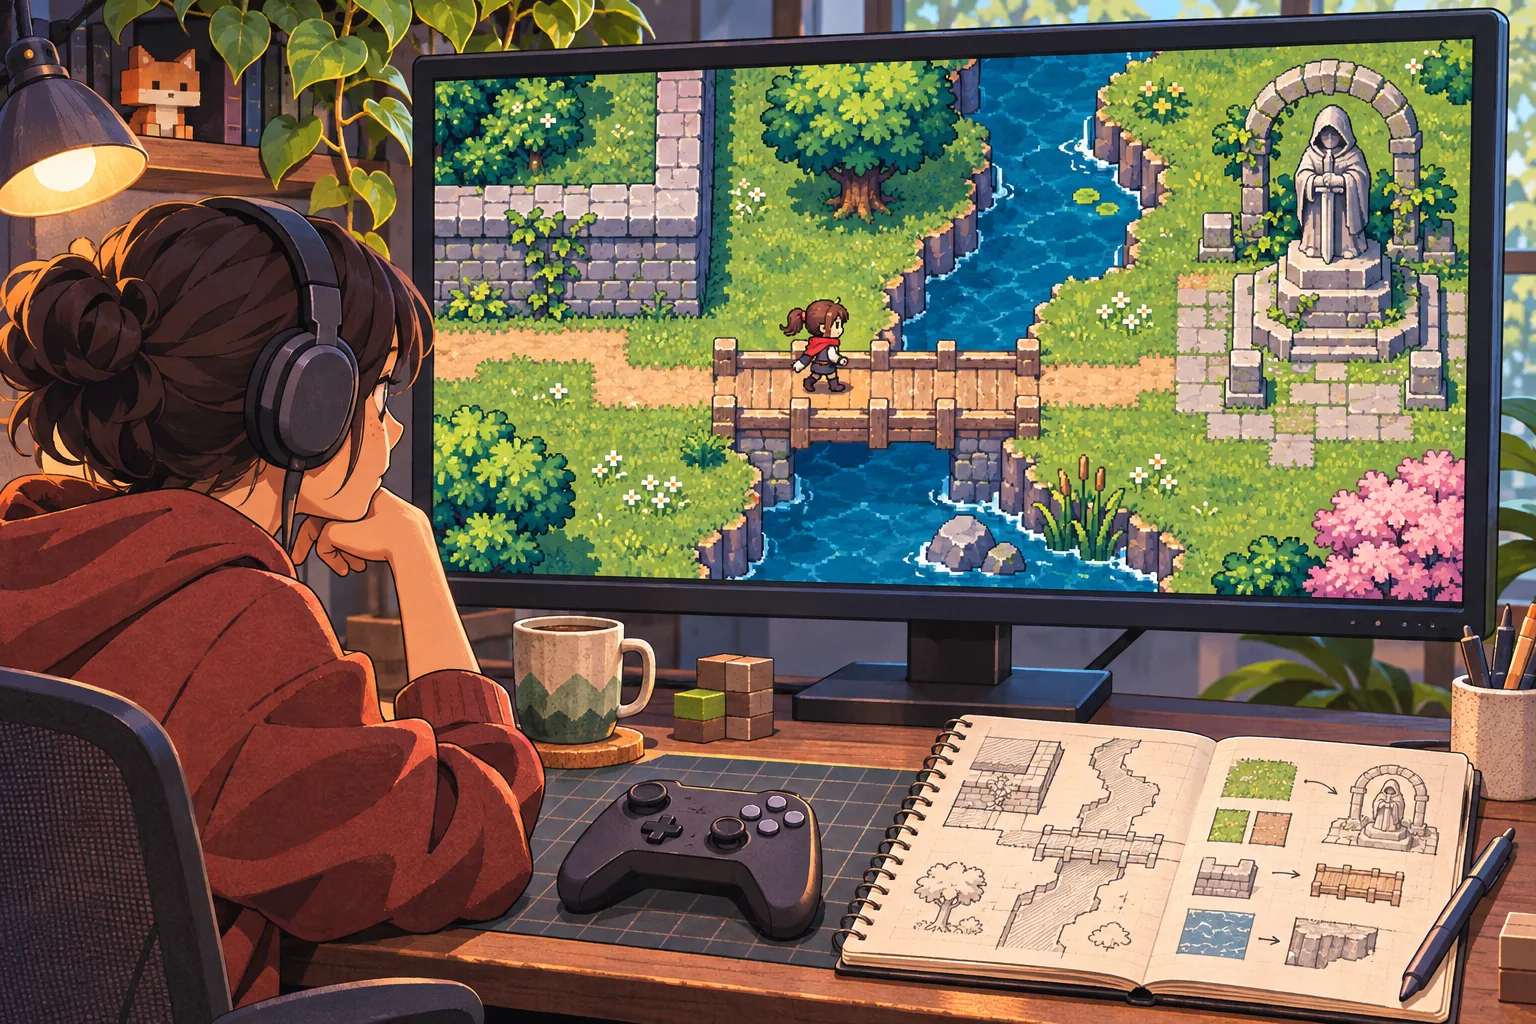
Build a compact loop with a few different tile roles and one optional detour. Use a landmark or distinct color grouping to orient the player. Repeat patterns intentionally, but avoid making a blocked edge look like an open path. Use transitions to explain changes in terrain, height, or access.
Check how the camera frames the grid. In a top-down game, the player character may obscure nearby cells; props can hide a passage or make a path seem blocked. Try the map at the actual game viewport and with the real movement speed. The route should feel legible at the scale a player experiences, not just in the editor zoom.
A Sprite Atlas can consolidate multiple textures into a combined asset, but asset packing does not fix inconsistent source dimensions or guarantee a performance result. Treat packing as a project configuration choice and verify it against the target build’s needs.
Test movement, not only appearance
Walk the route in both directions and approach every boundary from more than one angle. Check whether the player can squeeze through an intended passage, gets stopped by safe scenery, or crosses a surface that should block movement. Test interaction prompts and confirm they appear at a sensible distance and do not compete with visual landmarks.
Ask a first-time player to go from the start to the landmark without verbal guidance. Record where they stop, which route they expected, and which visual cues led them there. If the map uses a hazard or blocked route, make sure the visual language communicates it before the player collides. This is a user test to conduct on the real build, not a result claimed by this illustrative package.
Keep a test log with map revision, tile set revision, player settings, device or viewport, route attempted, observed collision issue, and next change. This helps distinguish an art readability problem from a movement or collider problem. Recheck the route after tile art or grid scale changes.
Use AI without losing ownership
AI can help draft a tile inventory, suggest adjacency groups, generate placeholder top-down concepts, or list test cases for a route. Keep the original assets and source terms available. Ask a human to approve categories, collision, and layout before the level relies on them. Generated art should be distinguished from licensed source content and from final production assets.
When AI proposes a layout, treat it as a blockout. Verify grid alignment, traversal, visibility, and repeated patterns inside the project. A visually plausible image is not a playable map, and a set of good-looking tiles does not guarantee the game has correct navigation.
Expand after the route works
Once the small map is understandable and collision behaves as designed, add areas in manageable chunks. Reuse tile roles consistently, document new exceptions, and check transitions whenever the set grows. Keep tile catalog, map revision, and gameplay metadata together so future edits do not silently change how the world works.
A tile set becomes a top-down game world through clear grid structure, explicit traversal rules, and a route that can be played and reviewed. Start small, test with real movement, and grow the map after its visual and collision cues agree.
Frequently asked questions
How do I turn a tile set into a top-down game?
Inventory tiles by visual role and gameplay behavior, confirm their grid dimensions and source settings, then build one small map with a clear route, obstacle, and destination. Assign collision and interaction deliberately, and test movement around tile edges. A tile set supplies visual pieces; level rules, navigation, and readable player feedback still need to be designed.
Can AI make a game from a tile set?
AI can help sort tile images into candidate groups, propose scene layouts, or create placeholder concepts. It cannot reliably determine collision, walkability, transitions, or intended adjacency from appearance alone. Review rights and metadata, then verify every relevant tile and generated layout in the actual project. Label concept scenes as mockups until a playable build has been tested.
How do I add collision to Unity tiles?
Unity Tilemap Collider 2D generates collider shapes for tiles on its Tilemap, based on each Tile asset’s collider setup. A Composite Collider 2D can combine neighboring shapes when configured together. Choose collision types according to the art and game rules, then test corners, narrow gaps, slopes, and character movement in the scene.
Should every tile have a collider?
No. Visual floor, wall, decoration, hazard, and interactive objects may require different behavior. Some tiles need no collider, others may use a grid or sprite shape, and some should trigger events rather than block movement. Define the behavior per tile category and test the resulting map so visual appearance and traversal rules agree.
How do I test a top-down tilemap before building a large level?
Create a compact test map with a loop, a dead end, a narrow passage, a change in elevation or obstacle, and a clear destination. Check movement, collision seams, camera framing, map readability, and interaction prompts. Ask someone unfamiliar with the layout to navigate it, and log where the art or collision communicates the wrong expectation.