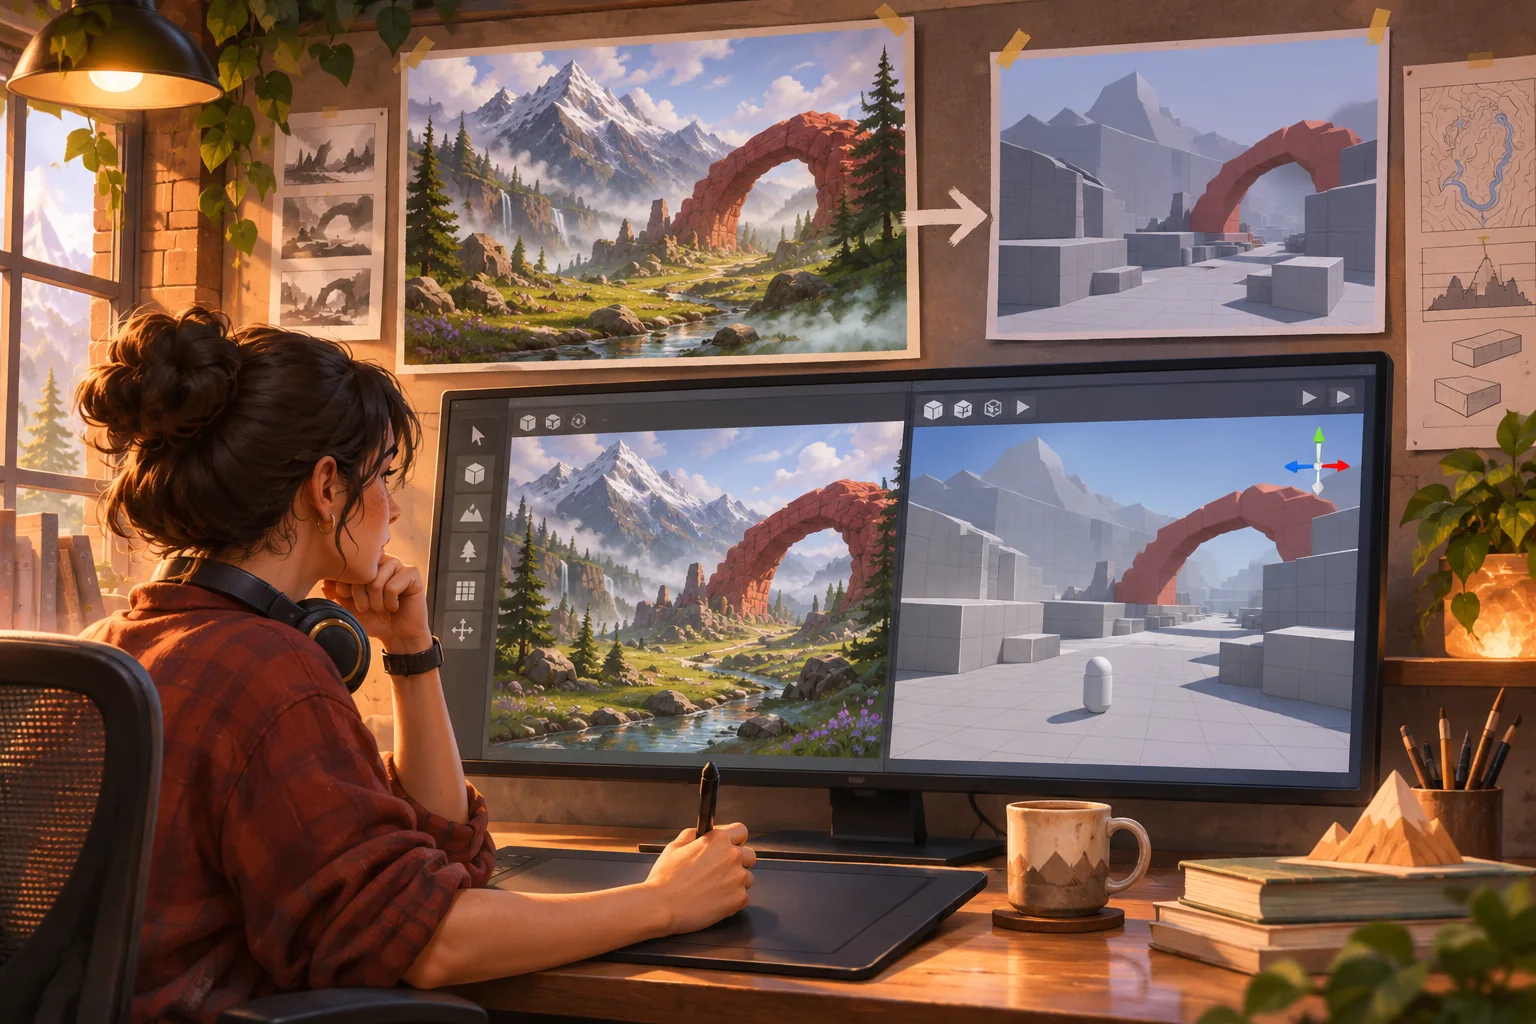
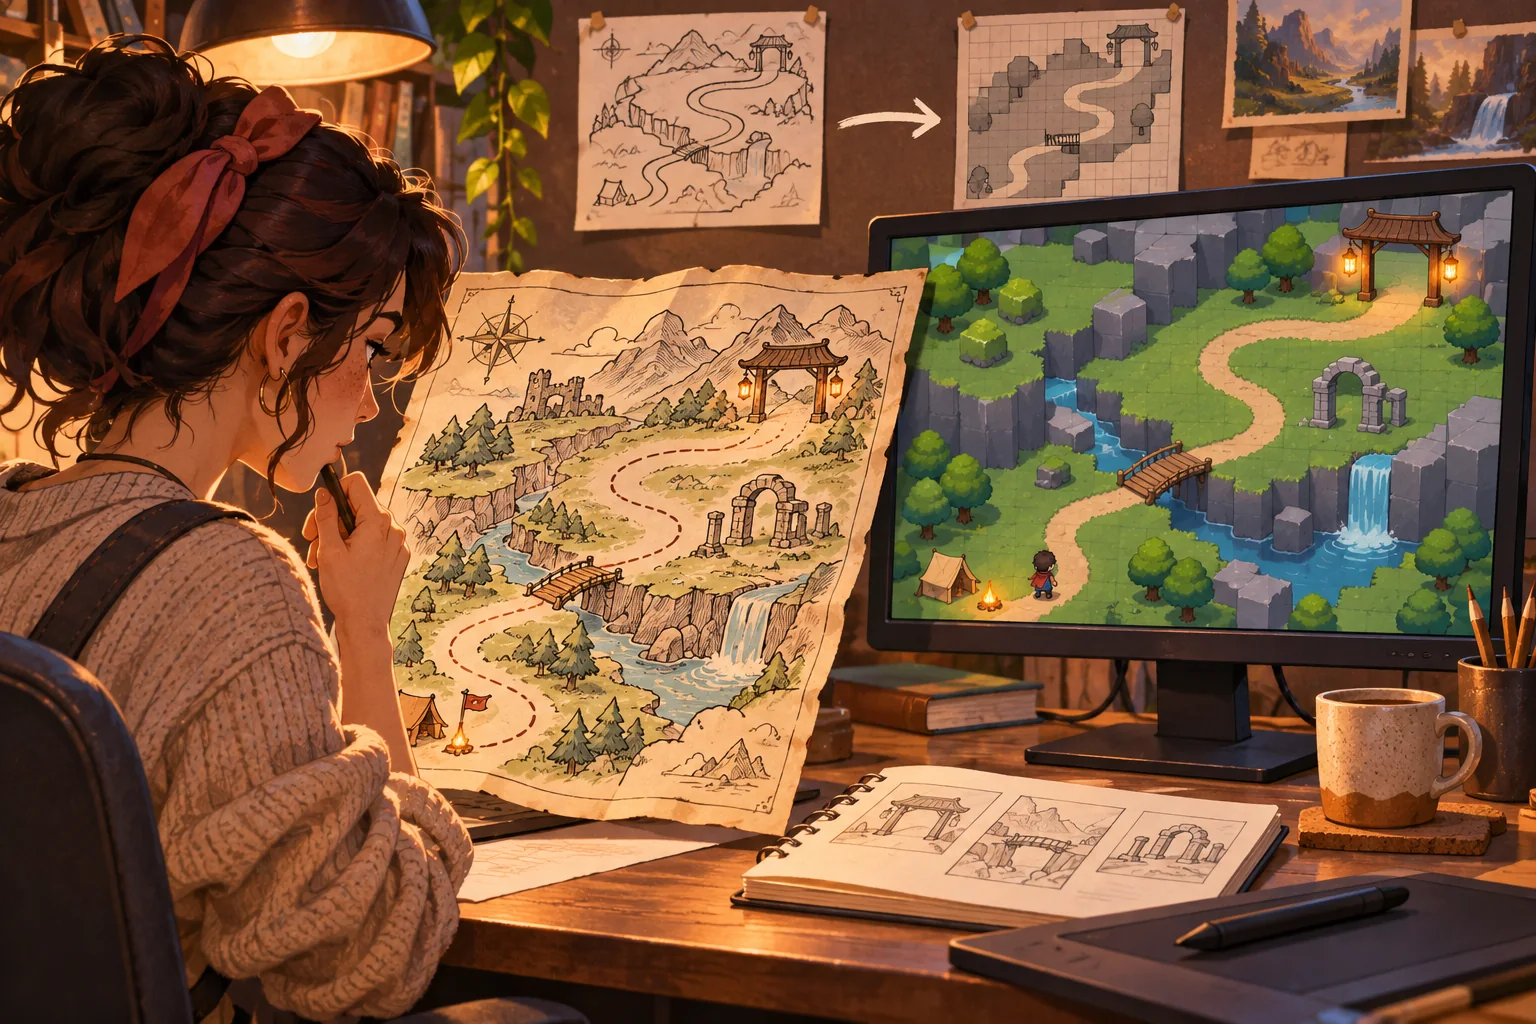
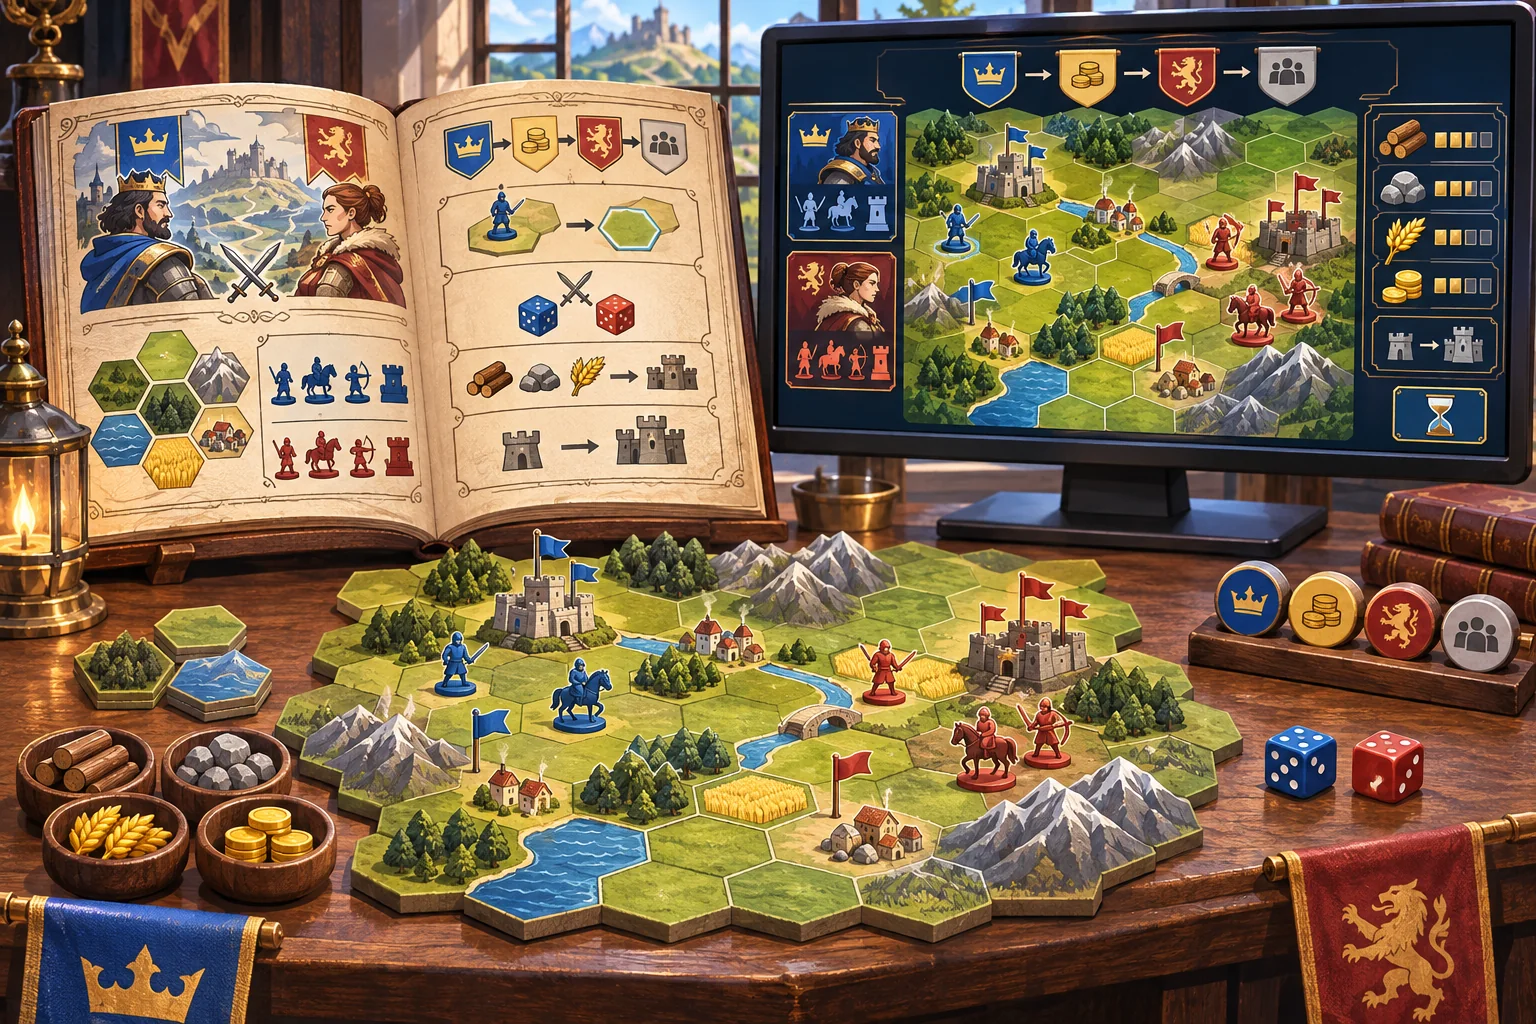
A polished game interface mockup can show where a button sits without showing what it does. To become playable, each screen needs a purpose, each control needs an action, and each action needs a response from the game. The useful prototype connects the visual design to actual state and lets someone complete a small task.
This guide uses Lantern Guild, a fictional tactics game, as an example. Its screens, hero, resources, actions, and outcomes are invented. No UI source file or game project was supplied or tested.
Define the first playable task
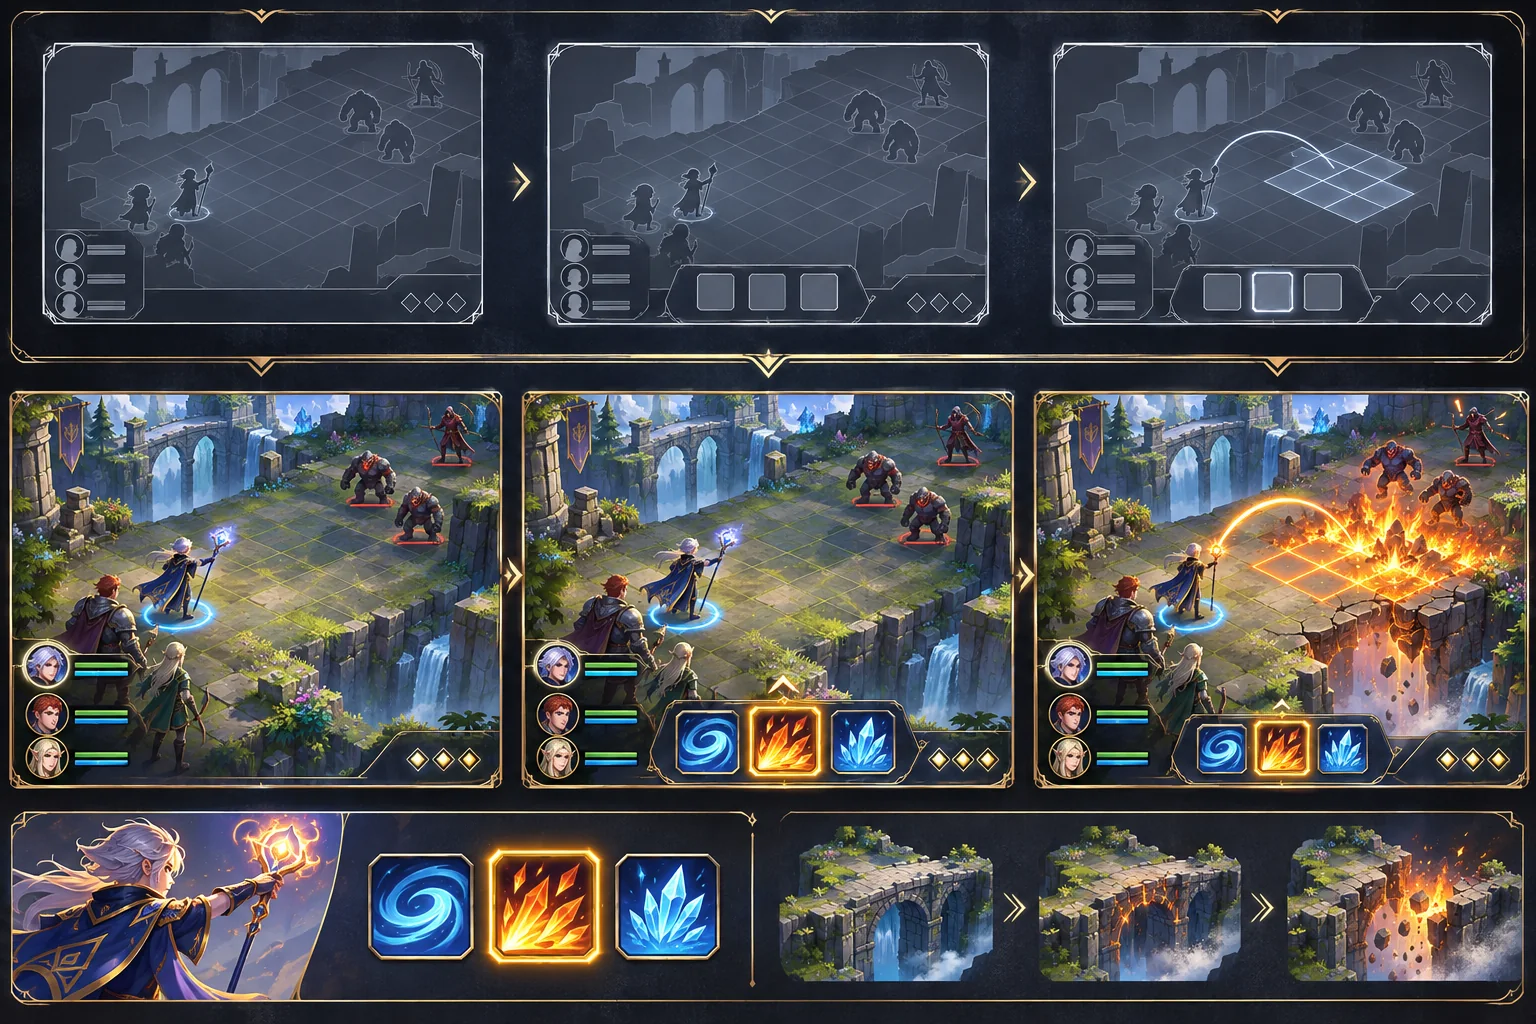
Pick one task that crosses the interface and the game loop. For example: open a party screen, choose a scout ability, spend one focus point, and see a blocked path become visible in the world. This fictional example gives the interface an outcome to support. In a real feature, confirm the action and intended result with the design and gameplay owners.
Write down the initial state, the player action, the preconditions, the resulting state, and the feedback. A screen transition alone is not a gameplay loop. The player should be able to tell what changed, whether the action worked, and what to do next.
Inventory screens and states
List the supplied screens and the reason each exists: start, inventory, map, settings, dialogue, result, or another purpose. Record the entry point, exit path, controls, and data each screen displays. Mark unknowns rather than filling them with guessed behavior. A screenshot rarely reveals whether a control is always available, what happens when a value is empty, or how the screen responds after an action.
For each screen, list states it can display: normal, selected, focused, disabled, loading, error, empty, success, or confirmation. Not every screen needs every state. The point is to identify the states that matter before styling only the ideal case. A disabled action should communicate why it cannot be used if that information helps the player make a decision.
Make a transition map. Note what opens the screen, which action leaves it, what state changes, whether the game pauses, and where focus moves when the next screen appears. This map gives designers and engineers a shared checklist and can expose missing escape routes early.
Connect visual controls to game logic
Assign each control an explicit action and owner. A button may request an ability, confirm a purchase, equip an item, or open another panel. Define validation rules such as resource cost, inventory capacity, current turn, and permission to act. Then decide which system is authoritative for the state. The interface should display game state, not silently become a second independent copy that can disagree.
In Unity UI Toolkit, a Button provides a clicked callback and supports binding information; the UI Toolkit also includes runtime UI, an event system, and data binding features. Those are framework capabilities, not a ready-made game loop. The project still has to connect the event to validated game logic and reflect the resulting state in the interface.
Separate request, result, and display. When the player clicks “use ability,” the interface can submit an action request. Game logic checks the current turn and available resource. The result updates the state model, and the screen refreshes with a response. This structure helps avoid a button that visually spends a point before the game has accepted the action.
Plan for more than a mouse click
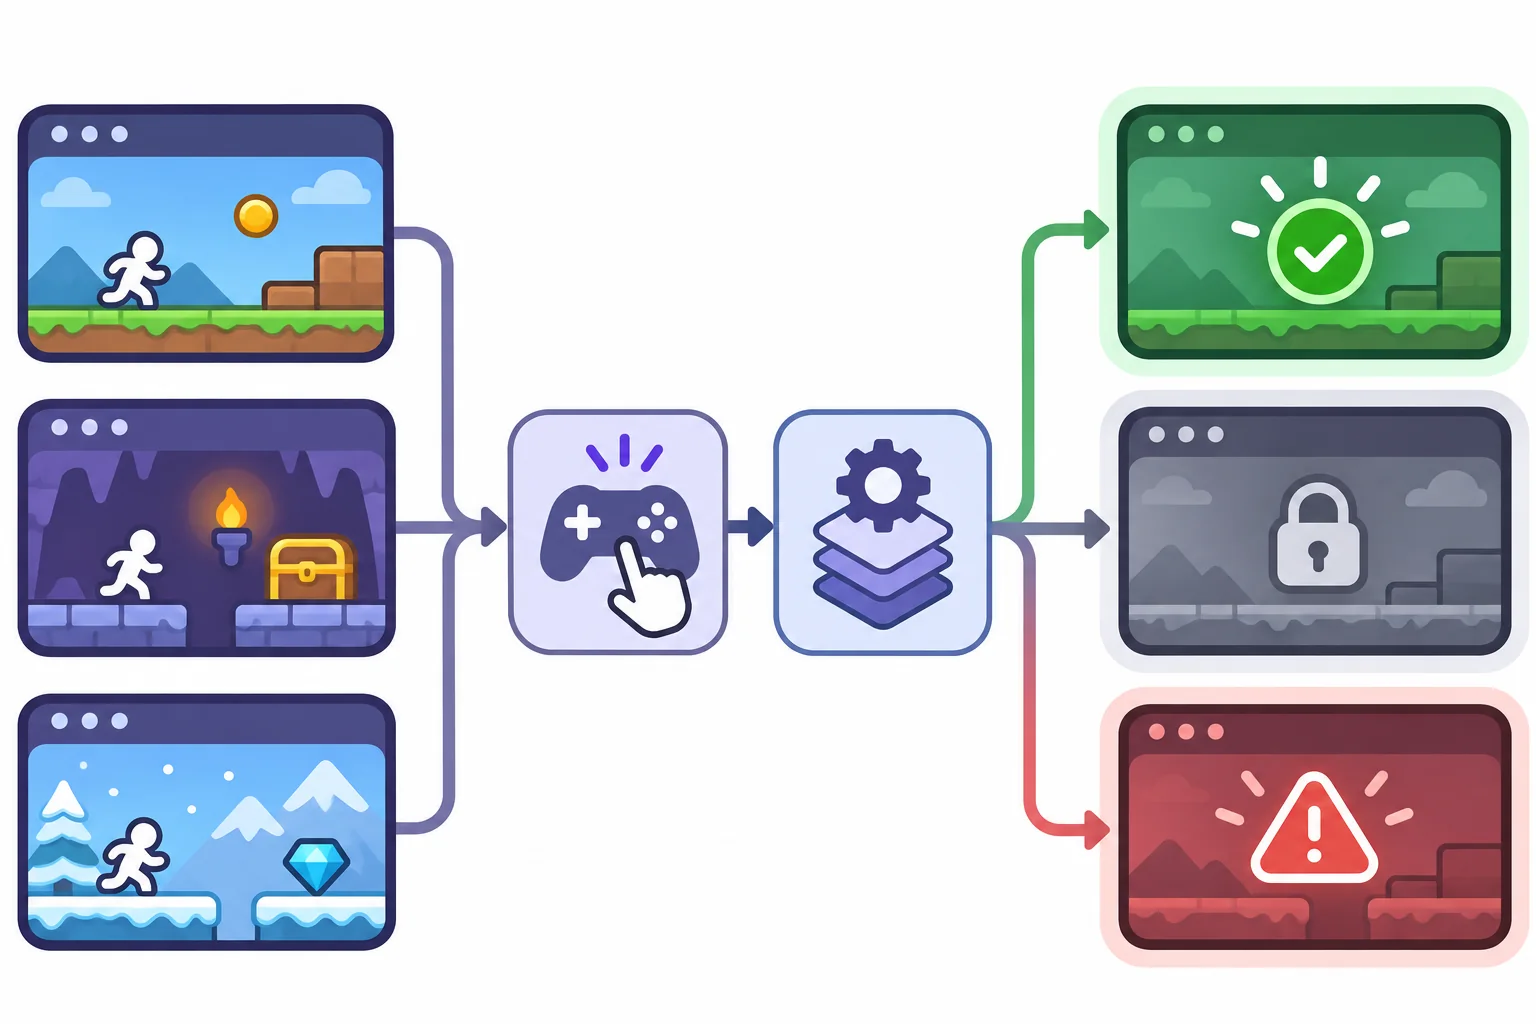
Know which input methods the game supports. A mouse pointer, touch surface, keyboard, or gamepad may move through controls differently. Define focus order and selected-state appearance. When a screen opens, focus should land somewhere useful; when it closes, focus should return to a sensible control.
Test what happens when the player activates an action twice, presses back during a transition, or switches screens while a result is still updating. Prevent duplicate purchases or ability use through game logic, not only by briefly hiding the button. Make unavailable actions visually distinct and ensure focus does not disappear into an off-screen element.
For the fictional Lantern Guild, opening the map moves focus to the current region, directional input moves between markers, and a confirm action previews a route. Those details are examples. Actual behavior must follow the project’s input conventions and accessibility goals.
Design feedback and recovery paths
Every important action needs understandable feedback. It could be a changed value, an animation, an updated world object, a sound, a short message, or several signals together. A click animation only proves the button received input; it does not tell the player whether the requested action succeeded.
Design error and recovery states. If the player lacks a resource, explain the condition or show the relevant cost. If a network or save operation is pending, indicate progress and prevent accidental repeated submission. If no items are available, provide an empty state that explains what the player can do next. These states should use the same information hierarchy and visual language as the normal screen.
Keep wording concise and consistent with the game’s terminology. If a resource has a name in the HUD and another on the ability panel, players may suspect the values refer to different things. Test short labels at the smallest supported viewport and with localized strings if the feature will be translated later.
Build a behavior-first prototype
Wire up one screen to representative game state and implement one complete action. Use placeholder art if needed, but keep component sizing and hierarchy close enough to the approved design to catch layout issues. Add the success path and at least one relevant failure path. Confirm the action’s visible effect on both the interface and world.
Keep a small screen-to-state table with control name, event, precondition, state change, feedback, and recovery. Log any differences from the approved mockup and ask the design owner to confirm changes. If AI proposes labels, component code, or inferred interactions, keep those suggestions reviewable and trace them to the screens they came from.
Test a task from start to finish
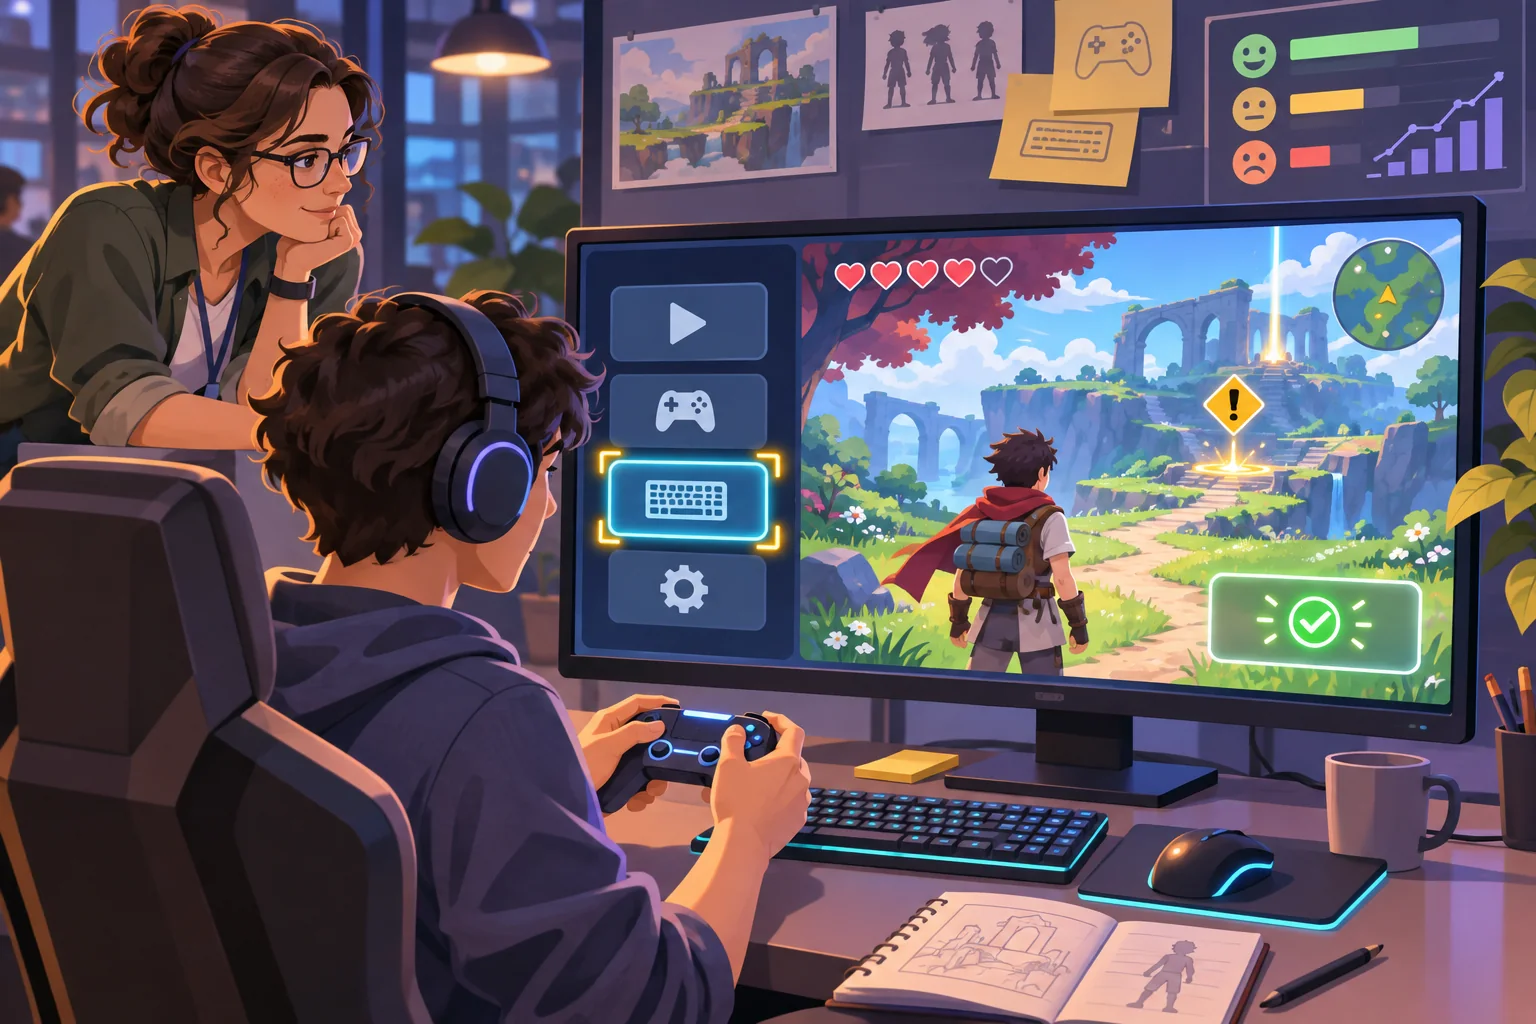
Give a first-time tester a goal without telling them where to click. Watch whether they can find the action, understand its requirement, see the result, and return to play. Test supported input modes, aspect ratios, and relevant state variations. Record build version, device, starting state, input method, observed behavior, and any mismatch with the mockup.
Compare what happened to the approved design and intended game rule. Did the control look active when it was not? Did focus move in a surprising direction? Did the screen show a success state before the game accepted the action? These observations are more actionable than a general comment that the interface “feels off.”
Retest after changes to state logic, layout, or input handling. A new panel can break focus return; a revised rule can change what disabled means; a different viewport can hide feedback. Mockups help align intent, but the running prototype reveals behavior that a static image cannot.
Move from mockup to game loop
Start with one player task and a clear state transition. Inventory each screen, define its states, connect controls to authoritative game logic, and provide feedback and recovery. Then observe someone completing the task in the running prototype and compare the result with the approved design. Expand the interface only after the first loop is understandable and reliable.
Frequently asked questions
How do I turn a UI mockup into a playable game interface?
List each screen’s purpose, controls, visible states, and transitions, then connect one screen to actual game state and a small player action. Build a prototype with working input, feedback, disabled and error states, and a return path. Compare the running behavior with the approved mockup and test it with mouse, keyboard, or controller as the game requires.
Can AI convert UI mockups into a game?
AI can summarize screens, propose interaction maps, generate placeholder assets, or draft component code. It cannot infer all hidden states or prove that a control is understandable on the target device. Review generated interpretations with the design owner, connect controls to real game state, and test focus, input, feedback, and navigation in a running build.
How do I connect a game UI button to gameplay?
Define the action and its preconditions, subscribe the button to a handler, update the authoritative game state, and show a clear result. Prevent duplicate or invalid actions and keep the visual state synchronized when the underlying value changes. In Unity UI Toolkit, Button exposes a clicked callback; project code must still implement its gameplay effect.
What should a playable UI prototype include?
Include at least one complete loop: enter a screen, inspect a current state, perform an action, receive feedback, and continue or recover. Add disabled, error, empty, and success states where relevant. Check how the interface behaves at the target aspect ratio and with each supported input method; a static screen cannot reveal those transitions.
How do I test a game interface made from mockups?
Use a build with representative game state and ask someone unfamiliar with the feature to complete a short task. Observe focus order, button feedback, state changes, confusing labels, and whether they can recover from an invalid action. Compare behavior to the approved design, record device and build versions, then retest after changes.