
How to Create a Roblox Game: Traditional Studio & AI-Powered Methods
 SEELE team
• February 09, 2026
SEELE team
• February 09, 2026
Learn how to integrate Supabase backend with Superblocks in 3 straightforward steps. Complete walkthrough with API setup, database configuration, and testing.

What is Supabase?
Supabase is an open-source Firebase alternative providing a PostgreSQL database with automatic REST and GraphQL APIs, built-in authentication, real-time subscriptions, and storage capabilities. It eliminates backend development overhead by auto-generating secure APIs from database schemas.
What is Superblocks?
Superblocks is a low-code platform for building internal tools, workflows, and applications. It provides a visual interface for connecting to databases and APIs, enabling rapid development of admin panels, dashboards, and automation workflows.
Integration Time:
10-15 minutes
Prerequisites:
Supabase account, Superblocks account
Cost:
Free (both platforms offer generous free tiers)
| Credential | Location | Usage |
|---|---|---|
| Project URL | Supabase Project Settings > API | Base endpoint for all API requests |
| Anon Key | Supabase Project Settings > API | Client-side queries (respects Row Level Security) |
| Service Role Key | Supabase Project Settings > API | Full admin access (use for internal tools only) |
Supabase REST API endpoint:
https://[project-id].supabase.co/rest/v1/[table_name]
Headers required:
-
apikey: [your-anon-or-service-role-key]
-
Authorization: Bearer [your-anon-or-service-role-key]
Problem: Connection timeout
Solution:
Verify Project URL format (
https://
prefix required), check that project is not paused (free tier auto-pauses after 7 days inactivity)
Problem: Empty query results despite data existing
Solution:
Row Level Security (RLS) is blocking access. Either create appropriate RLS policies or temporarily disable RLS for testing:
ALTER TABLE tablename DISABLE ROW LEVEL SECURITY;
Problem: "Invalid API key" error
Solution:
Ensure you're using the anon key (not service_role key) for client-side queries, or regenerate keys in Project Settings > API
Row Level Security (RLS):
Always enable RLS on tables with sensitive data. RLS policies are PostgreSQL rules that filter query results based on user authentication status.
ALTER TABLE users ENABLE ROW LEVEL SECURITY;
CREATE POLICY "Users can read own data" ON users FOR SELECT USING (auth.uid() = id);
API Key Guidelines: - Use anon key for applications (respects RLS) - Use service_role key only for trusted internal tools (bypasses RLS) - Rotate keys regularly and never commit to version control
Indexing frequently queried columns:
CREATE INDEX idx_users_email ON users(email);
CREATE INDEX idx_posts_created_at ON posts(created_at DESC);
Expected performance: - Simple SELECT queries: 50-200ms - Complex JOINs: 200-500ms - Real-time subscriptions: <100ms latency
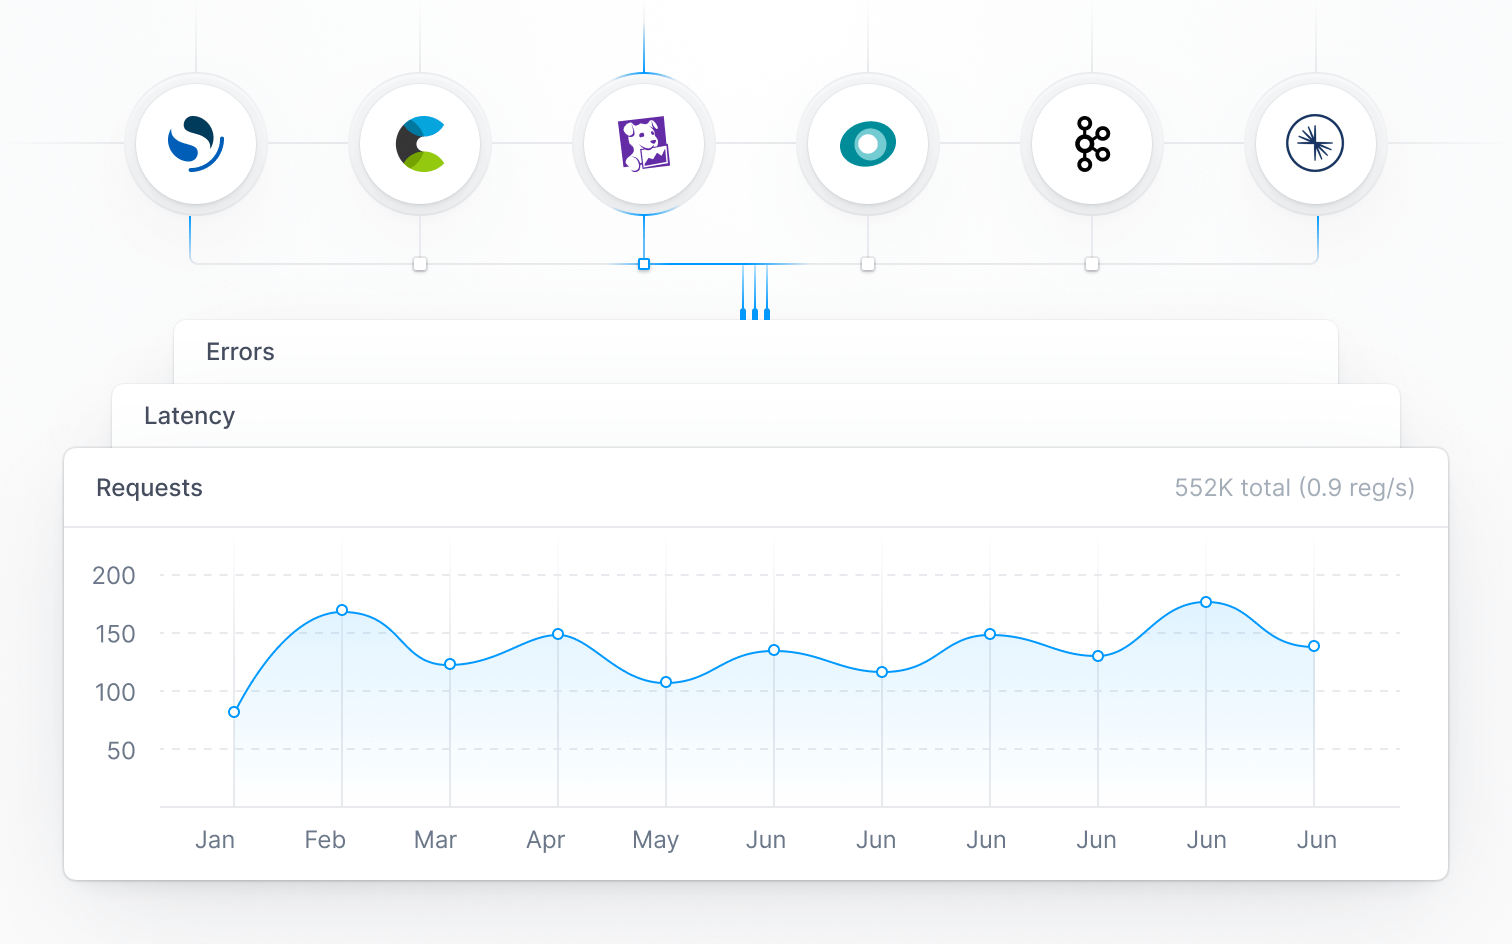
Supabase works with: - Retool, Appsmith, Bubble.io (similar low-code platforms) - React, Vue, Next.js (using @supabase/supabase-js client) - Mobile apps (iOS, Android via Supabase client libraries)
Superblocks connects to: - PostgreSQL, MySQL, MongoDB (direct database connections) - REST APIs (custom endpoints) - Snowflake, BigQuery (data warehouse queries)
To enable real-time data subscriptions:
Replication channels: Supabase broadcasts INSERT, UPDATE, DELETE events via WebSocket connections, enabling sub-100ms data synchronization across clients.
Connecting Supabase to Superblocks enables you to build powerful internal tools and workflows with a robust PostgreSQL backend. This integration takes approximately 10-15 minutes and requires three core steps: creating a Supabase project, configuring your database schema, and connecting via API credentials. Once connected, you can query data, build automations, and create internal applications with real-time database access.
Before starting the integration process, ensure you have:
Time required:
10-15 minutes
Difficulty level:
Beginner-friendly
Cost:
Free (both platforms offer generous free tiers)
The first step involves setting up a new Supabase project that will serve as your backend database. Supabase provides a complete PostgreSQL database with built-in authentication, real-time subscriptions, and automatic API generation.
If you don't have an account, sign up using GitHub, Google, or email
Start a New Project
Organizations help you manage multiple projects and team members
Configure Project Settings
Click Create New Project
Wait for Initialization
After your project is created, you need to retrieve the connection credentials:
https://abcdefghijklmn.supabase.co
)
eyJ...
)
Important: Copy both values and store them securely. The anon key is safe for client-side use, while the service_role key (also visible here) should never be exposed publicly—we won't need it for Superblocks integration.
With your Supabase project created, the next step is setting up your database tables and structure. Supabase uses PostgreSQL, which means you can create tables using SQL or the visual Table Editor.
The fastest way to set up your schema is through Supabase's SQL Editor:
This opens an interactive SQL workspace
Create Your Tables
Here's a sample schema for a typical application with users, posts, and comments:
```sql -- Create users table CREATE TABLE users ( id UUID PRIMARY KEY DEFAULT uuid_generate_v4(), email TEXT UNIQUE NOT NULL, full_name TEXT, created_at TIMESTAMP WITH TIME ZONE DEFAULT now() );
-- Create posts table CREATE TABLE posts ( id UUID PRIMARY KEY DEFAULT uuid_generate_v4(), user_id UUID REFERENCES users(id) ON DELETE CASCADE, title TEXT NOT NULL, content TEXT, created_at TIMESTAMP WITH TIME ZONE DEFAULT now(), updated_at TIMESTAMP WITH TIME ZONE DEFAULT now() );
-- Create comments table CREATE TABLE comments ( id UUID PRIMARY KEY DEFAULT uuid_generate_v4(), post_id UUID REFERENCES posts(id) ON DELETE CASCADE, user_id UUID REFERENCES users(id) ON DELETE CASCADE, content TEXT NOT NULL, created_at TIMESTAMP WITH TIME ZONE DEFAULT now() );
-- Enable Row Level Security (RLS) ALTER TABLE users ENABLE ROW LEVEL SECURITY; ALTER TABLE posts ENABLE ROW LEVEL SECURITY; ALTER TABLE comments ENABLE ROW LEVEL SECURITY; ```
Look for a Success message confirming the tables were created
Verify Table Creation
If you prefer a visual interface:
The SQL approach is faster for complex schemas, while the Table Editor works well for simple structures or quick modifications.

Now that your Supabase backend is configured, it's time to establish the connection in Superblocks. This enables your Superblocks applications and workflows to read from and write to your Supabase database.
Navigate to Resources in the main navigation
Create New Resource
Select Supabase as your resource type
Enter Connection Details
You'll need to fill in the following fields:
https://abcdefghijklmn.supabase.co
)
Service Role Key (optional): Only add this if you need full admin access—use with caution
Test the Connection
If successful, you'll see a green checkmark
Save the Resource
To verify the integration works correctly:
Drag a Table component onto your canvas
Create a Supabase Query
Choose query type: Select , Insert , Update , or Delete
Write Your Query
Example: Fetch all users from the users table
          sql
   SELECT * FROM users ORDER BY created_at DESC LIMIT 10;
Bind the query results to your Table component:
{{ query1.data }}
Save and Test

Once the basic integration is complete, you can leverage Supabase's advanced capabilities within Superblocks.
Supabase supports real-time database changes through PostgreSQL's replication functionality:
Common tables to enable:
users
,
posts
,
comments
,
notifications
Use Real-Time Queries in Superblocks
Supabase's RLS ensures users can only access data they're authorized to see:
-- Allow users to read their own data
CREATE POLICY "Users can read own data"
  ON users
  FOR SELECT
  USING (auth.uid() = id);

-- Allow users to update their own profile
CREATE POLICY "Users can update own profile"
  ON users
  FOR UPDATE
  USING (auth.uid() = id);
When querying from Superblocks with the anon key, RLS policies are enforced. For internal tools where you trust all users, you might use the service_role key to bypass RLS (use carefully).
Based on our experience integrating Supabase with various platforms, here are the most common issues and their solutions:
Problem:
Superblocks can't connect to Supabase
Solution:
- Verify your Supabase URL is correct (should start with
https://
)
- Check that your anon key is the
anon/public
key, not the service_role key
- Ensure your Supabase project is not paused (free tier projects pause after inactivity)
Problem:
Queries return no data even though tables have records
Solution:
- Check Row Level Security policies—they might be blocking access
- Temporarily disable RLS to test:
ALTER TABLE tablename DISABLE ROW LEVEL SECURITY;
- Verify you're querying the correct table name (PostgreSQL is case-sensitive)
Problem:
"Invalid API key" or "JWT expired" errors
Solution:
- Regenerate your anon key in Supabase Project Settings > API
- Update the key in Superblocks Resources
- If using authentication, ensure the JWT token is being passed correctly
Problem:
Queries are slow or timing out
Solution:
- Add indexes to frequently queried columns:
          sql
  CREATE INDEX idx_users_email ON users(email);
  CREATE INDEX idx_posts_user_id ON posts(user_id);
- Limit result sets with
LIMIT
clauses
- Use Supabase's query performance tools in Database > Query Performance
Here's how Supabase-Superblocks integration compares to other common backend setups:
| Aspect | Supabase + Superblocks | Traditional API | Direct Database |
|---|---|---|---|
| Setup Time | 10-15 minutes | 2-4 hours | 30-60 minutes |
| Authentication | Built-in | Custom required | Manual setup |
| Real-time Support | Native | Requires WebSockets | Polling only |
| API Generation | Automatic | Manual coding | N/A |
| Hosting Required | No | Yes | Yes |
This comparison shows that the Supabase-Superblocks combination significantly reduces setup time while providing enterprise-grade features out of the box.
At SEELE, we leverage backend integrations similar to Supabase for managing game data, user analytics, and asset metadata. While SEELE is an AI-powered game development platform focused on text-to-game generation, the backend integration patterns are universal.
For instance, when building internal tools to track game generation metrics, we use patterns similar to the Supabase-Superblocks workflow:
The key advantage of tools like Superblocks is rapid internal tool development—we can build admin panels, analytics dashboards, and workflow automation in hours instead of weeks. Combined with a PostgreSQL backend like Supabase, this approach scales efficiently as data volume grows.
When connecting Supabase to Superblocks, follow these security guidelines:
Always enable RLS on tables containing sensitive data:
-- Enable RLS
ALTER TABLE sensitive_data ENABLE ROW LEVEL SECURITY;

-- Create restrictive default policy
CREATE POLICY "Deny all by default"
  ON sensitive_data
  FOR ALL
  USING (false);

-- Add specific policies as needed
CREATE POLICY "Allow authenticated users"
  ON sensitive_data
  FOR SELECT
  USING (auth.role() = 'authenticated');
While this guide focuses on Supabase with Superblocks, similar workflows apply to related platforms:
The same 3-step process works for integrating Supabase with:
Superblocks also integrates with:
Platforms like Rosebud AI use similar integration patterns for connecting frontend applications to Supabase backends, as demonstrated in their tutorial on enabling backends for web apps. The core concepts—API credentials, database configuration, and connection testing—remain consistent across platforms.
After successfully connecting Supabase to Superblocks, consider these follow-up actions:
Create a practical internal tool:
As your data grows, implement performance improvements:
Connecting Supabase to Superblocks provides a powerful foundation for building internal tools and workflow automation. The combination of Supabase's PostgreSQL backend with automatic API generation and Superblocks' visual application builder enables rapid development without sacrificing scalability or security.
By following the three core steps—project creation, database configuration, and API connection—you can establish a production-ready integration in under 15 minutes. From there, you can build dashboards, automate workflows, and create custom internal applications that scale with your team's needs.
The pattern demonstrated here applies broadly across modern development platforms. Whether you're integrating Supabase with Retool, connecting to a different database, or building AI-powered game development tools like SEELE, the principles of API-based integration, proper authentication, and secure data access remain constant.
Author:
SEELE team
GitHub:
github.com/SeeleAI
 SEELE team
• February 09, 2026
SEELE team
• February 09, 2026
SEELE team
• February 09, 2026
SEELE team
• February 09, 2026
SEELE team
• February 09, 2026
SEELE team
• February 09, 2026