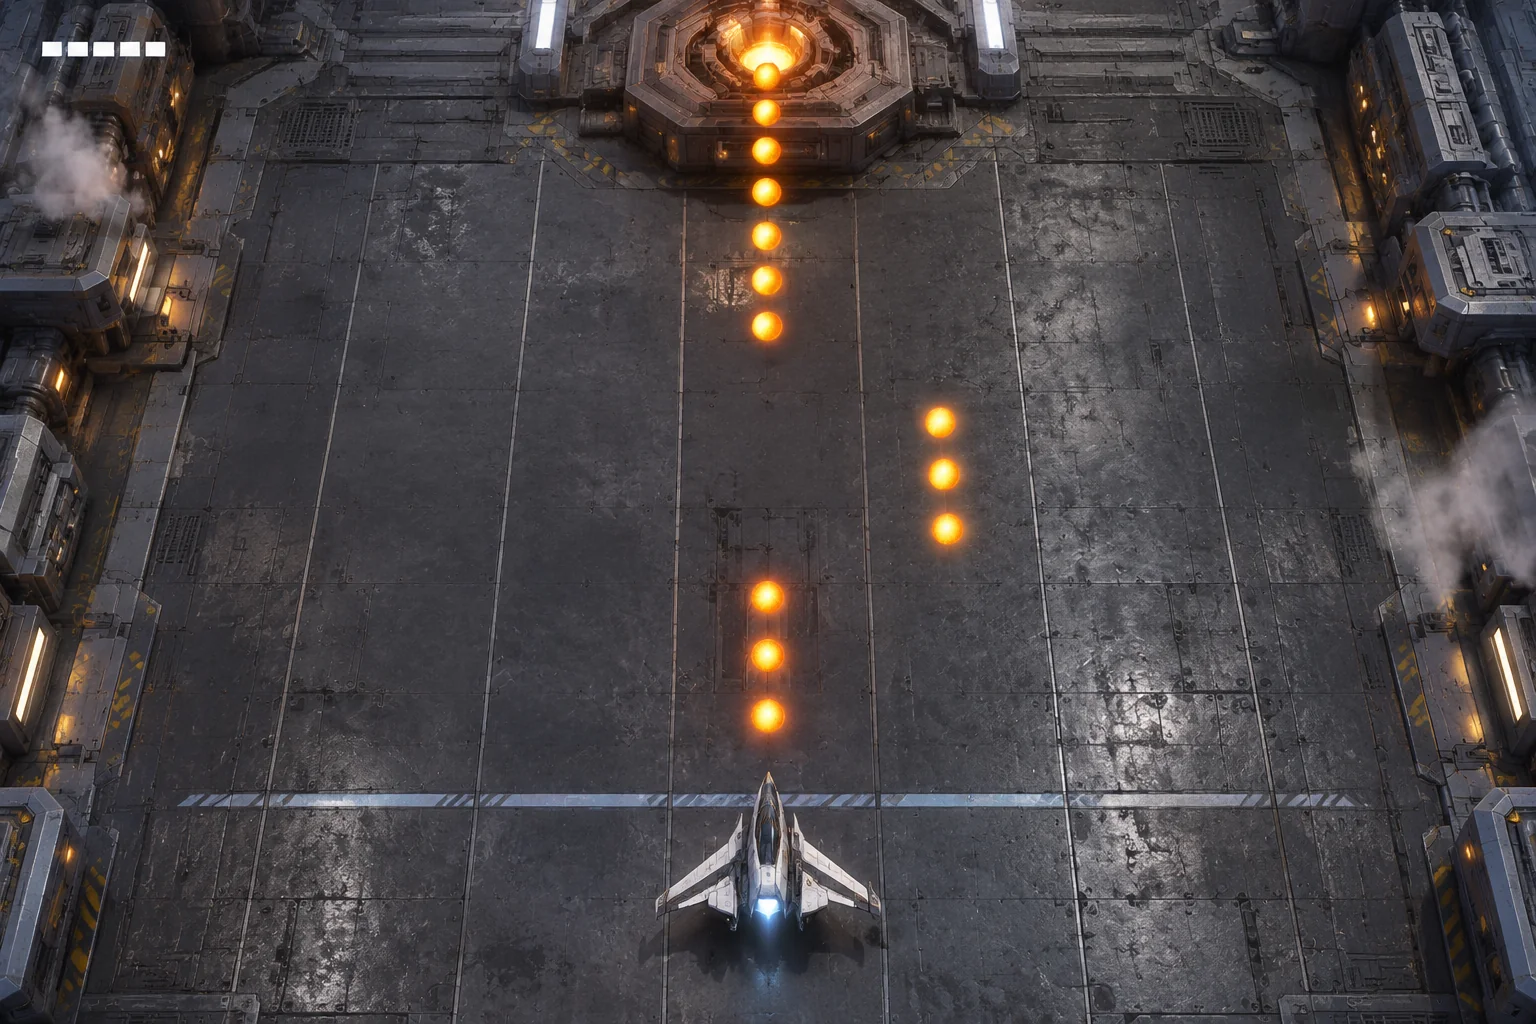
Start your mech action game with one reason to care which weapon is bolted to the chassis. Give the player a light arm cannon, a heavy arm cannon, and a booster that draws from the same heat budget as the weapon. A heavy shot leaves the sentry close to defeat. It also leaves the player with less room to boost or fire again.
Use one fabrication bay and one incoming sweep to test that choice. The fictional encounter below resolves one action at a time, so you can compare the expected heat and damage with a prototype before tuning the real-time feel.
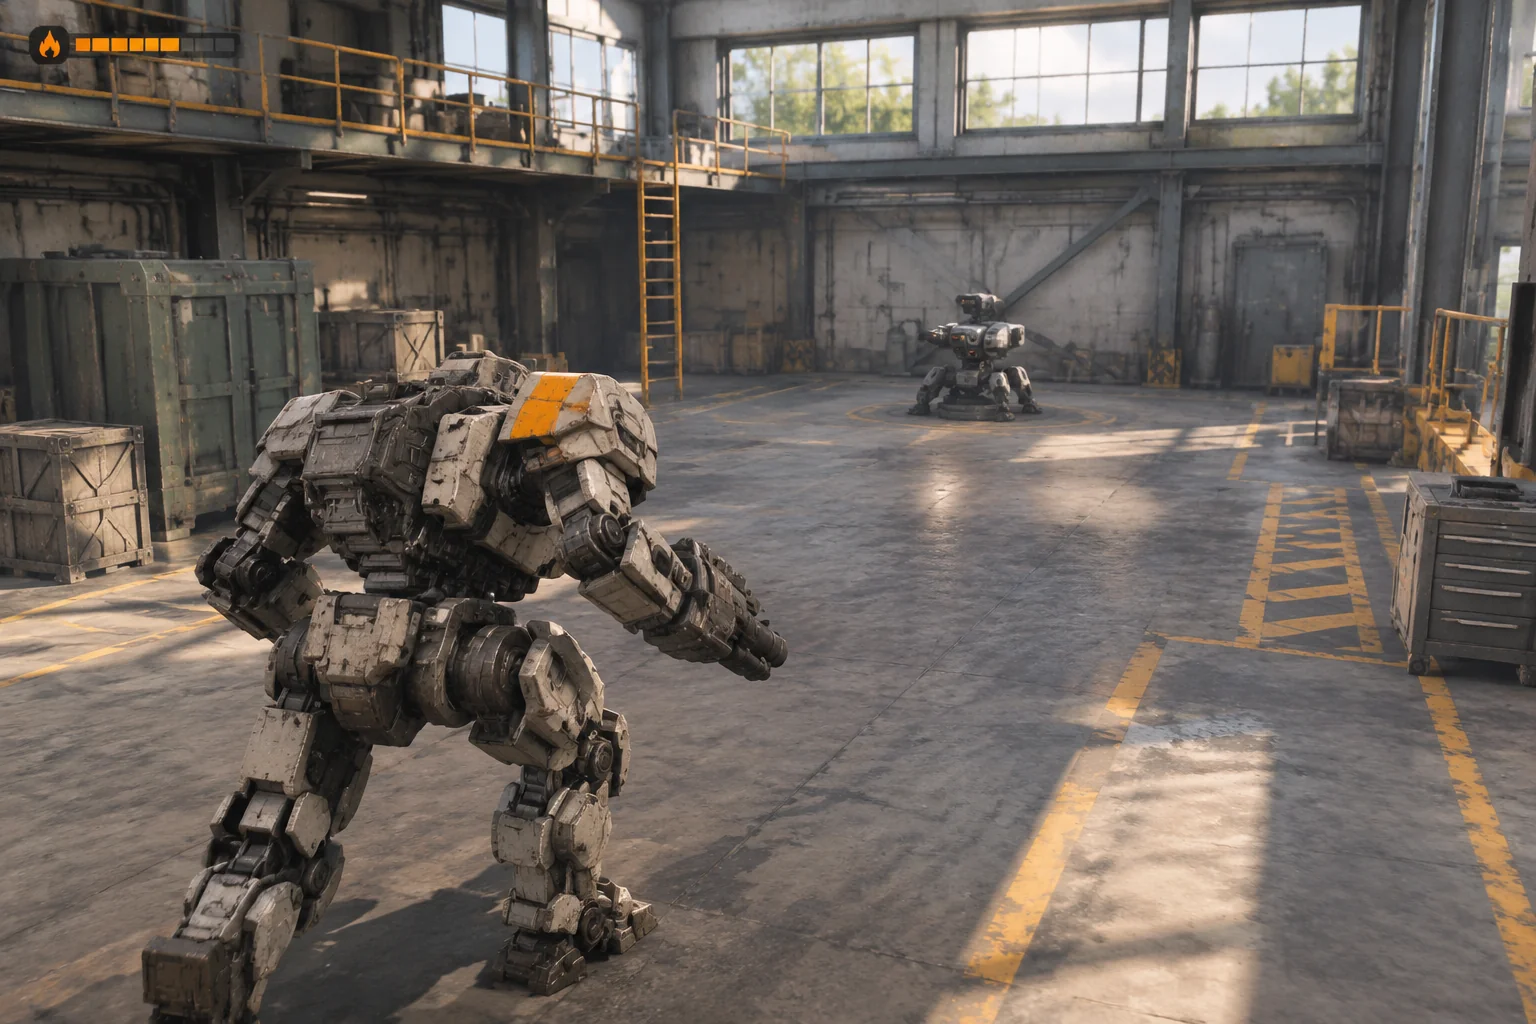
Give each module a different place in the fight
Put the loadout choice in a service rack before the run. Use the same chassis for both weapons so the decision comes from the arm module. The light cannon does one point of damage and adds two heat. The heavy cannon does two damage and adds four heat. Both can hit the sentry from the positions used in this exercise.
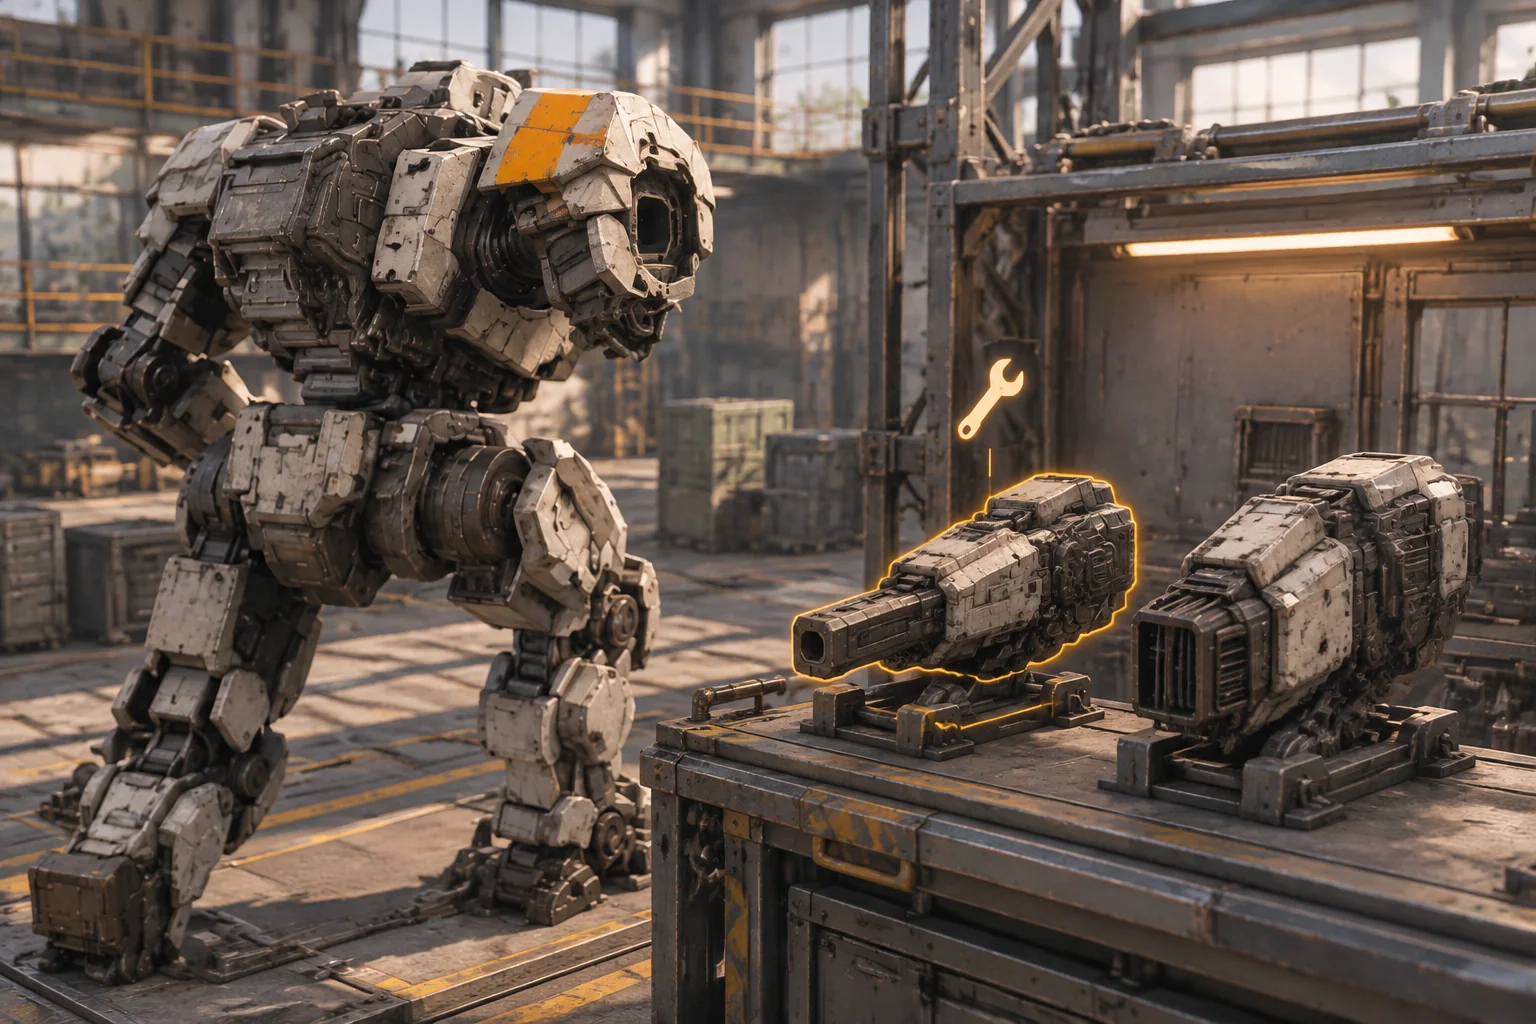
Start the mech at zero heat and the sentry at three integrity. The heat cap is six. A legal action takes one beat. Before firing or boosting, check the heat that action would produce. Reaching six is allowed. A command that would go above six leaves the beat, heat, and sentry integrity unchanged, so the player can choose again. Venting spends a beat and subtracts three heat, down to a minimum of zero. Heat stays where it is between actions.
| Action | Heat change | What it does |
|---|---|---|
| Fire light cannon | +2 | Remove 1 sentry integrity |
| Fire heavy cannon | +4 | Remove 2 sentry integrity |
| Boost sideways | +2 | Move to the side strip and dodge the sweep if used on beat 2 |
| Vent | −3, minimum 0 | Make room for a later heat-producing action |
Show the action’s heat cost before it fires. When a command is refused, leave the current heat display visible and tell the player how much room they need. The player can then choose to vent based on the rule they are learning.
Reserve enough heat for the boost
Warn the player that the sentry will sweep on beat 2. On that beat, accept and apply one valid player action, then resolve the sweep before checking the outcome. Boosting carries the mech to the marked side strip and protects it for that beat. A boost on an earlier beat has already ended when the sweep comes. A valid action other than Boost on beat 2 ends the run. In this exercise, the sentry has only one sweep.
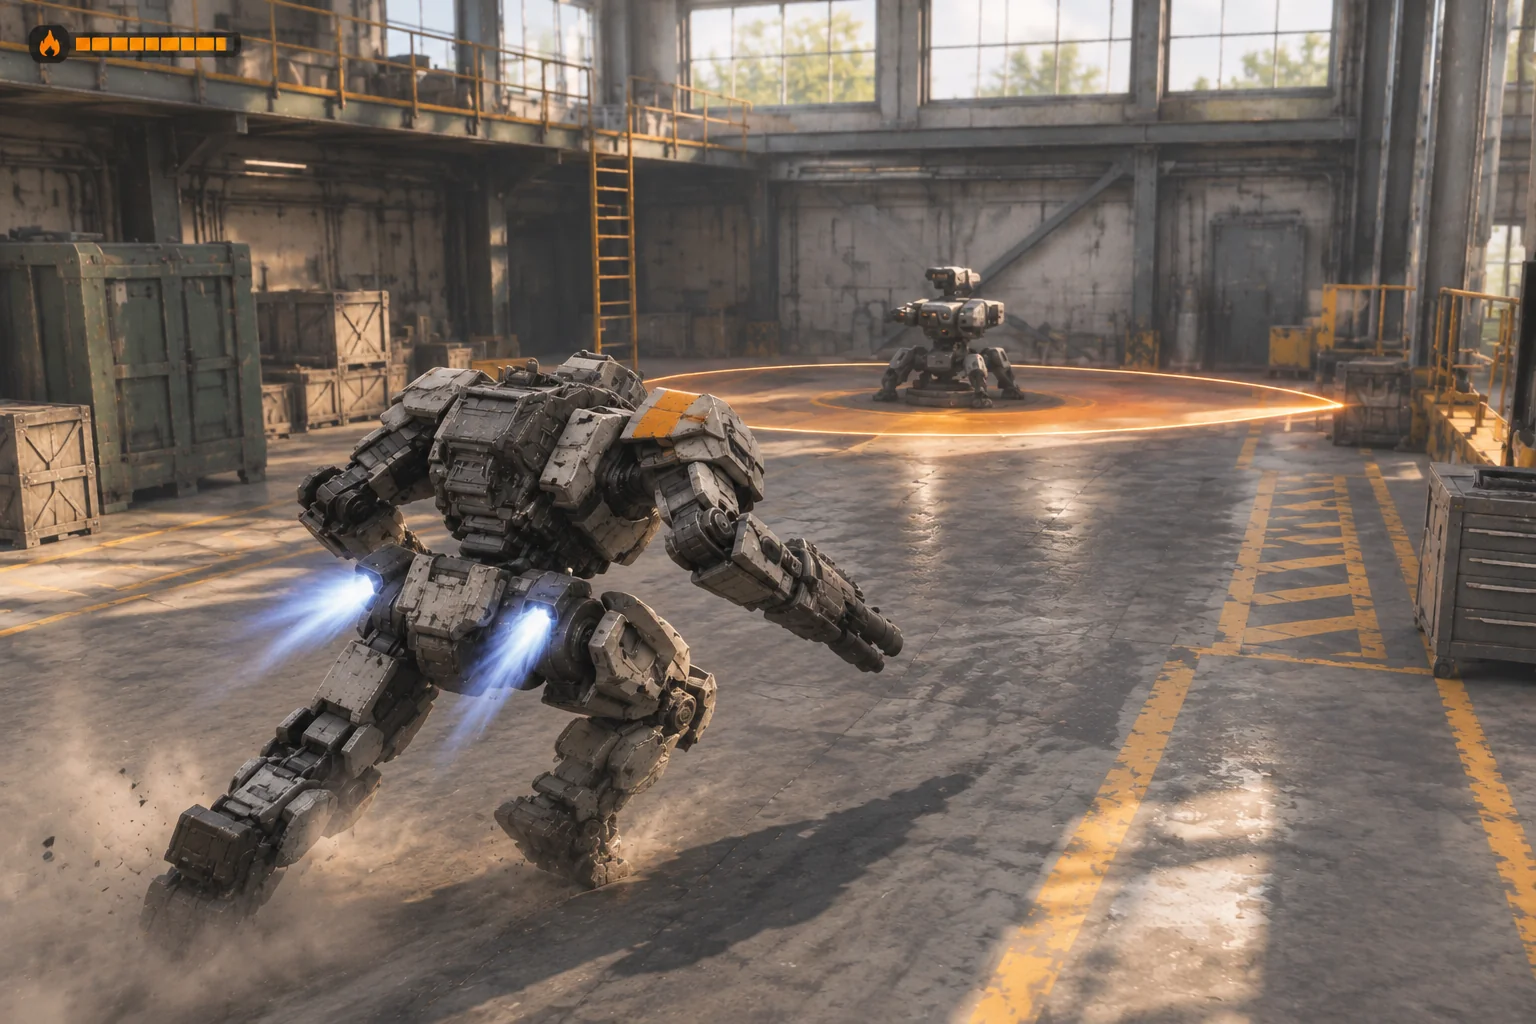
Try the same opening with each weapon. Fire once, boost on beat 2, and decide how to finish. The following values are the expected states after each accepted beat.
| Beat | Heavy cannon | Light cannon |
|---|---|---|
| 1 | Fire. Heat 4, sentry 1. | Fire. Heat 2, sentry 2. |
| 2 | Boost. Heat 6, sentry 1. | Boost. Heat 4, sentry 2. |
| 3 | Vent. Heat 3, sentry 1. | Fire. Heat 6, sentry 1. |
| 4 | Heavy fire would take heat to 7. Vent instead. Heat 0, sentry 1. | Vent. Heat 3, sentry 1. |
| 5 | Fire. Heat 4, sentry 0. | Fire. Heat 5, sentry 0. |
At beat 4, the heavy mech is just one point short of the heat room it needs. If a refused shot changes the sentry’s integrity or moves the clock forward, check that the heat limit is evaluated before applying the action. The light module has a different problem. It can fit another shot after the boost, but still needs a third hit to finish.
Give AI the action order and the numbers
SEELE’s 3D game maker offers a starting point for a compact browser prototype with a visible goal and a clear interaction to check. Describe the bay, the equipment choice, and the exact action sequence. Keep the weapon stats and event order fixed while you let the first draft establish the scene.
Build a third-person 3D mech action prototype in one fabrication bay.
Use one player chassis, one sentry with 3 integrity, and one marked
side strip. Before the run let the player equip Light or Heavy.

Start with 0 heat and cap it at 6. Light fire adds 2 heat and deals
1 damage. Heavy fire adds 4 heat and deals 2 damage. Boost moves the
mech sideways and adds 2 heat. Both weapons stay in range for this
exercise. Vent subtracts 3 heat to a minimum of 0. No passive cooling.

Use one valid player action per beat. Reject a fire or boost action
that would raise heat above 6 before applying it. Show why it was
refused. Keep heat, integrity, position, and the current beat unchanged.

Warn about the sweep before beat 2. Apply the player's accepted
action on beat 2, then resolve the sweep before checking the outcome.
Boost on beat 2 avoids it. Any other valid action on that beat fails.
An earlier boost gives no protection. Do not add more sweeps.

Win when the sentry reaches 0 integrity, with damage floored at 0.
Show heat, the sweep warning, and hit confirmation separately.
Add Restart to restore the mech position, heat, sentry, and beat.
Allow switching modules from the setup screen before a new run.
Run the heavy trace first. Check that boosting at heat four reaches six and avoids the sweep. At heat three, attempt another heavy shot and check that it leaves the state unchanged. From a test state of heat one, vent and check that it reaches zero. Then restart and choose a legal action other than Boost on beat 2 to check the failure path. The guide to checking an AI game in small steps shows how to turn a failed check into one focused change.
Compare the same fight with a stronger vent
Change the vent from three heat to four. Leave the weapon costs, cap, and sweep timing alone. After the heavy shot and boost, the mech still sits at six heat. One vent now brings it to two. The next heavy shot fits exactly at six and clears the sentry on beat 4. With the original vent it took five accepted beats on that route. The light sequence still needs its third hit on beat 5.
That comparison applies to the fixed sequence above. If you build real-time controls, tune the warning duration, the boost’s active window, and how long the vent takes in the actual scene. Record which commands players attempt and whether they notice the sweep in time. The beat count tells you when the rules permit a shot, while the live encounter tells you whether the player can act on that information.
Make the heat rule visible before expanding the bay
Build the first fight around the moment the player decides whether to shoot, boost, or vent. Try both arm modules, verify the rejected shot, and repeat the same route when you change the vent. Start your mech action prototype with SEELE’s 3D game maker and use the heat table to check whether the chassis behaves as designed.
Frequently asked questions
Should the mech cool down between actions?
Keep heat fixed between actions for the first check. That makes it easy to trace each change back to a shot, boost, or vent. Once those rules work, try passive cooling if waiting creates a decision you want. Specify when cooling begins and how much heat it removes.
How do I know whether a module choice matters?
Run the same encounter with both modules and write down which actions each can take before reaching the cap. If the two loadouts always support the same action order, change one cost or give the player a reason to value a different sequence. Then compare the routes again.
How can I show a hit without cluttering the heat display?
Put hit confirmation near the sentry and keep the heat meter near the player controls or HUD. Use a different shape or motion for each cue. A short target flash can confirm damage, while a change in the gauge tells the player how much room remains for the next action.
When should I add weight limits?
Add weight once the player understands heat and you have a reason for another constraint. For example, a heavy module could change the distance of a boost. Test that movement change with the heat rules held steady so you can see what the new limit contributes.